Table Of Contents
Step-by-Step Guide to Removing Damaged Glass
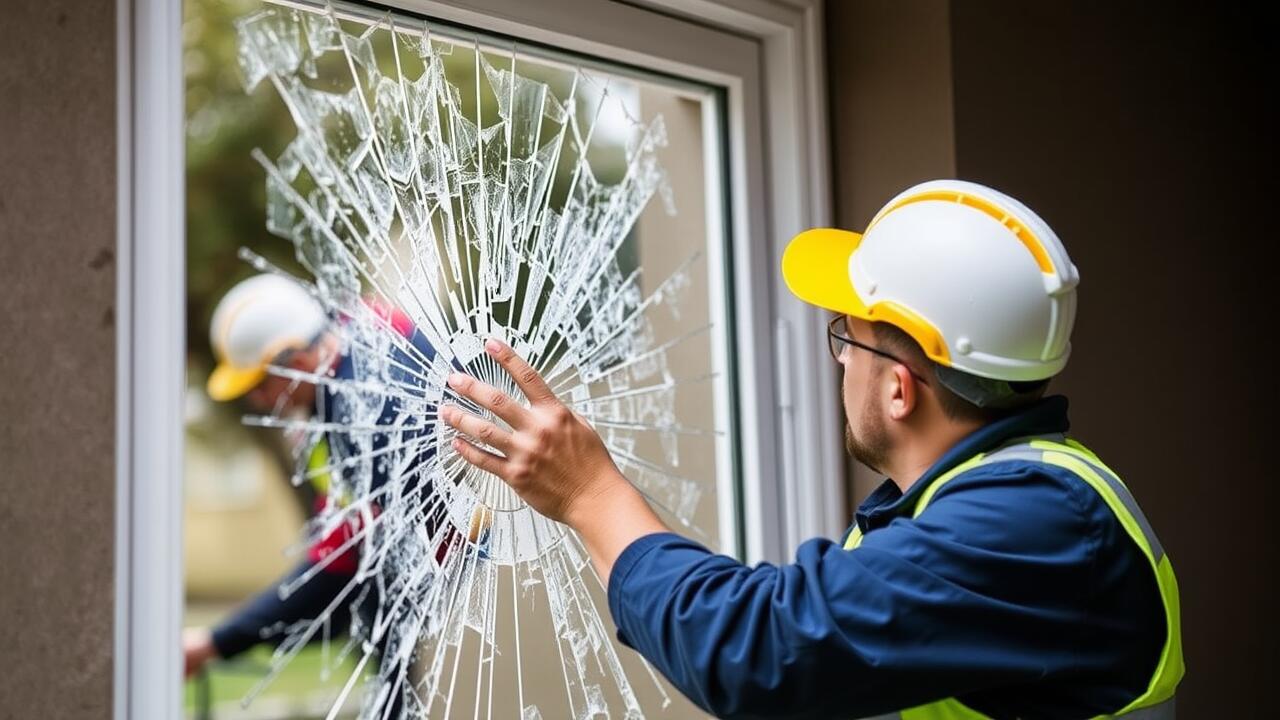
Before beginning the process of removing damaged glass from your back door, gather the necessary tools, including safety goggles, gloves, a utility knife, and a putty knife. Start by thoroughly assessing the glass to determine the extent of the damage. If the glass is shattered, take extra caution to prevent any injury. Use the utility knife to cut away any weather stripping or seals surrounding the glass. Remember to take your time and work methodically to avoid accidentally damaging the door frame.
Once the surrounding materials are removed, it's time to tackle the glass itself. Carefully press downward on the fragments of glass that are still intact to loosen them. Use the putty knife to pry out any remaining shards. If you're working on a rear window replacement, ensure no glass pieces are left behind to prevent future complications. After all the glass has been safely removed, clean the area thoroughly before proceeding to the next steps of installing new glass.
Techniques for Safe Removal
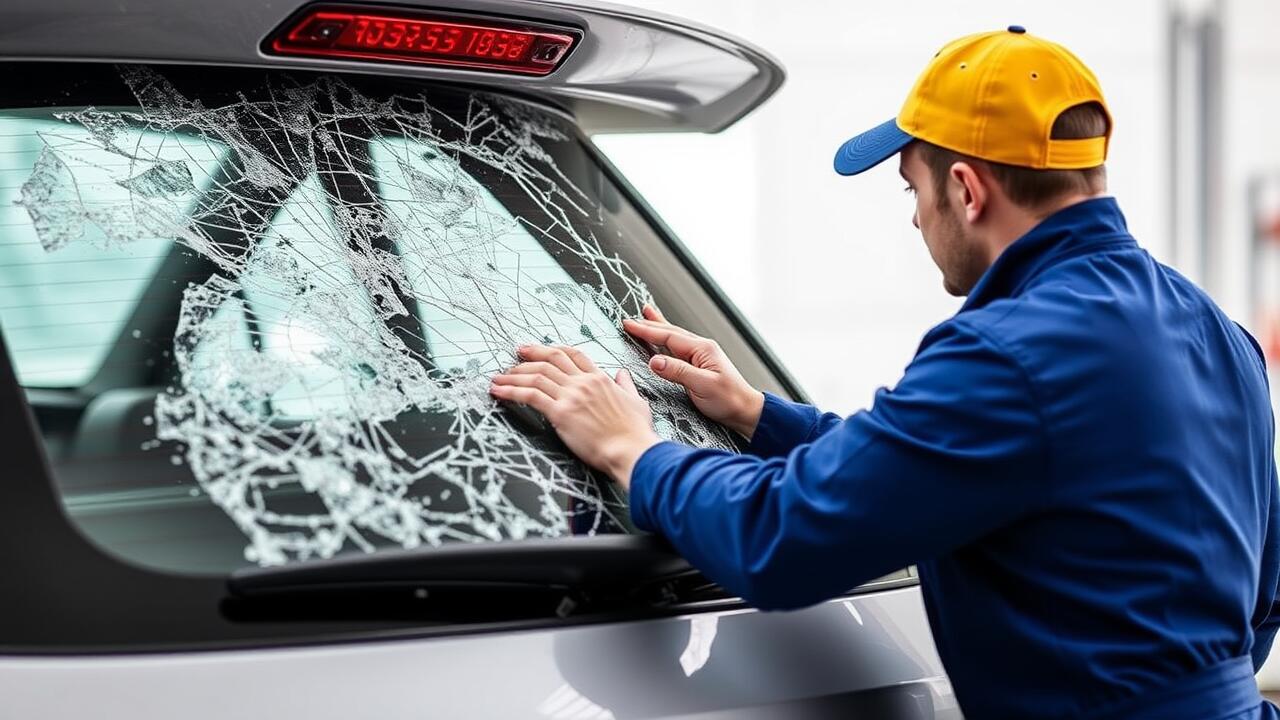
When embarking on a rear window replacement, ensuring safety should be your top priority. Begin by wearing sturdy gloves and protective eyewear to shield yourself from any broken glass shards. Carefully assess the frame and check for any screws or fasteners that may need to be removed before handling the glass. If the glass is cracked, gently push the pieces inward to avoid sharp edges from cutting your skin. Prepare the area by laying down a cloth or tarp to catch any debris and prevent it from scattering.
Once you have taken necessary precautions, begin the removal process. Utilize a prying tool to carefully detach the glass from the frame, working slowly to avoid excessive force that could lead to injury. If the glass is secured with adhesive, use a heat gun to soften the adhesive, making it easier to lift the glass out. Be mindful of your surroundings to avoid accidents. Following these safety techniques will ensure a smoother and safer rear window replacement experience.
Installing New Glass in Your Back Door
When you are ready to install the new glass in your back door, ensure that you have all necessary materials on hand. Begin by applying a fresh bead of glazing compound or adhesive around the frame where the glass will sit. This helps create a secure bond and prevents air and moisture from entering your home. Carefully lift the glass into place, ensuring it fits snugly within the frame. Utilize glazier points or clips to hold the glass securely against the frame while the adhesive cures.
Once the glass is in position, check for any gaps between the glass and the frame. Fill any spaces with additional glazing compound as needed. After securing the glass, give the adhesive sufficient time to set according to the manufacturer's instructions. During the waiting period, avoid leaning on or putting pressure on the new glass. Proper installation is crucial for effective Rear Window Replacement, ensuring durability and alignment with your door's structure.
Proper Techniques for Installation
Installing new glass in your back door requires careful handling and precise techniques. Begin by aligning the new glass with the frame, ensuring that it fits snugly without forcing it into position. Using a clean work surface can help prevent damage to the glass while you work. A helper is useful for holding the glass in place while you secure it, as this maintains alignment and reduces the risk of movement during installation.
Once the glass is positioned correctly, apply a suitable adhesive specifically designed for glass installations. This step is crucial for ensuring a secure bond that will withstand weather conditions. Carefully follow the manufacturer’s instructions for the adhesive to achieve the best results. For a secure fit, you may also want to add clips or brackets to support the glass. Proper techniques for installation are essential during this rear window replacement to ensure longevity and effectiveness.
Sealing the New Glass
Sealing the new glass in your back door is crucial for ensuring both energy efficiency and protection from the elements. Begin by applying silicone caulk or a suitable weatherproof sealant around the edges of the glass where it meets the frame. Make sure to choose a sealant that is compatible with both glass and the frame material to maximize adhesion and longevity. This step helps to eliminate gaps that can allow air and moisture to seep in, ultimately enhancing the durability of your installation.
Once the sealant is applied, smooth it out with a caulking tool or your finger for a neat finish. This not only improves the aesthetics but also ensures that the seal is even and effective. After sealing, give it adequate time to cure according to the manufacturer's instructions. Proper sealing is particularly important in the context of rear window replacement, as it plays a vital role in maintaining the structural integrity and comfort of your vehicle or home.
Best Practices for Weatherproofing
To ensure the longevity of your new glass installation, proper sealing is essential. Begin by using a high-quality weatherproof sealant. Apply it around the edges of the glass, making sure there are no gaps that could allow moisture to enter. This step prevents water from seeping in, which can lead to mold or damage over time. Additionally, when performing a Rear Window Replacement, consider using a foam gasket or silicone for added insulation against the elements.
Regular maintenance plays a significant role in preserving your weatherproof seal over time. Periodically check for signs of wear around the glass edge. Inspect the sealant for any cracks or peeling, and replace it if necessary. This proactive approach will help maintain the effectiveness of your installation and ensure that your back door remains an effective barrier against wind and rain. Keeping the surrounding frame in good condition is equally important, as it contributes to a tighter seal overall.
FAQS
Can I replace the glass in my back door myself?
Yes, replacing the glass in your back door can be a DIY project if you have the right tools and follow safety precautions. However, if you're unsure or uncomfortable with the process, it's advisable to hire a professional.
What tools do I need to replace the glass in my back door?
You'll typically need a utility knife, safety gloves, a putty knife, a measuring tape, and possibly a glass cutter. Additionally, having weatherproofing materials like silicone sealant or glazing compound on hand will be helpful.
How can I ensure the new glass fits properly in my back door?
To ensure a proper fit, accurately measure the dimensions of the glass opening before purchasing the new glass. It's important to measure at multiple points, as the frame may not be perfectly square.
What type of glass should I use for my back door?
It's recommended to use tempered or laminated glass for back doors, as these types are more durable and safer. If your door is insulated, consider using insulated glass for better energy efficiency.
How do I seal the new glass to prevent leaks and drafts?
After installing the new glass, apply a high-quality silicone sealant around the edges to create a watertight seal. Ensure that the sealant is evenly applied and smooth out any excess for a clean finish.