Table Of Contents
Step-by-Step Repair Guide
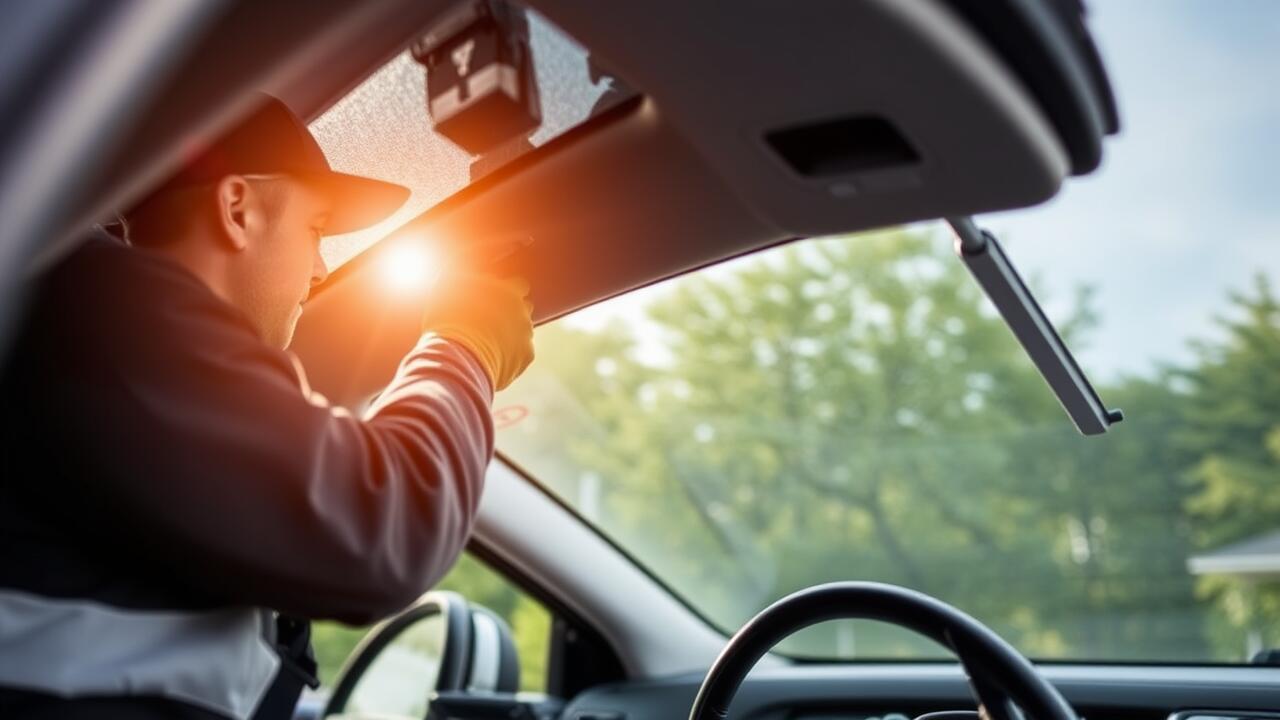
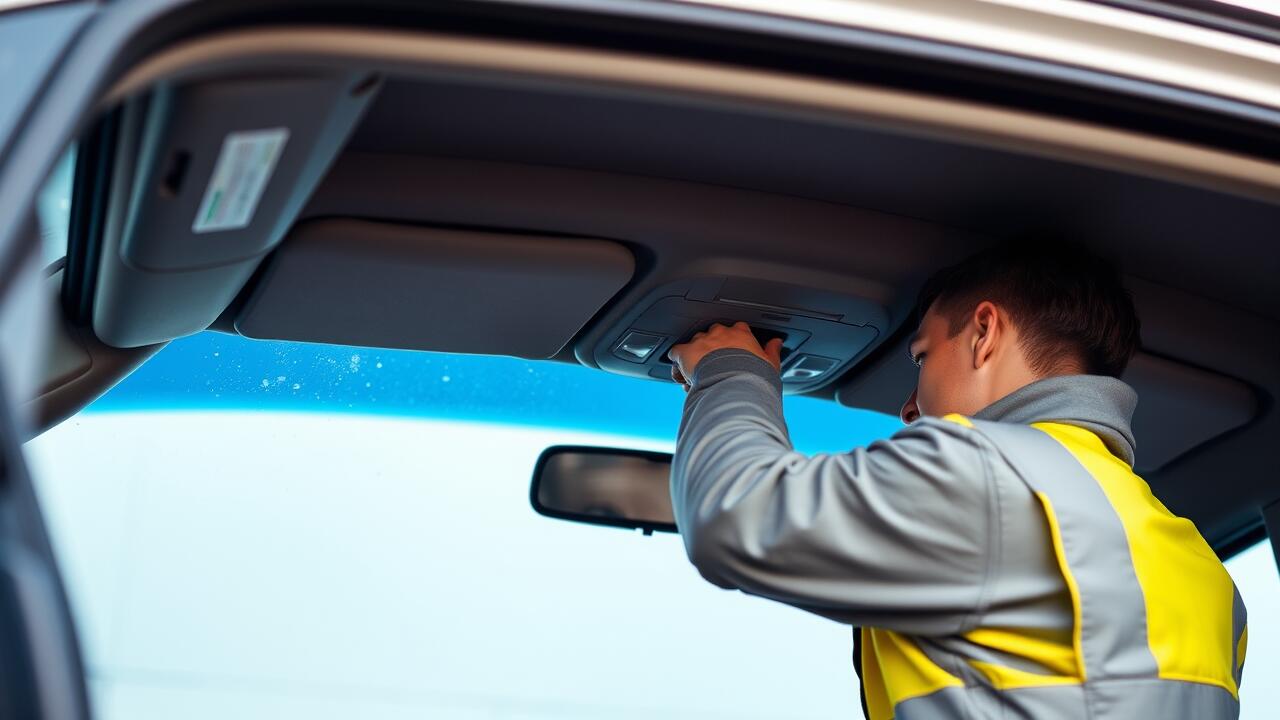
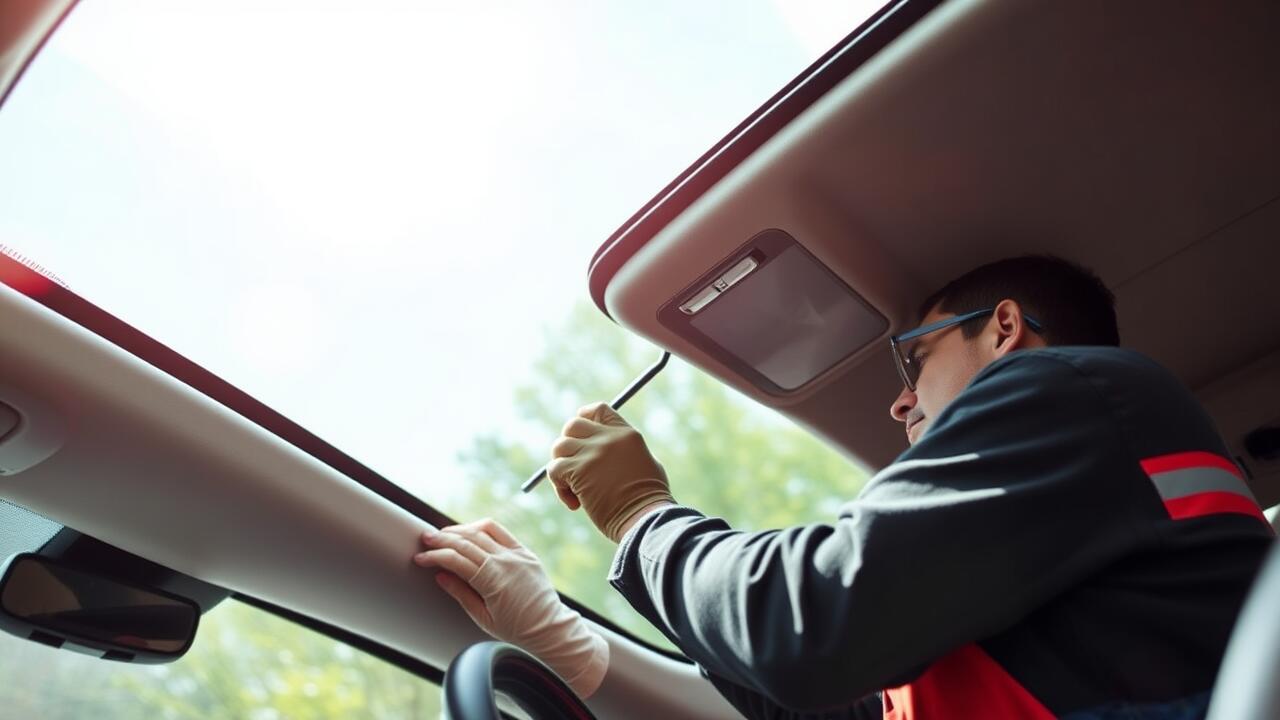
Before beginning any sunroof repair, ensure that you have the necessary tools at hand. Commonly required tools include a flathead screwdriver, a pair of pliers, and a socket set. Begin by removing the sunroof panel by loosening the screws that hold it in place. Take special care not to damage the surrounding trim. Once the panel is removed, inspect the tracks for dirt or debris that could be obstructing movement.
After cleaning the tracks, check the condition of the sunroof motor and wiring. Wear and tear can lead to malfunctions, so look for any frayed wires or rusted connections. If the motor does not operate correctly, you may need to replace it. Reassemble the sunroof by carefully aligning the panel back on its tracks and ensuring the screws are tightened securely. Performing these steps diligently will facilitate a successful sunroof repair.
Basic Repair Techniques
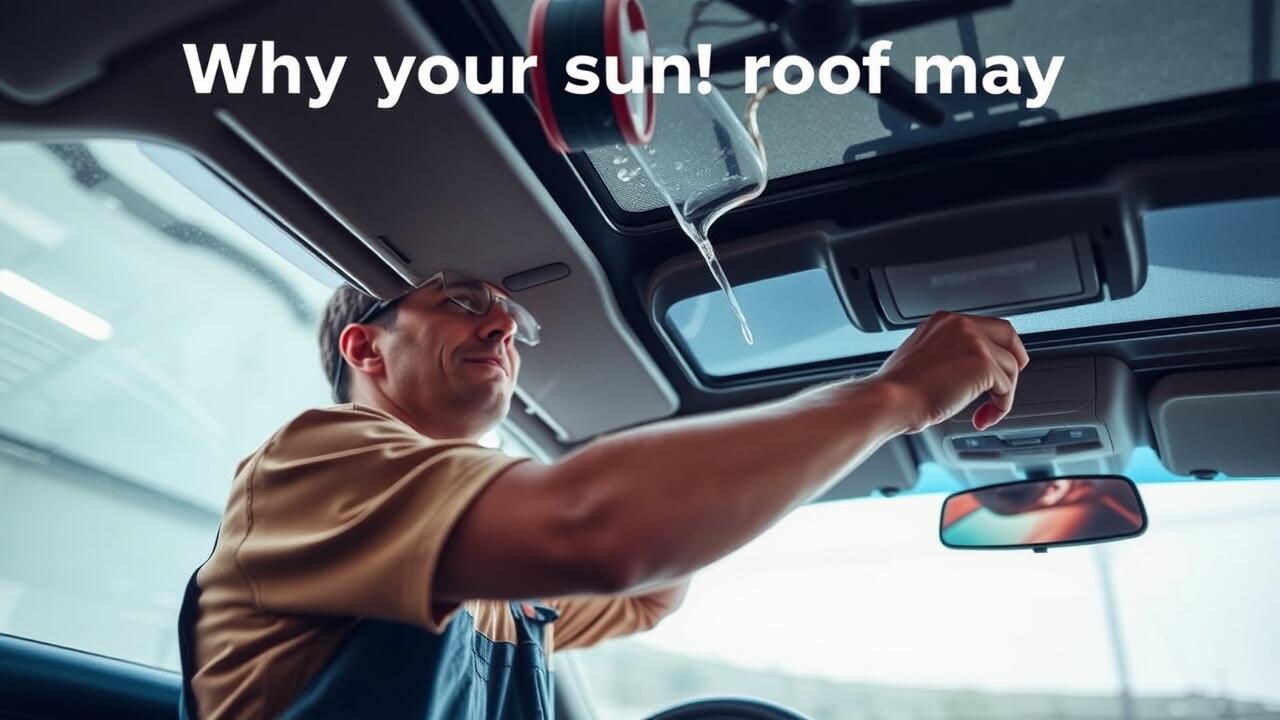
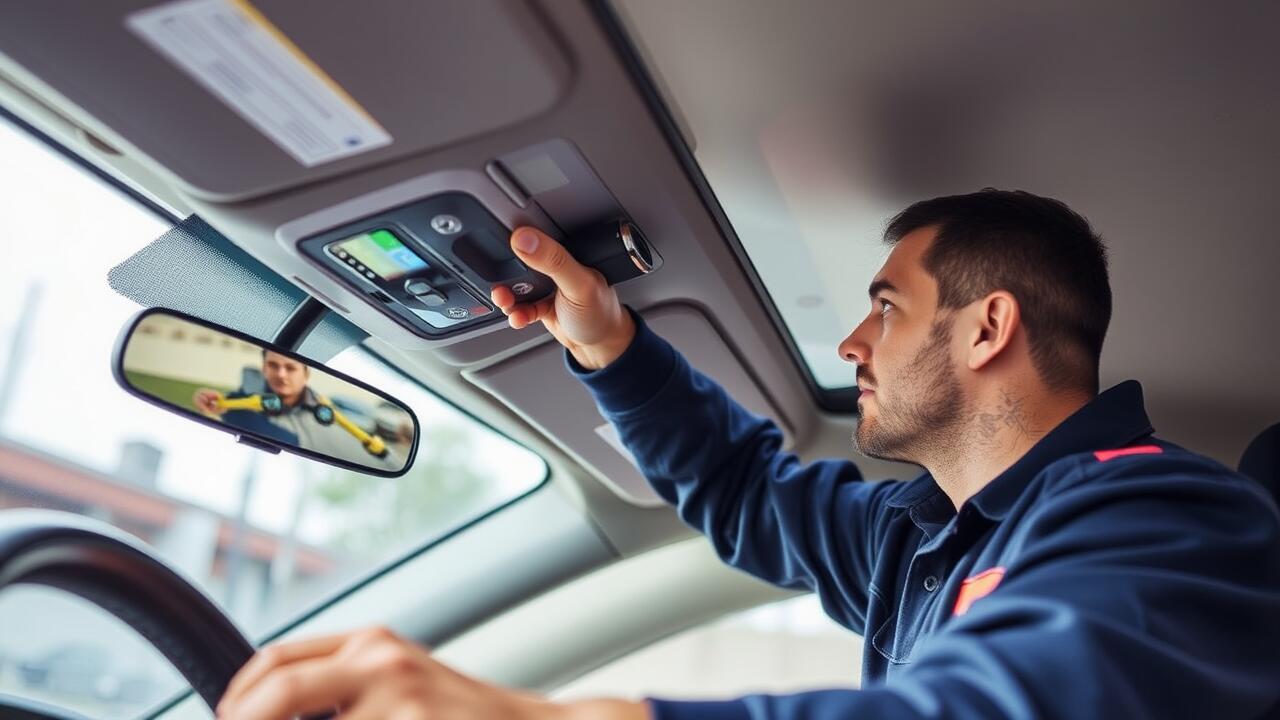
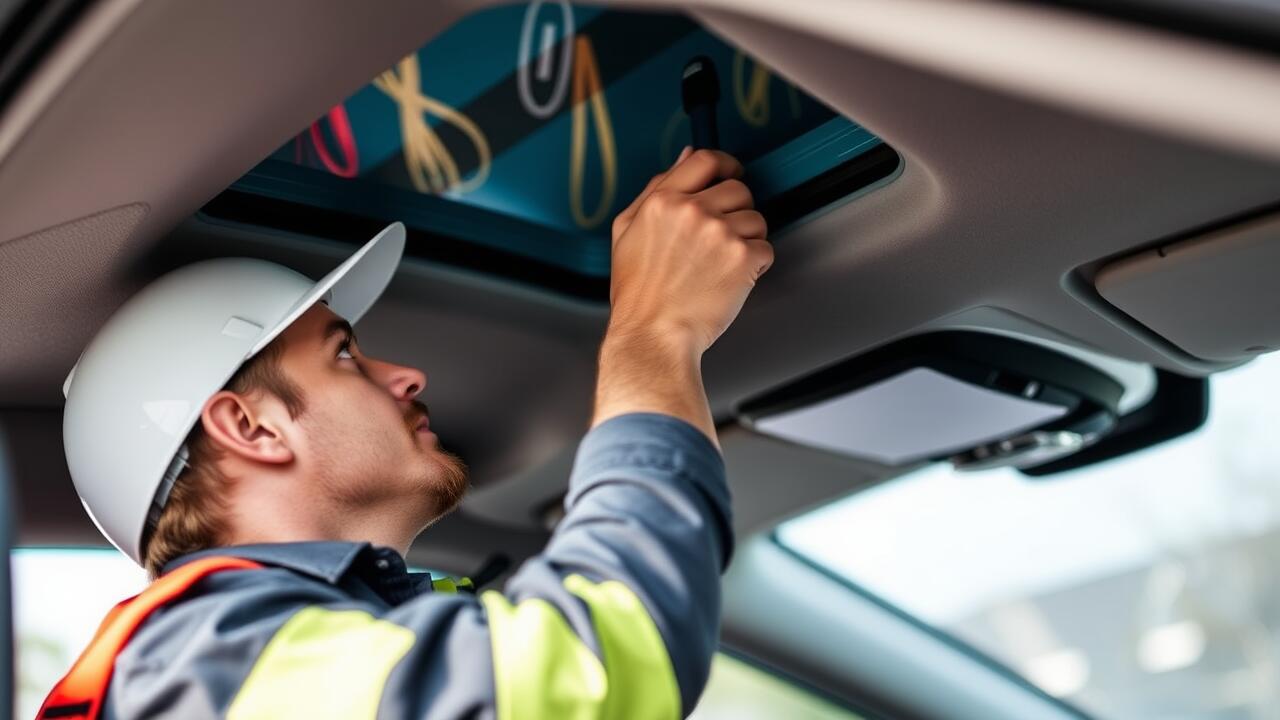
When approaching sunroof repair, start by gathering all necessary tools and materials. A basic toolkit with screwdrivers, pliers, and a flashlight is essential. Remove any trim pieces carefully to avoid damaging them. Assess the existing condition of the sunroof mechanism, inspecting for broken components or obstructions. Clean any debris found within the sunroof track to ensure smooth operation after repairs are completed.
Next, address any identified issues by replacing damaged parts. Use manufacturer-recommended replacement components to maintain the integrity of the sunroof. If the seal is compromised, apply a fresh bead of silicone sealant to prevent leaks. Once repairs are made and everything is reassembled, test the sunroof's functionality. Ensure it opens and closes seamlessly to confirm that your sunroof repair was successful.
Avoiding Common Mistakes
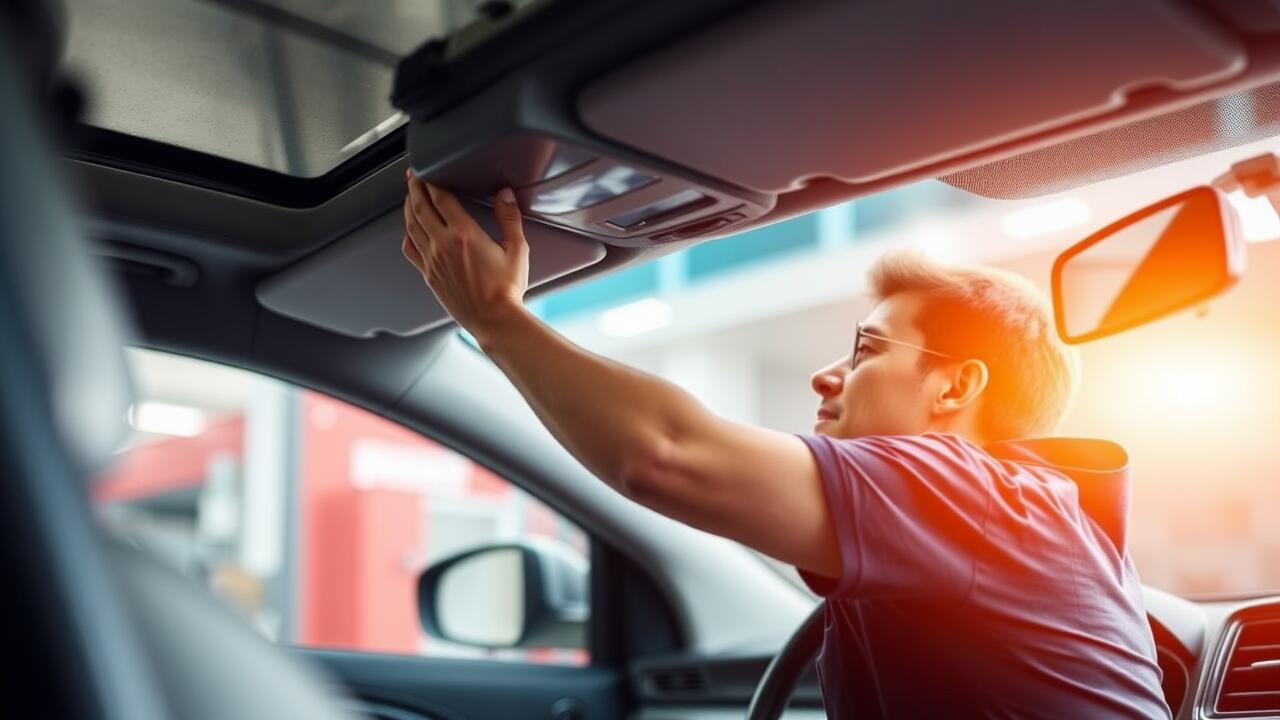
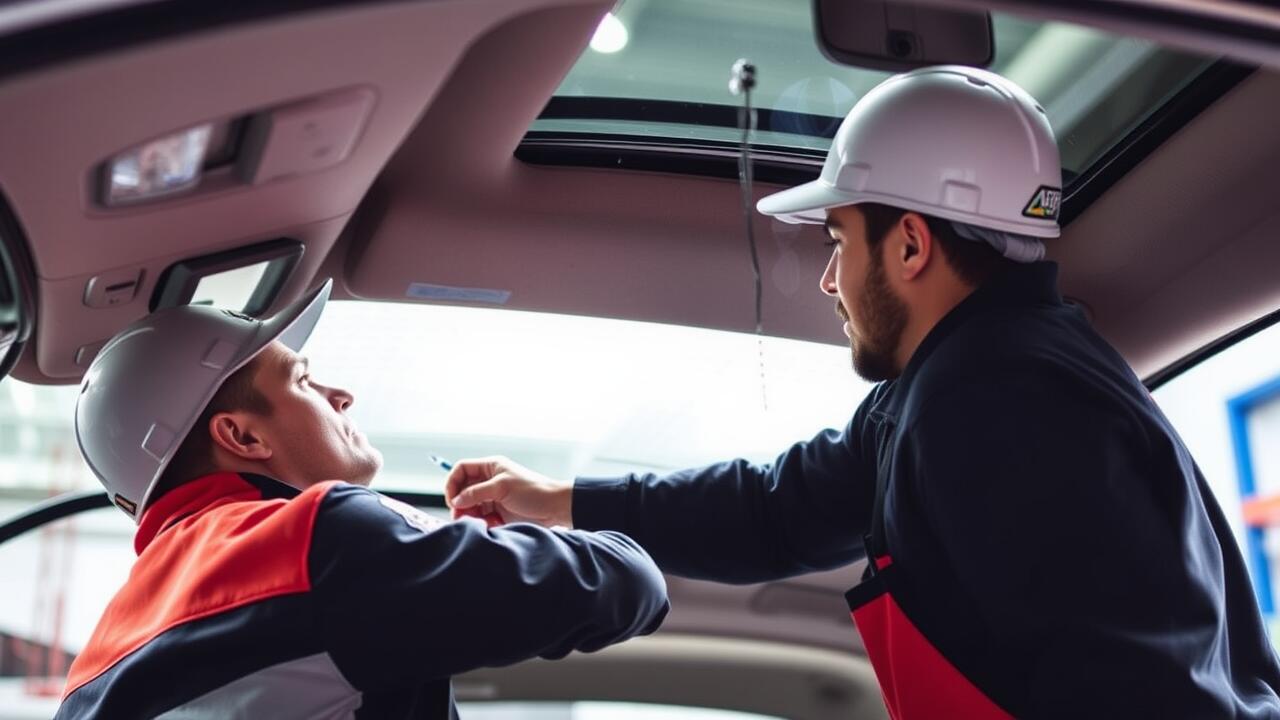
Proper preparation and organization are key to avoiding common mistakes during sunroof repair. Before starting, gather all necessary tools and parts to prevent interruptions mid-job. Familiarize yourself with the specific model of the car to understand how to approach the repair. Ignoring this step could lead to incorrect disassembly, resulting in a longer repair time or further damage.
Pay attention to the small details while working on the sunroof. Missing components, such as seals or clips, can lead to leaks or misalignments once the repair is complete. Double-check all connections and ensure that everything fits properly before reassembling. A thorough inspection can save time and reduce the chances of needing additional repairs down the line.
Pitfalls to Watch Out For
When undertaking sunroof repair, it is crucial to avoid rushing through the process. Many amateur mechanics overlook critical steps, leading to incomplete repairs. Neglecting to clean and inspect all components before reassembly can result in trapped debris, which may cause future operational issues. Skipping the use of appropriate sealing materials can also lead to leaks, creating more problems down the line.
Another common pitfall is not sourcing the correct replacement parts. Using incompatible or substandard materials may compromise the integrity of the sunroof system. It's essential to ensure that all components match the specifications of the vehicle. Taking shortcuts in this area can result in frequent breakdowns and might ultimately necessitate a more extensive and expensive repair in the future.
Testing the Sunroof After Repairs
After completing the sunroof repair, it is essential to test the functionality thoroughly to ensure everything operates smoothly. Begin by examining the sunroof's opening and closing mechanisms. Listen for any unusual sounds during operation, as these may indicate improper alignment or component issues that could require further attention.
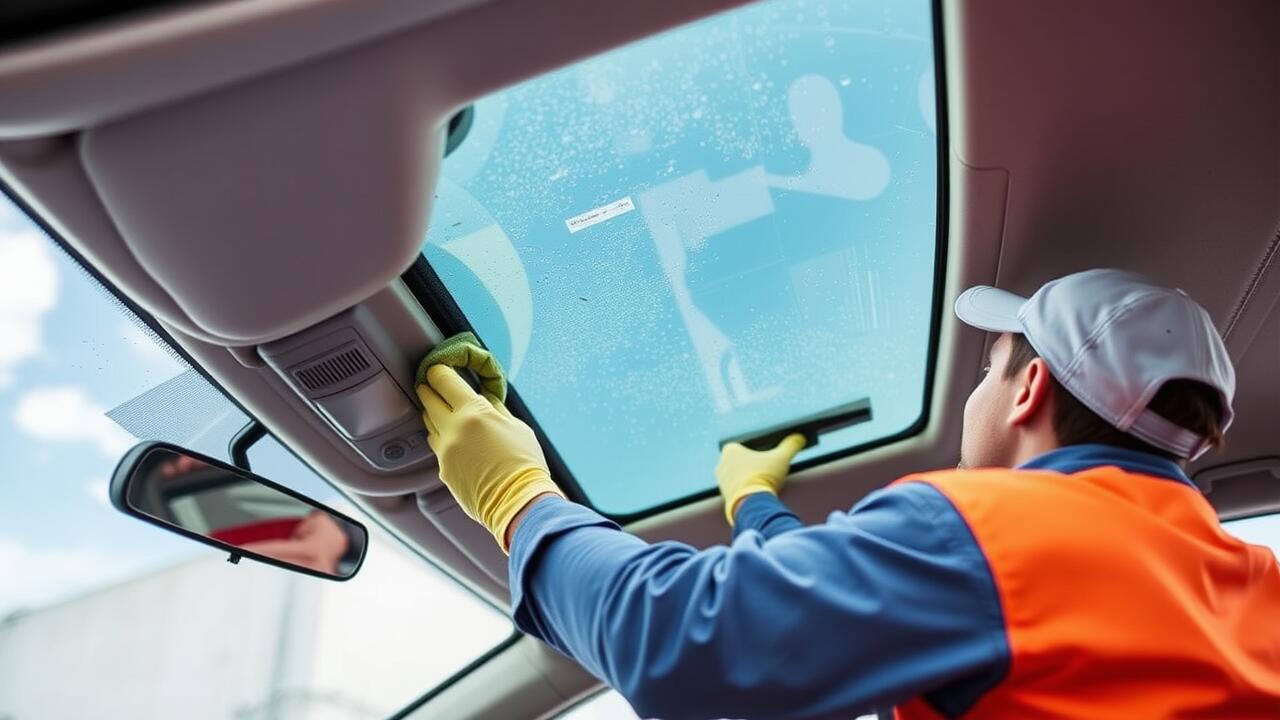
Next, check for any signs of leaks or water intrusion by running water over the sunroof area. This step is crucial, especially after repairs, as it helps identify any potential gaps or seals that may not have been secured properly. Proper testing confirms that the sunroof repair has been successful and the vehicle remains watertight and functional.
Ensuring Proper Functionality
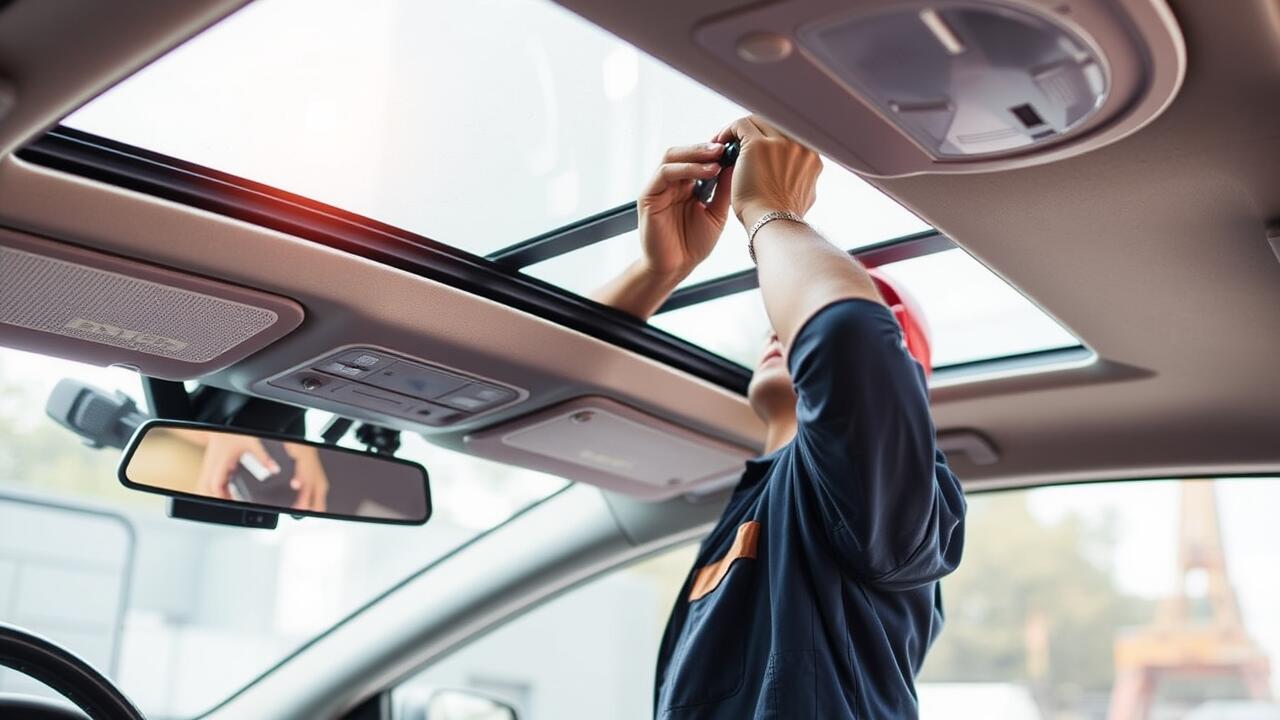
After completing your sunroof repair, it's essential to conduct a thorough functionality test. Begin by checking the movement of the sunroof with the switch. Ensure that it opens and closes smoothly without any grinding noises or resistance. It’s also important to verify the position of the sunroof when fully closed; there should be no slight gaps that could allow water to seep inside the vehicle.
Next, observe the sunroof during a rainstorm or with a gentle stream of water to check for leaks. If any water penetrates the interior, revisit your repair and examine the seals and drainage systems. Proper functionality not only enhances the performance of the sunroof but also protects your vehicle's interior. Regular checks after repairs can prevent future issues and ensure that the sunroof remains in optimal condition.
FAQS
What are some common signs that my sunroof needs repair?
Common signs include water leaks, unusual noises when opening or closing, or the sunroof not fully closing or opening.
Can I repair my sunroof myself, or should I hire a professional?
It depends on your skill level and the complexity of the issue. Basic repairs can often be done yourself, but for more complicated problems, hiring a professional is recommended to avoid further damage.
What tools do I need for a sunroof repair?
Basic tools may include a screwdriver, pliers, a trim removal tool, and possibly a socket set. It's also helpful to have sealant or lubricant on hand, depending on the repair.
How can I ensure I don’t damage the sunroof while repairing it?
Always handle components gently, use the correct tools, follow a step-by-step guide, and double-check everything during the repair process to avoid applying unnecessary force.
What should I do if I encounter an unexpected issue during the repair?
If you encounter an unexpected issue, stop the repair process and assess the situation. If you are unsure, it may be best to consult a professional to prevent further damage.