Table Of Contents
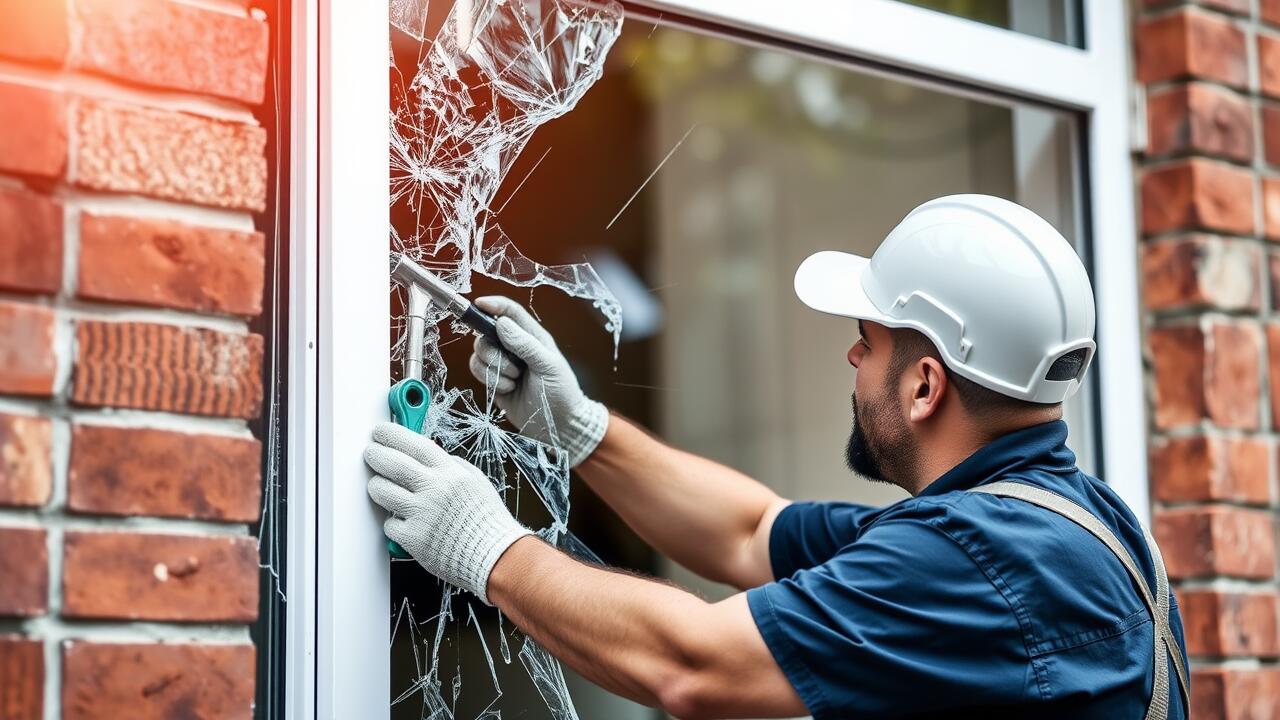
Cleaning the Window Frame
Cleaning the window frame is a crucial step in the side window replacement process. A clean surface ensures better adhesion of the new window and reduces the chance of leaks. Start by removing any loose dirt or debris from the frame using a soft brush or cloth. Pay attention to crevices where dust and grime can accumulate.
Next, use a suitable cleaner to eliminate any remaining residues, such as old adhesive or sealant. A mixture of mild soap and water works well for this purpose. Wipe the frame thoroughly with a lint-free cloth to avoid leaving fibers behind. This preparation not only aids in the effective installation of the new window but also enhances the overall appearance of your vehicle.
Techniques for a Proper Clean
Cleaning the window frame thoroughly is essential before a side window replacement. Start by removing any dirt and debris from the area. Use a soft brush to eliminate loose particles, ensuring you do not scratch the paint or any surrounding surfaces. A mixture of warm water and a gentle automotive soap is effective for cleaning the frame. Apply the solution with a soft cloth or sponge, scrubbing gently along the edges to remove stubborn grime.
Once the initial cleaning is complete, rinse the area with clean water to eliminate soap residues. After rinsing, dry the frame with a lint-free cloth to prevent water spots. Pay special attention to areas where old adhesive may remain, as these can hinder the installation process. A clean and well-prepared surface is crucial for a successful side window replacement.
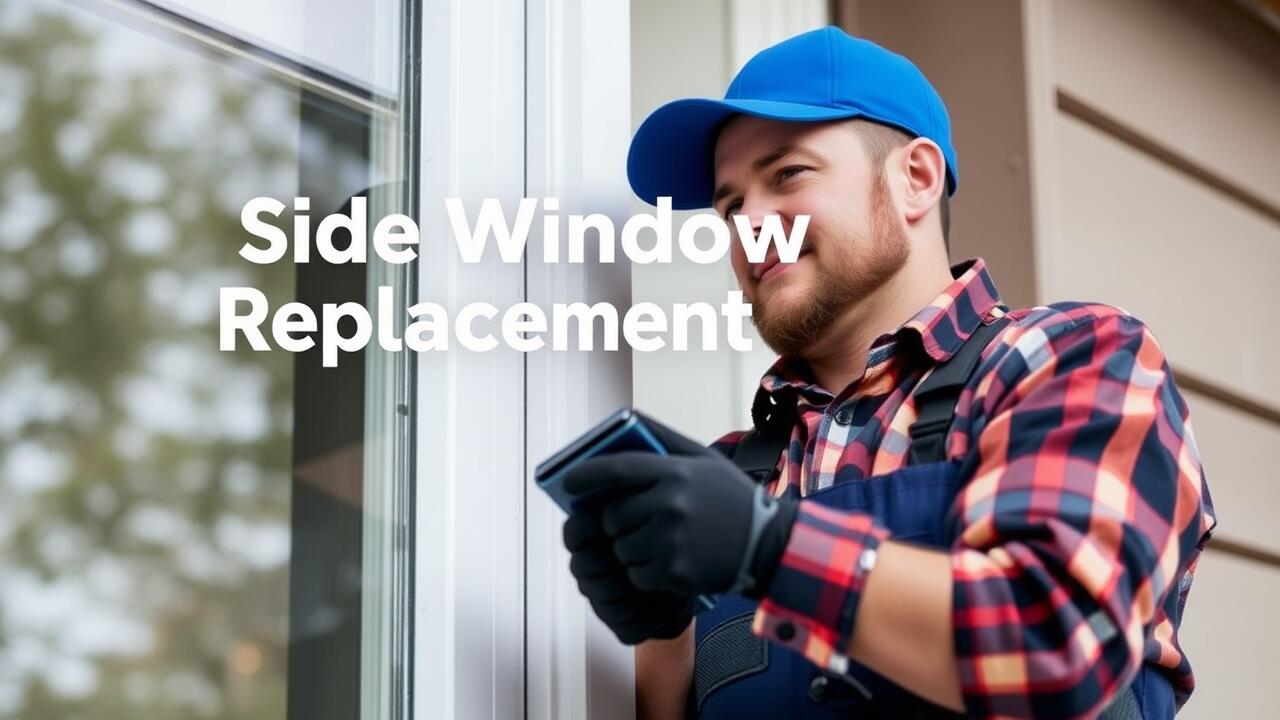
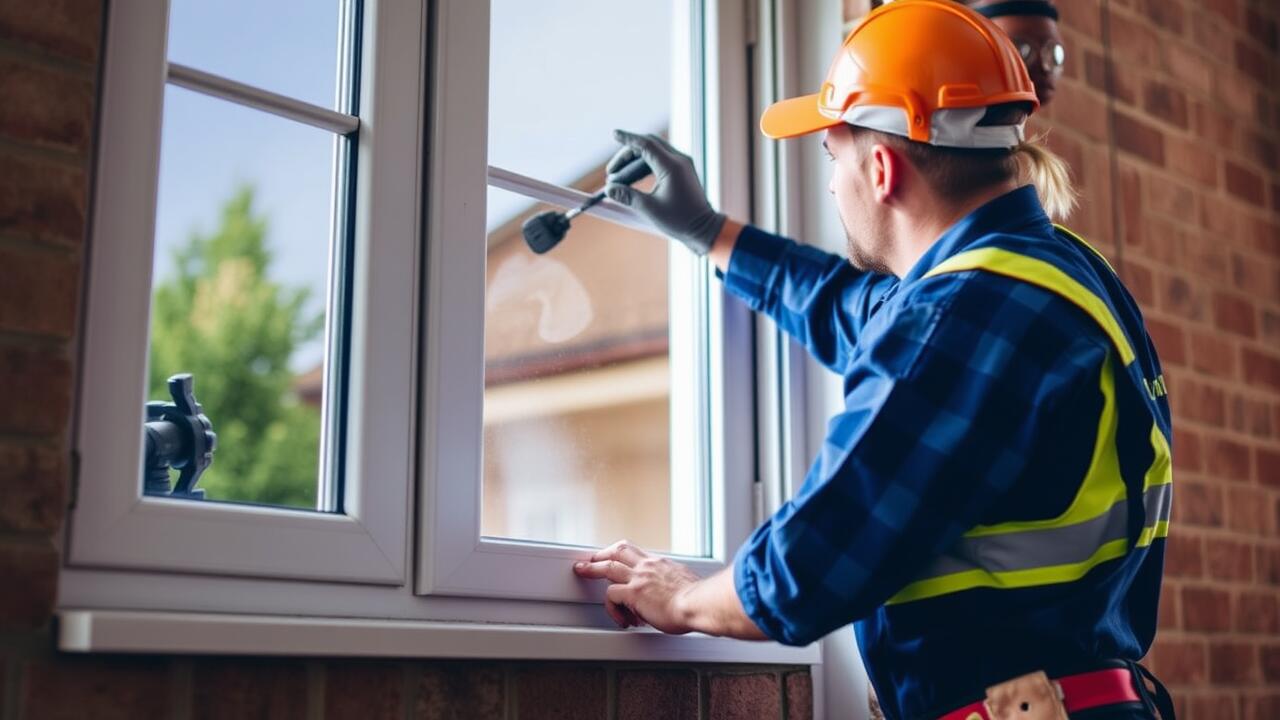
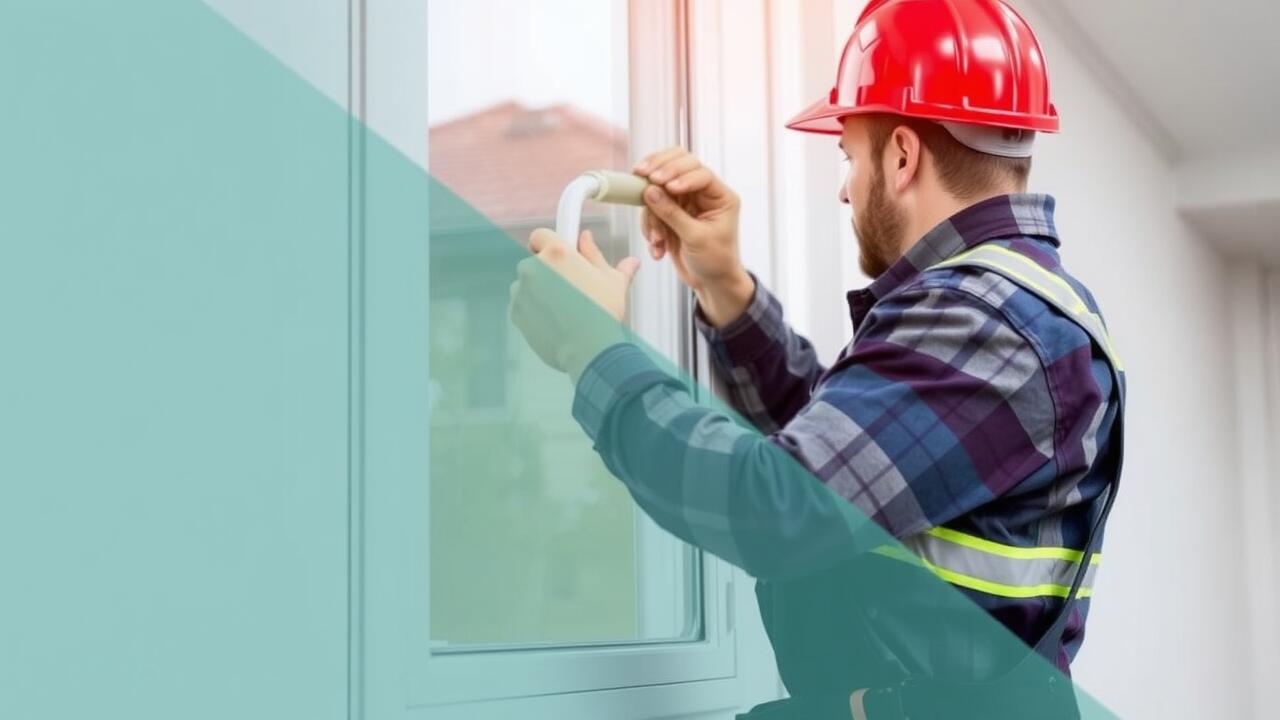
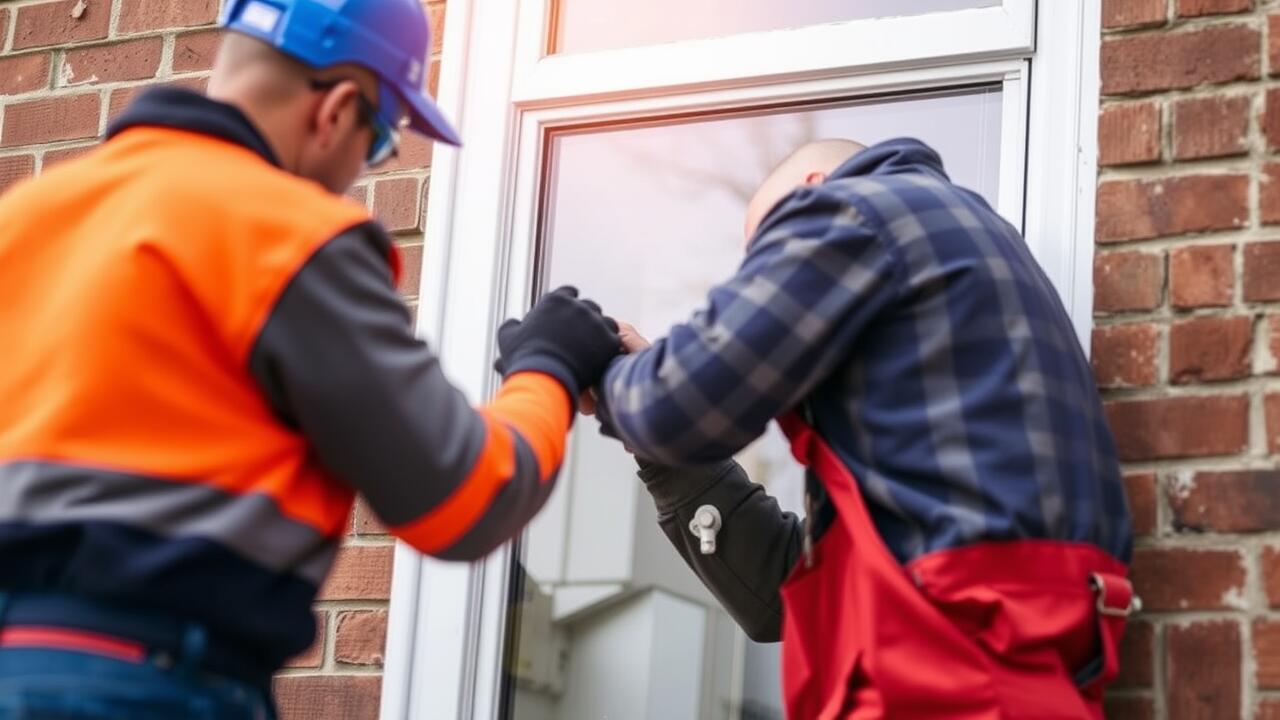
Installing the New Window
When installing the new window, begin by carefully lifting it into place. Ensure that the window is aligned with the existing frame, paying close attention to the edges. Use a helper if necessary, as keeping the window steady during this process is crucial. Once the window is positioned correctly, temporarily support it using wedges or foam blocks to maintain the alignment while you work on securing it.
Next, secure the new window using the appropriate methods for your vehicle model. This might involve screws, clips, or specific adhesives designed for automotive glass. Follow the manufacturer’s instructions closely to avoid any issues later. After securing the window, double-check the alignment and make any necessary adjustments before proceeding to the sealing phase of the side window replacement.
Proper Alignment and Securing Methods
Achieving proper alignment during the side window replacement process is crucial for both functionality and aesthetics. Start by gently positioning the new window into the frame, ensuring that it sits evenly along the designated edge without any gaps. Taking care to align the top edge first will guide the window into the correct position. A slight adjustment may be necessary as the window settles into place. Be sure to verify the orientation of any clips or brackets that will hold the window secure.
After aligning the window, it's time to focus on securing it. Use appropriate adhesives recommended for automotive glass to bind the window in place. Apply the adhesive along the edge of the window frame, ensuring an even and generous bead. Carefully press the window into the adhesive, followed by installing any necessary clips or fasteners. Allow adequate time for the adhesive to cure before subjecting the window to any stress, ensuring a stable and long-lasting installation.
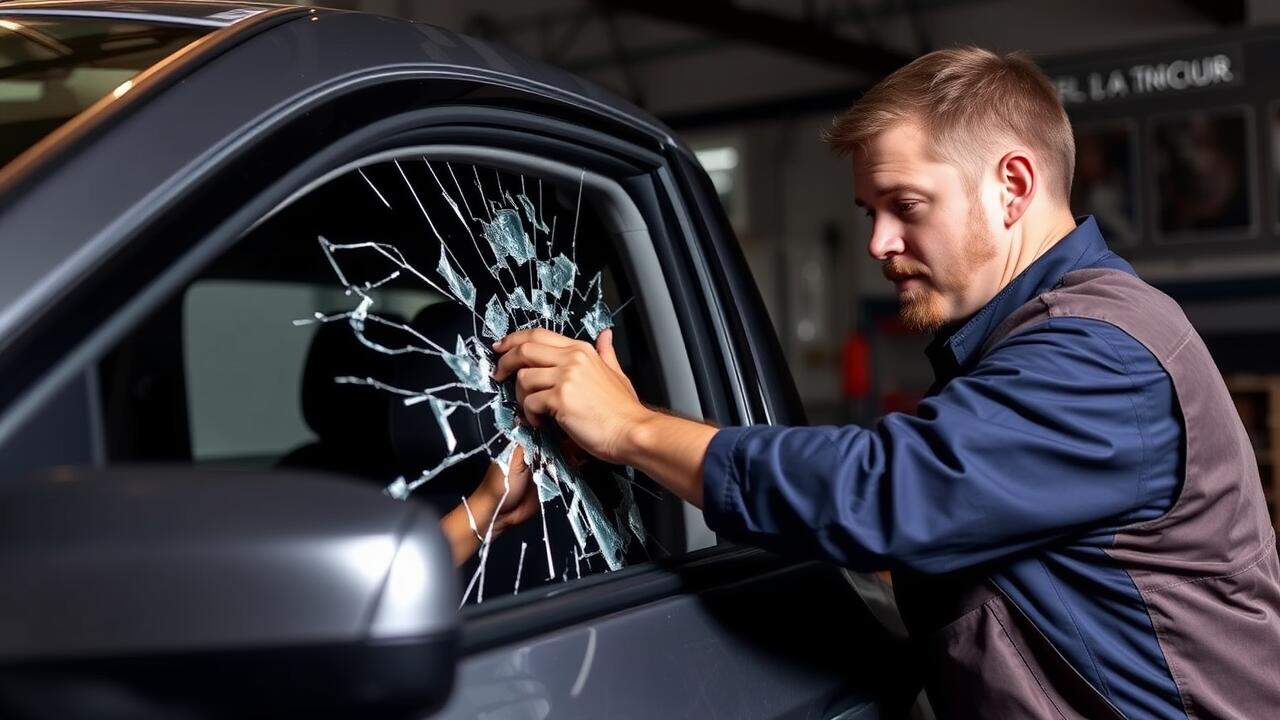
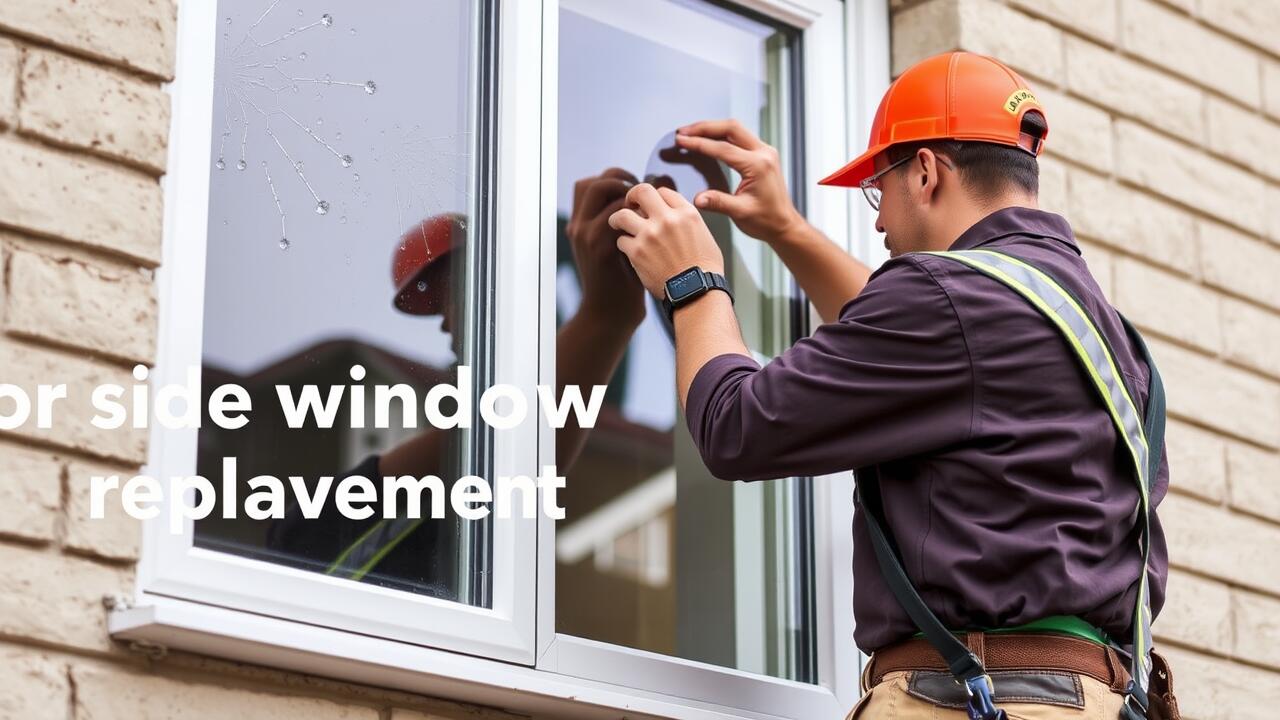
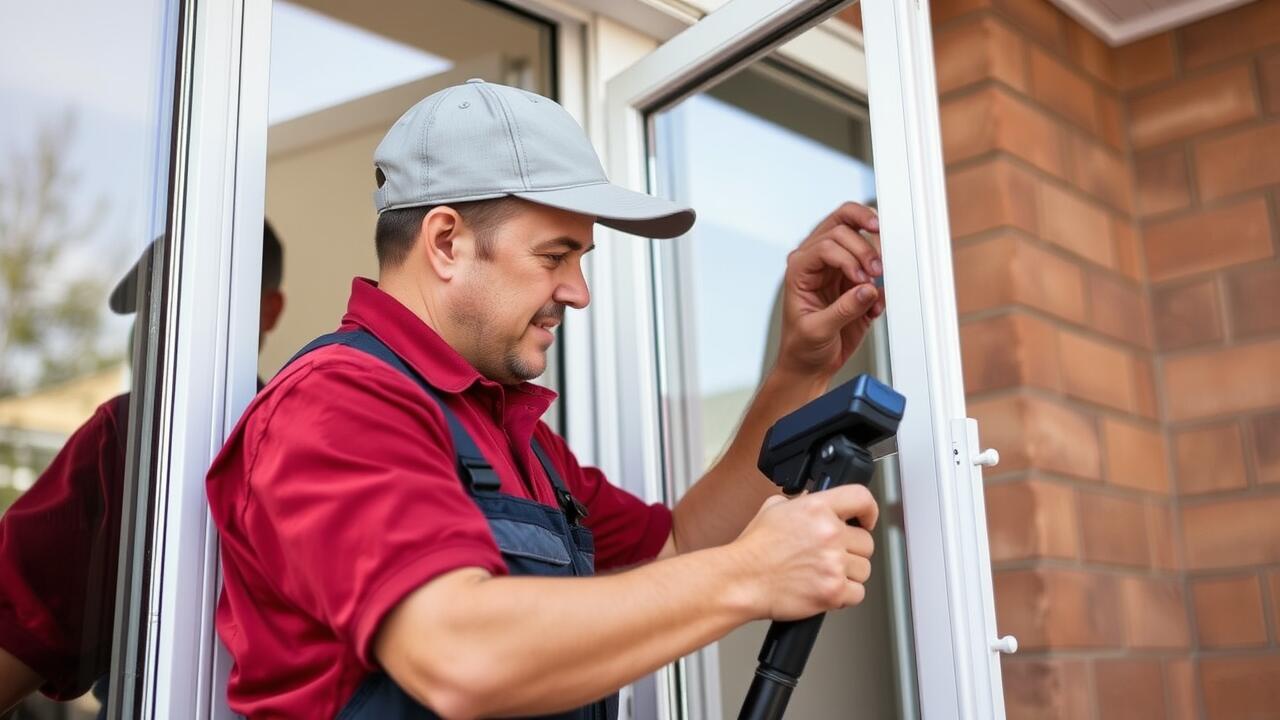
Sealing the Window
Sealing the window is a crucial step in the side window replacement process. A proper seal prevents water leaks and protects the interior of your car from moisture damage. Before applying the sealant, ensure the surface is clean and dry, as any debris can compromise the bond. Select a high-quality automotive sealant specifically designed for side windows, ensuring compatibility with the materials used in your car's construction.
When applying the sealant, use a continuous bead to create a uniform layer around the window frame. Make sure to apply enough pressure to ensure proper adhesion without squeezing too much sealant out. After positioning the new side window, press it firmly into place while checking for even spacing around the edges. Allow the sealant to cure for the recommended time, and check the window's integrity before exposing it to varying weather conditions.
Best Practices for Ensuring a Leak-Proof Fit
To ensure a leak-proof fit during a side window replacement, it's crucial to use high-quality sealant specifically designed for automotive applications. This type of sealant not only adheres well to glass but also remains flexible to accommodate fluctuations in temperature and vibrations from the vehicle. Applying the sealant in a continuous bead around the window frame will minimize potential gaps. It’s advisable to avoid excessive application, as this can create a messy finish and may interfere with proper window seating.
Proper installation technique also plays a significant role in achieving a leak-proof fit. Before placing the new window, double-check that the frame is clean and free from debris. Once the window is positioned, gently press it into place while maintaining even pressure to ensure consistent contact with the sealant. After installation, allow the sealant to cure completely as per the manufacturer's instructions. This will provide the best assurance that the window remains secure and protects against leaks over time.
FAQS
How often should I check the condition of my car's side windows?
It's a good idea to regularly inspect your car's side windows for any cracks, chips, or signs of wear. If you notice any damage, it's best to address it promptly to prevent further issues.
What tools do I need for a side window replacement?
Essential tools typically include a flathead screwdriver, a utility knife, a sealant applicator, and a set of suction cups for handling the new window. Additionally, you'll need cleaning supplies to prepare the window frame.
Can I replace the side window myself, or should I hire a professional?
While some experienced DIYers may feel comfortable replacing a side window themselves, hiring a professional is recommended for most people. They have the expertise and tools to ensure a proper installation.
How long does it take to replace a side window?
The replacement process can usually take anywhere from one to three hours, depending on your experience level and the specific vehicle model.
What should I do if my new side window leaks after installation?
If you notice leaks after replacing the window, check the sealing around the edges. If it's not properly sealed, you may need to reapply sealant or consult a professional for assistance.