Table Of Contents
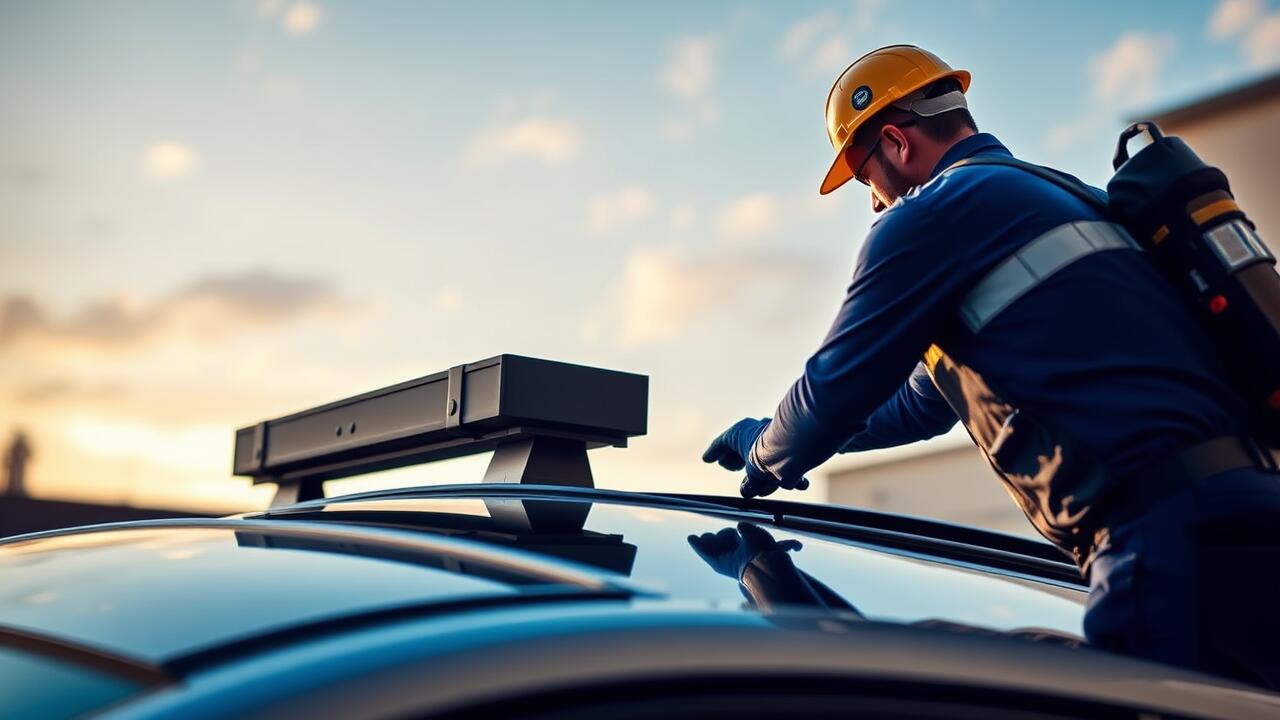
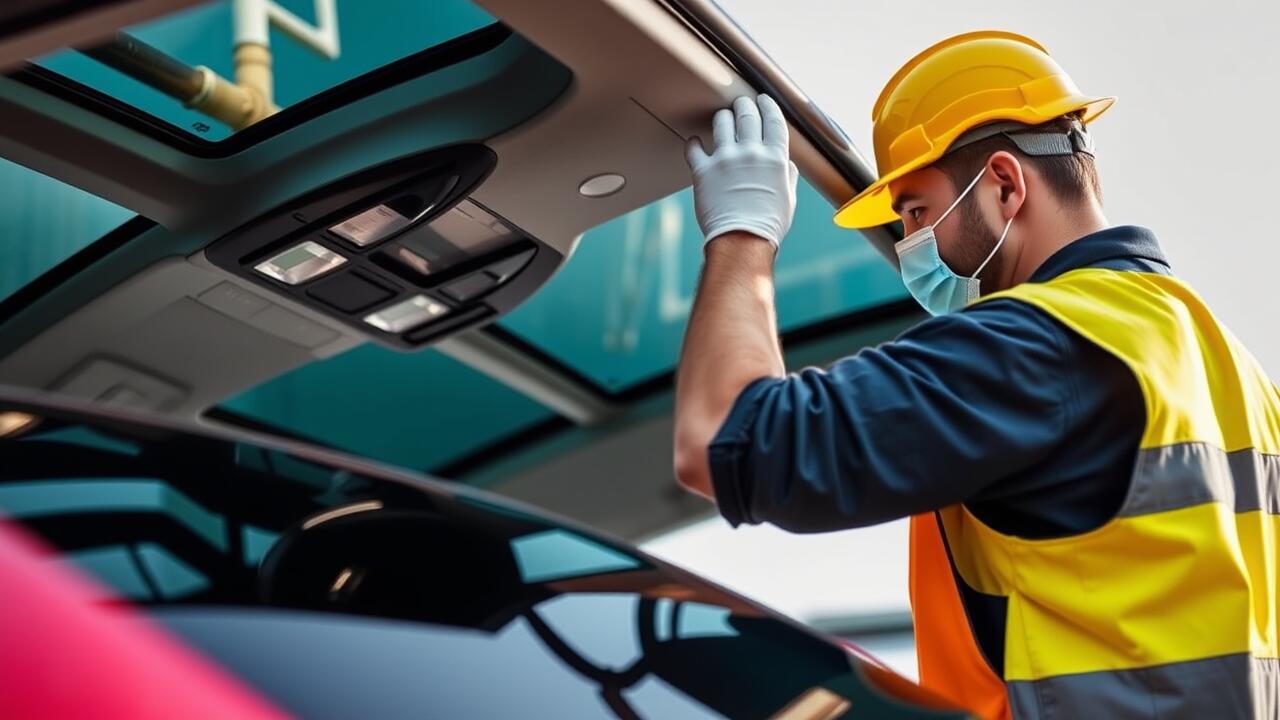
Installing the Sunroof Frame
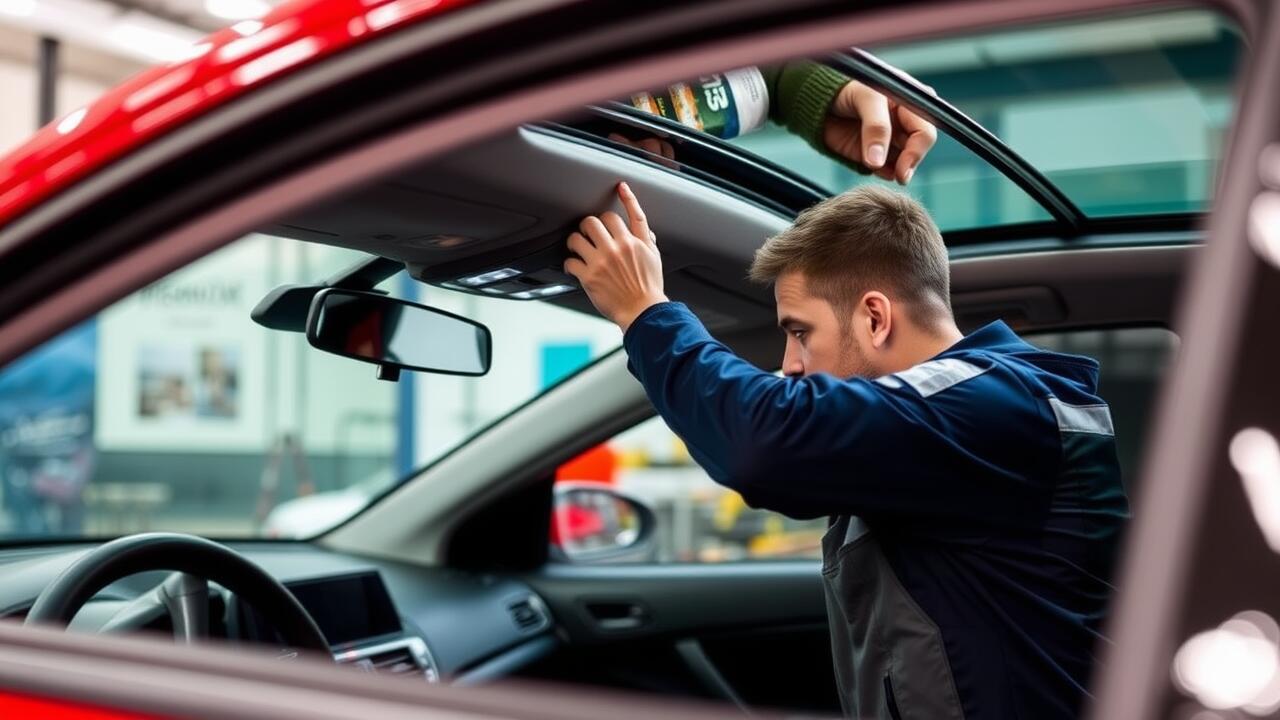
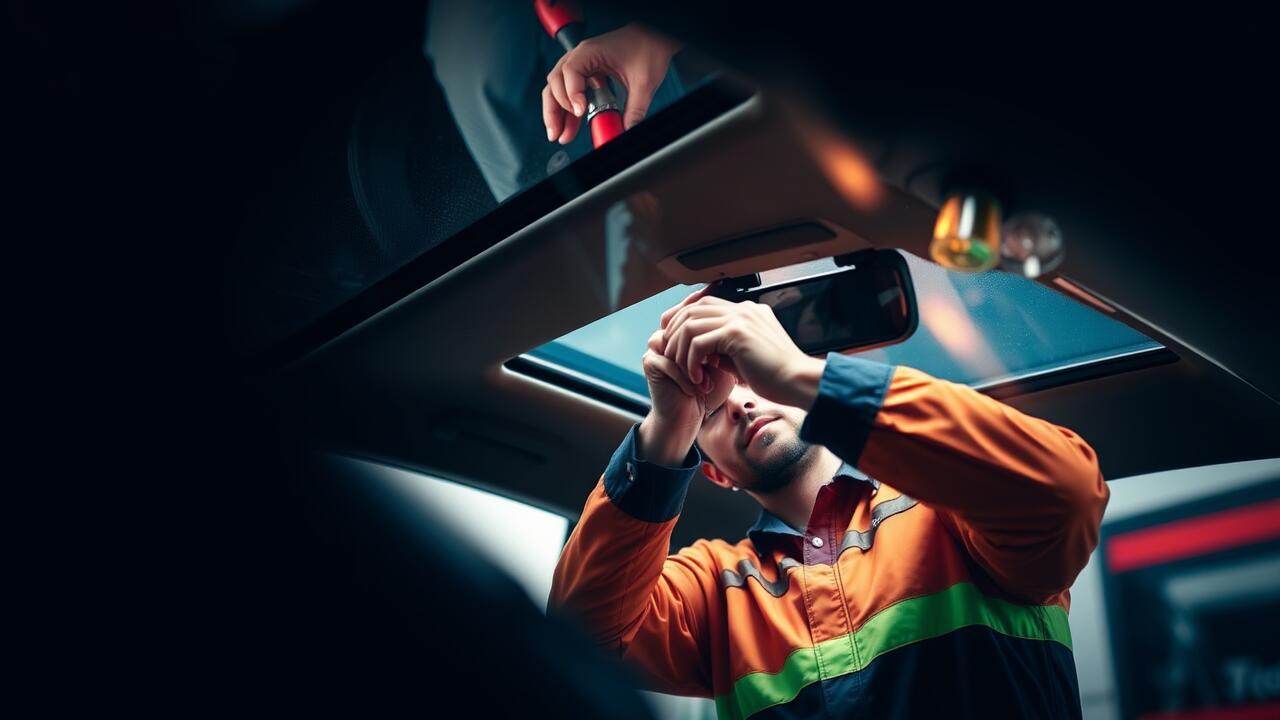
Installing a sunroof frame is a crucial step in the sunroof replacement process. Begin by carefully removing the headliner from the vehicle's interior. This allows adequate access to the roof structure where the sunroof will be installed. Position the frame accurately against the roof and check for proper alignment. It is essential to ensure that the frame fits snugly into the opening to avoid future complications with sealing and structural integrity.
Once the frame is positioned correctly, secure it with the appropriate bolts and brackets. Tightening these connections helps prevent any movement that might compromise the installation. Pay attention to specific torque specifications provided by your sunroof's manufacturer. Following proper guidelines contributes to a solid, leak-free installation. Inspect the frame once more for alignment after securing it to ensure a tight fit that will last through various weather conditions.
Securing the Frame Properly
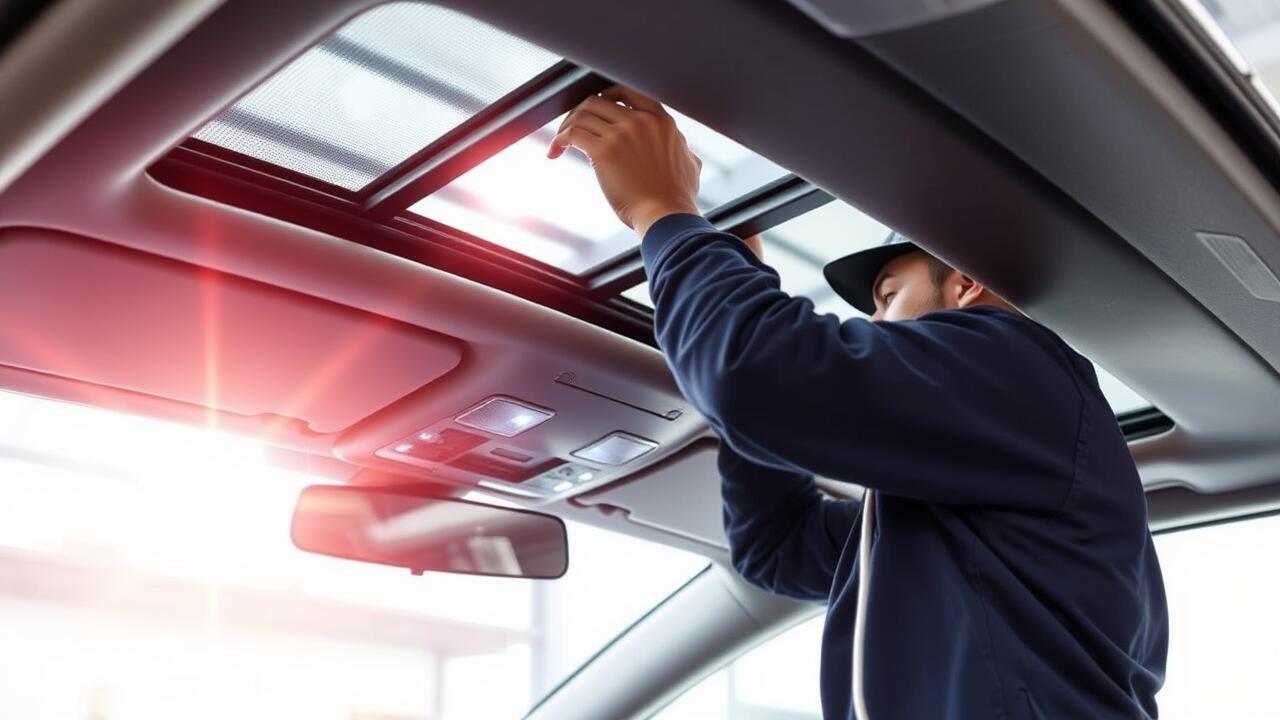
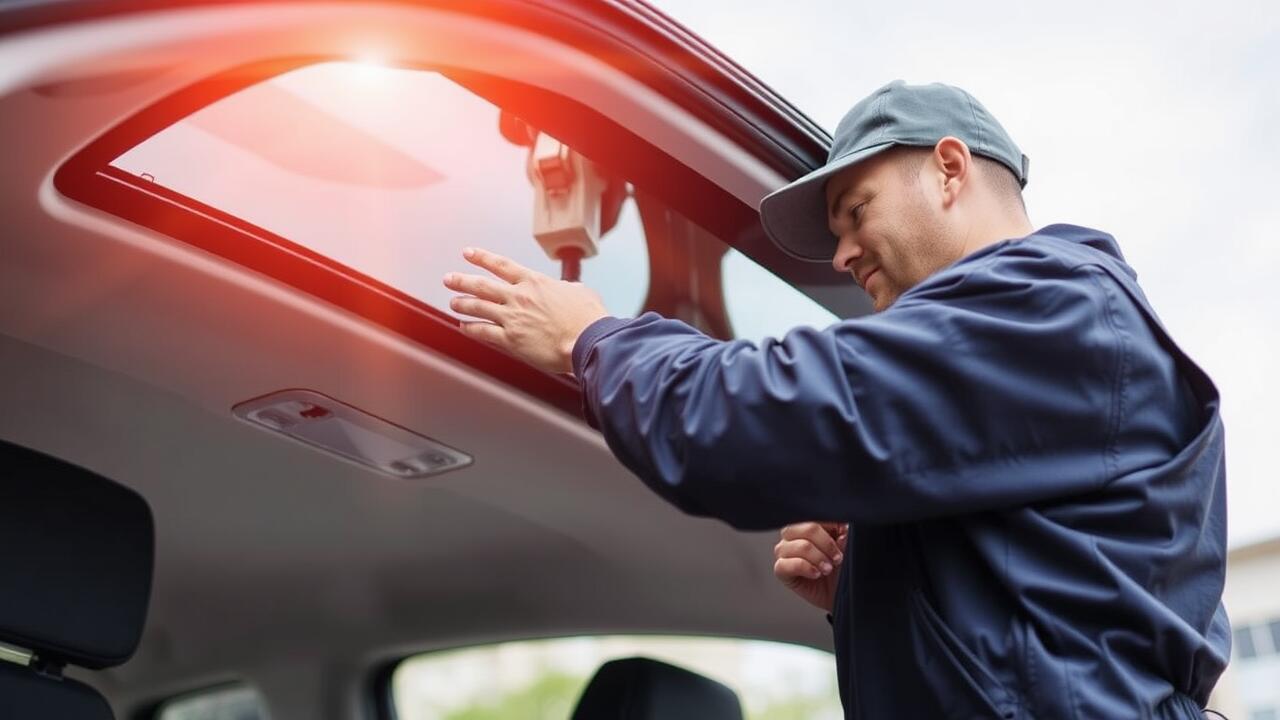
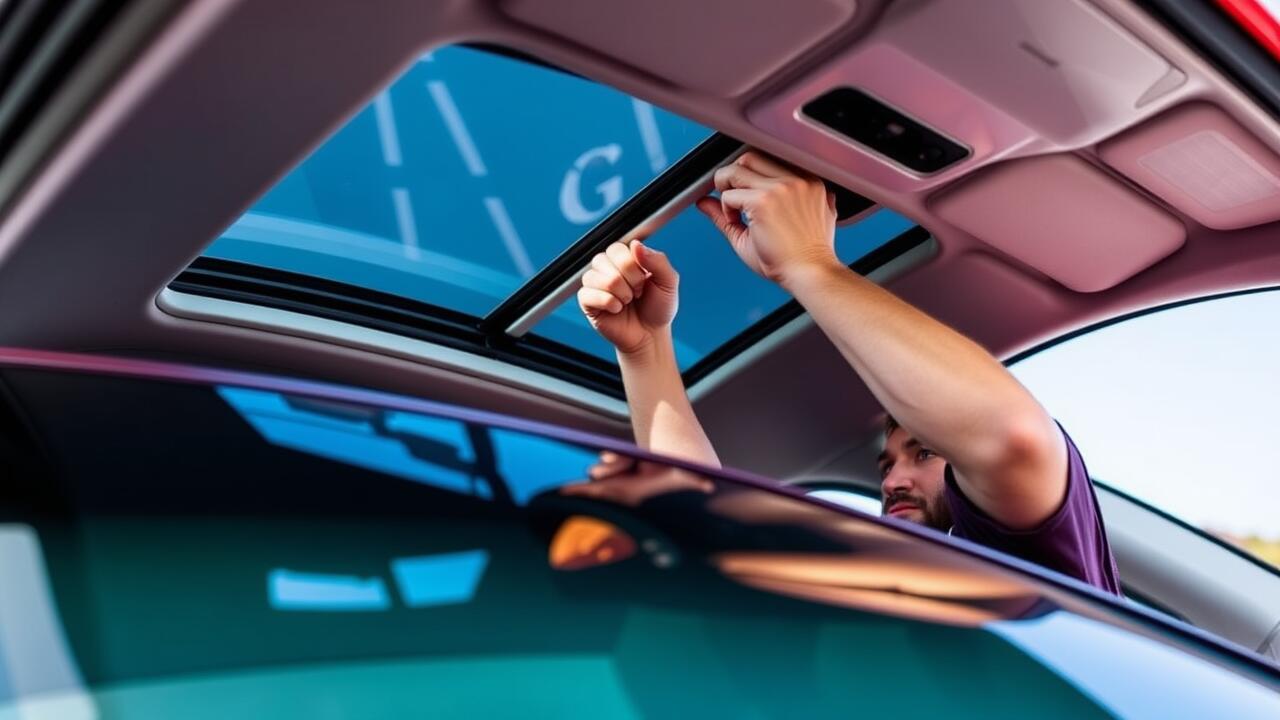
Securing the sunroof frame is a crucial step in the installation process. Proper alignment and tight fastening are essential to ensure that the sunroof operates correctly and minimizes the risk of leaks. It is important to carefully position the frame within the pre-cut opening of the vehicle’s roof, ensuring that it sits flush with the surrounding surface. Utilize the manufacturer’s specifications for torque settings when tightening the bolts. This attention to detail will play a significant role in the longevity of the sunroof and prevent potential issues down the line.
For those considering a sunroof replacement, the security of the frame can greatly affect the overall function and appearance of the vehicle. Inadequate fastening can lead to noise, drafts, and even water intrusion. Use quality weather stripping and sealants designed specifically for automotive applications around the edges of the frame. This not only helps secure the installation but also adds an extra layer of protection against leaks. Taking the time to ensure a solid and secure fit will promote a smoother and more satisfying operation of the sunroof.
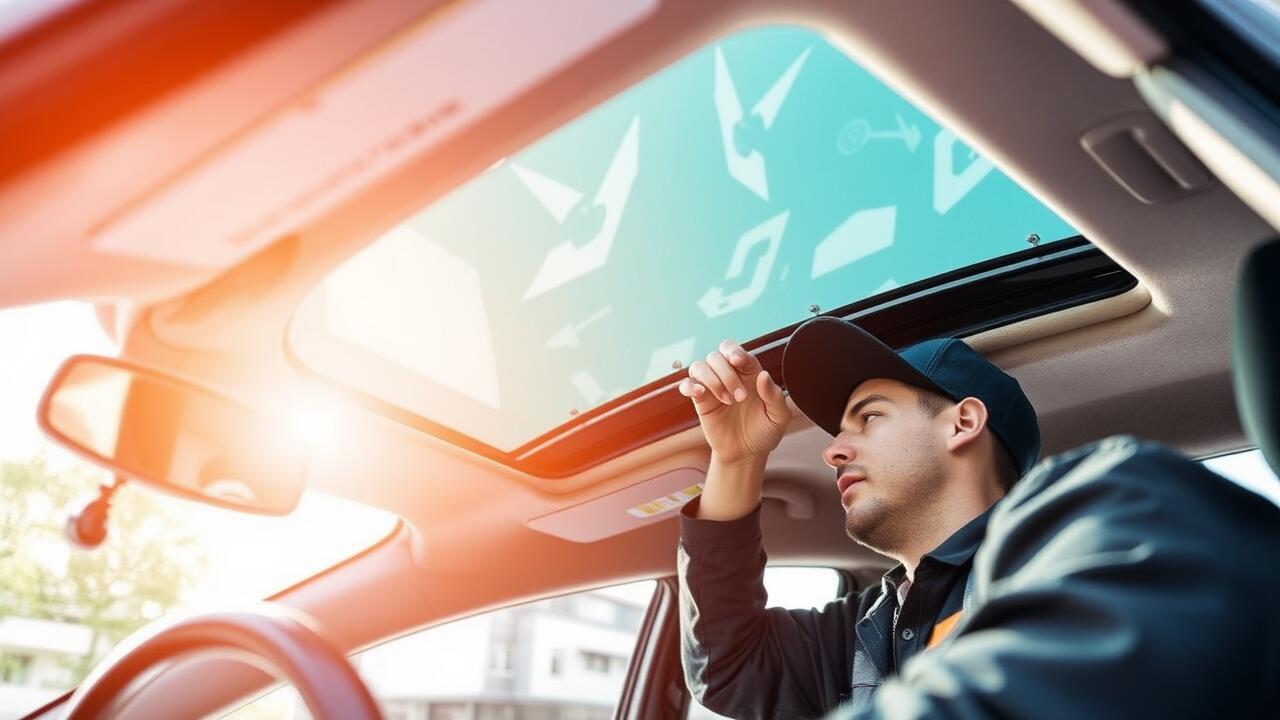
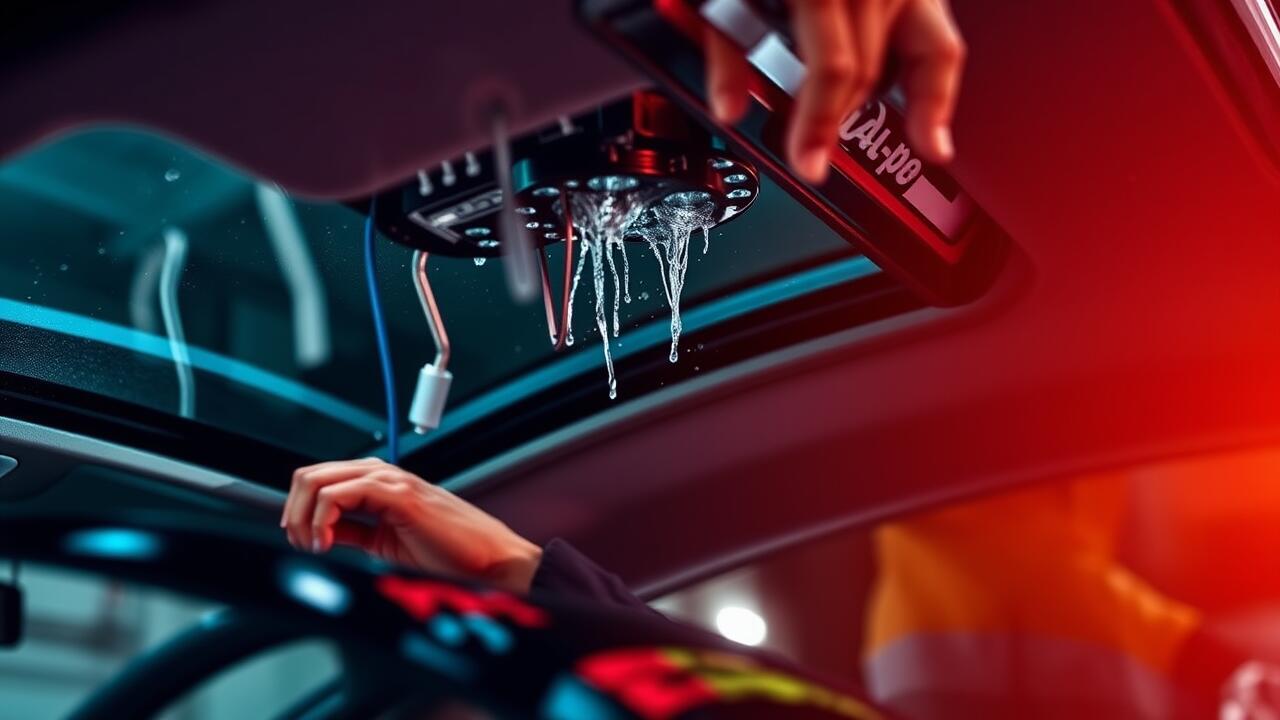
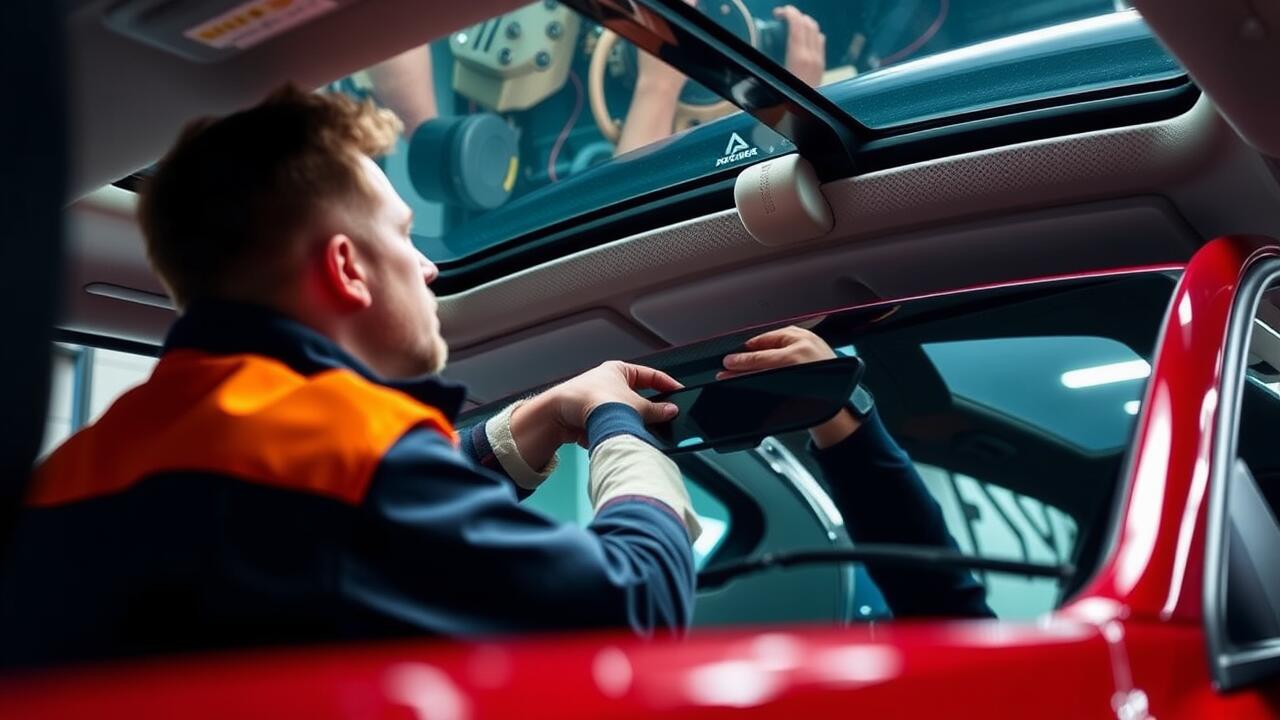
Sealing the Sunroof
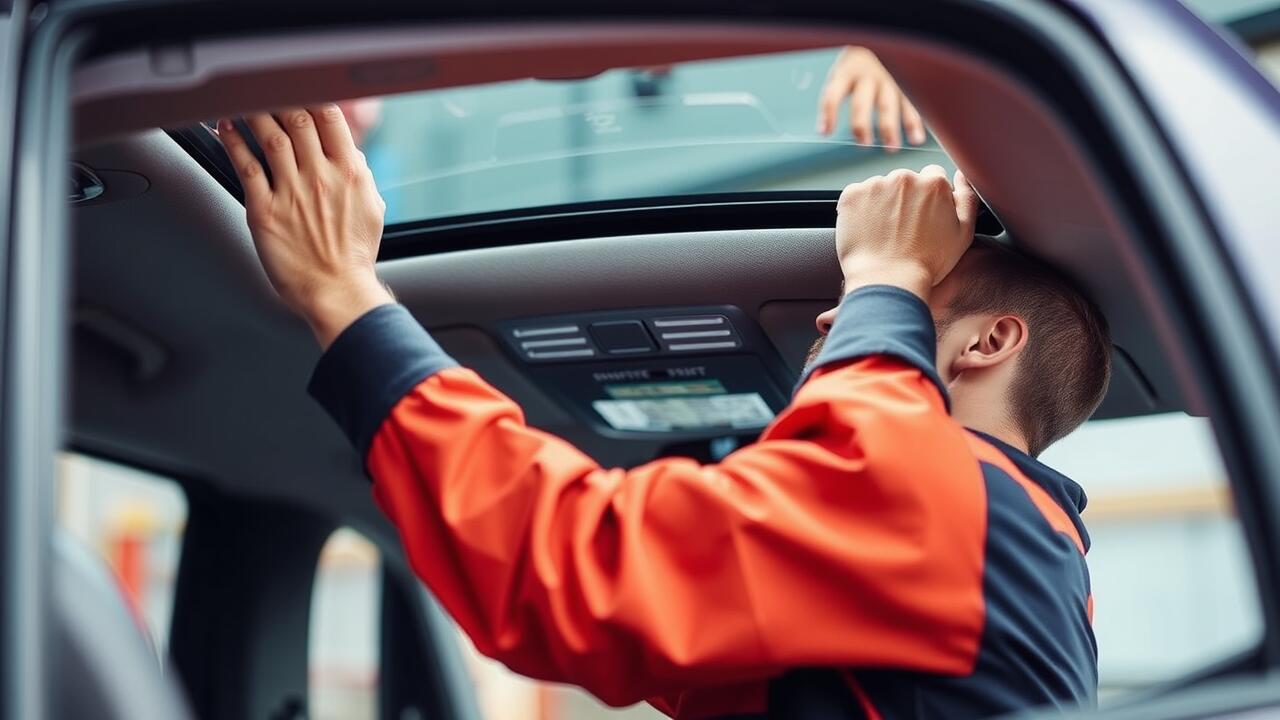
Sealing the sunroof effectively is crucial to prevent leaks and protect the interior of your vehicle from water damage. During the installation process, applying a high-quality silicone sealant along the edges of the sunroof frame ensures a tight fit. Proper alignment is necessary before the sealant sets, allowing you to avoid any gaps that could compromise the seal. Using a foam gasket can also enhance the overall sealing system, providing additional resistance to water intrusion.
For those considering sunroof replacement, attention to detail in sealing can extend the lifespan of the sunroof and improve vehicle performance. After installation, it is wise to test for leaks by using a water hose. Run water over the sunroof while observing for any signs of moisture inside the vehicle. Addressing any leaks immediately will save time and trouble, ensuring a secure and reliable installation.
Methods to Prevent Leaks
Preventing leaks is a critical component of sunroof installation. Properly sealing the edges of the sunroof frame ensures that water does not enter the vehicle. Using high-quality weather stripping materials can enhance the seal and provide better protection from the elements. Additionally, testing the installation with a water leak test before finalizing the installation can help identify any vulnerable areas that require more attention.
In cases where leaks are suspected after installation, investigating water drainage systems is essential. Many sunroof designs include built-in drainage channels to redirect water away from the interior. Regular maintenance of these channels can prevent blockages that lead to leaks. For those considering sunroof replacement, ensuring that any new installation aligns correctly with the original drainage systems will additionally minimize the risk of future leaks.
Wiring and Electrical Connections
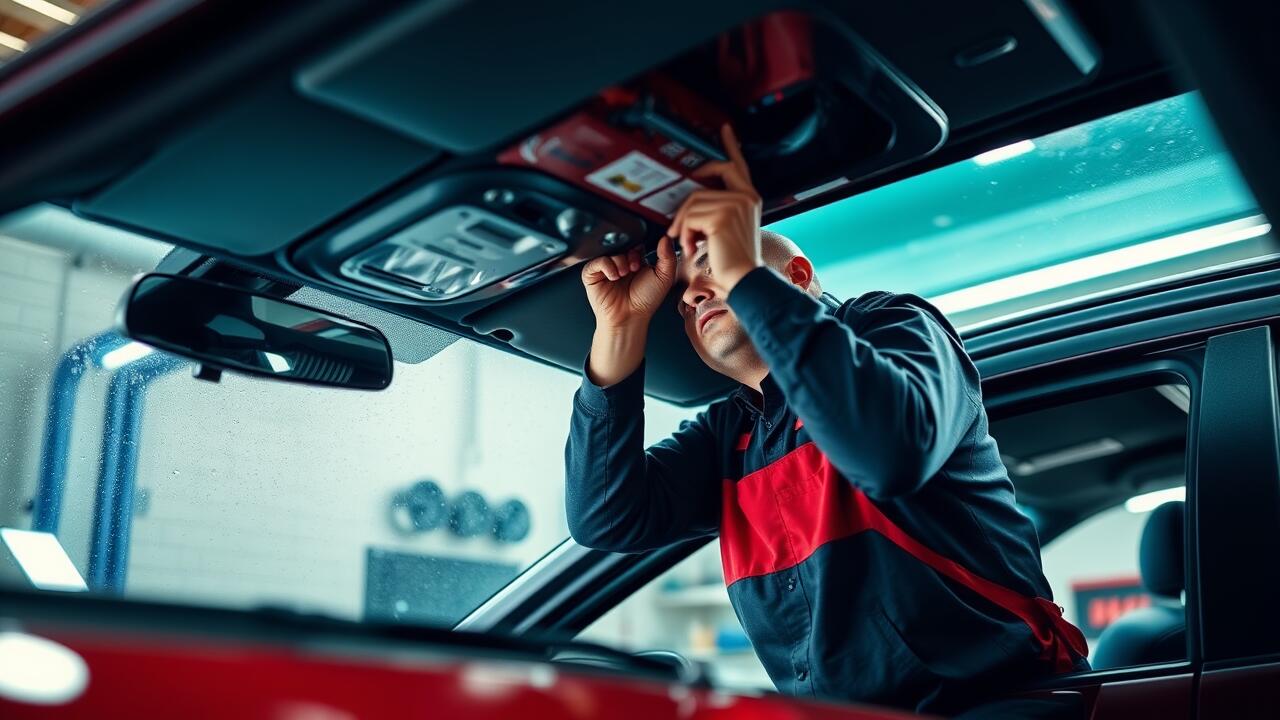
Wiring and electrical connections are crucial components when installing a sunroof in your vehicle. Properly connecting the sunroof to the car's electrical system ensures that the mechanism operates smoothly and reliably. During the process, it's important to identify the power source and the necessary fuses. This attention to detail will prevent potential electrical issues down the line.
For those considering a sunroof replacement, understanding the wiring setup can streamline the installation process. Each sunroof model may have different wiring requirements, so consulting the manufacturer's guidelines is essential. A well-executed wiring job not only enhances functionality but also contributes to the longevity of the sunroof. Ensuring all connections are secure and insulated will mitigate the risks of short circuits and other electrical failures.
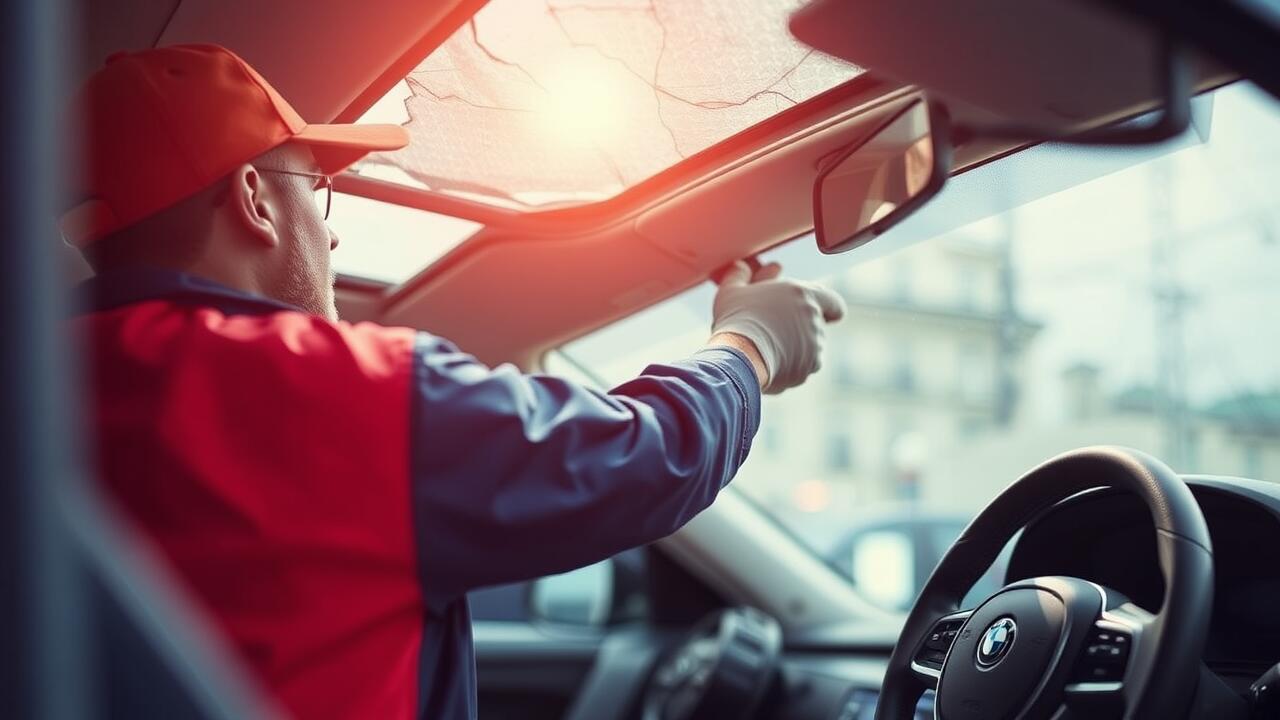
Connecting Your Sunroof to Power
Connecting your sunroof to power requires careful attention to electrical connections. First, identify the wiring harness that corresponds to the sunroof function. This harness typically includes positive and negative wires, along with additional connectors for the motor and safety features. Before starting, ensure that the vehicle's battery is disconnected to prevent any electrical shorts or shocks during the installation process. Make precise connections, often using soldering for durability or specialized connectors that can handle the moving parts of the sunroof.
After making the connections, it’s crucial to test the functionality of your sunroof before finalizing the installation. Reconnect the vehicle's battery and activate the sunroof switch to confirm that the motor operates smoothly. If the sunroof does not open or close as expected, revisit your wiring to check for loose connections or shorts. This step is especially important for any sunroof replacement, as an improper connection could lead to malfunctions down the road. Ensure everything is secure before reassembling the interior panels.
FAQS
Is installing a sunroof a difficult task?
Installing a sunroof can be challenging, especially for those without prior experience in automotive work. It requires precision in measurements, securing the frame, and ensuring proper electrical connections.
What tools do I need to install a sunroof?
Common tools needed for sunroof installation include a drill, screwdrivers, wrenches, a utility knife, and possibly a sealant gun. It's also helpful to have a measuring tape and a power source for testing electrical connections.
How can I ensure the sunroof is sealed properly?
To ensure a proper seal, use high-quality weather stripping and sealant around the edges of the sunroof frame. Conduct a water test after installation to check for leaks and make adjustments as needed.
Do I need professional help to install a sunroof?
While some DIY enthusiasts may successfully install a sunroof on their own, it may be wise to seek professional help if you're unsure about any part of the process, particularly with electrical connections and sealing.
Can I install a sunroof in any car model?
Not all car models are suitable for sunroof installation. It's important to check compatibility and whether your vehicle has the necessary structural support to accommodate a sunroof.