Table Of Contents
Installing the New Back Windshield
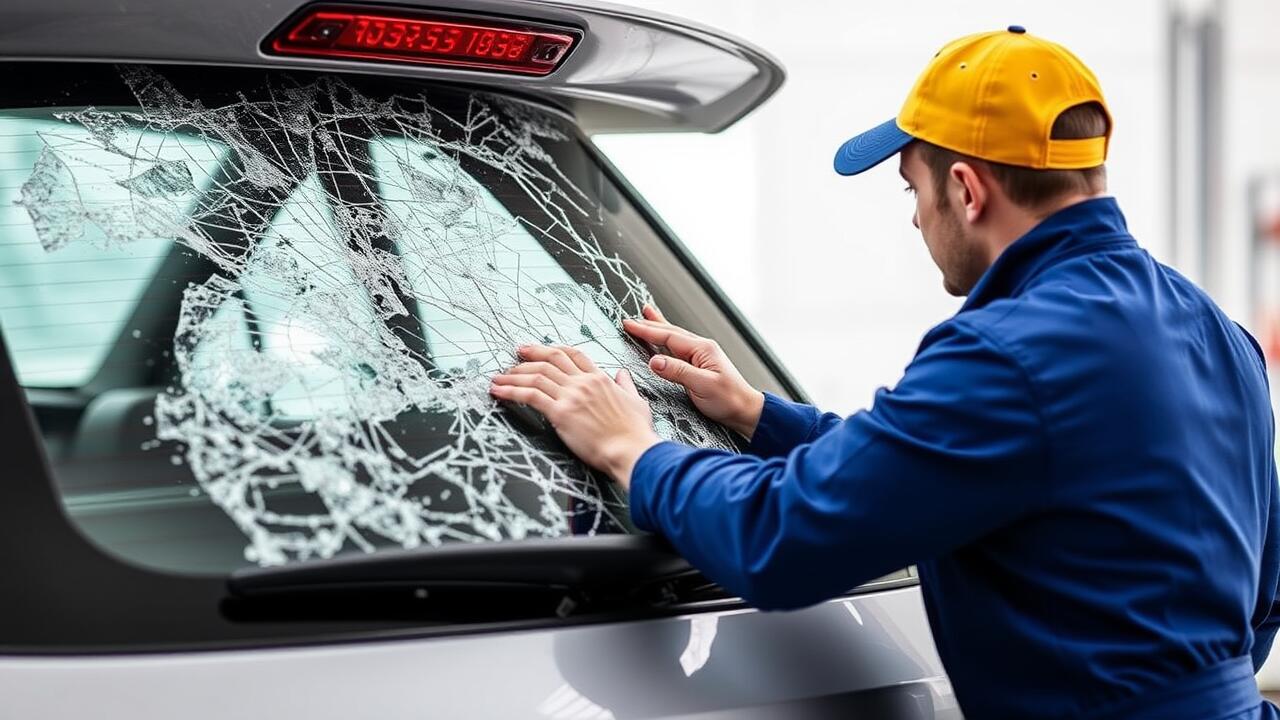
Installing a new back windshield involves careful measurement and precise fitting to ensure a proper seal. Initially, the area must be cleaned thoroughly to remove any debris or old adhesive. This cleaning process is crucial for the new windshield to adhere correctly. After preparation, the new glass is set into place, aligning it perfectly with the frame of the car. Often, a special adhesive is used to secure the windshield, providing weatherproofing and structural integrity.
The process of rear window replacement can be quite delicate, requiring proper tools and techniques. Using a windshield installation kit, the technician can apply the adhesive evenly while ensuring that the glass is positioned correctly. Once in place, the windshield may need to be held with clamps or tape while the adhesive cures. This ensures that the glass does not shift and maintains its position during the drying period. Such attention to detail in installation promotes effective performance and longevity of the windshield.
Proper Techniques for Installation
When performing a rear window replacement, precision is essential. Start by ensuring that the vehicle is in a secure location, away from direct sunlight or extreme temperatures. This environment helps the adhesive cure effectively. Clean the old adhesive from the frame thoroughly before attempting to place the new windshield. A clean surface enhances the bond between the glass and the frame, contributing to a durable installation.
Next, apply the appropriate adhesive designed for automotive glass. Use a caulking gun for an even application around the edges of the frame. Carefully position the new back windshield, making sure it aligns with all curves and contours of the vehicle. Press down gently but firmly to establish contact with the adhesive. Ensure that the glass is evenly spaced around the frame to avoid leaks. Allow sufficient time for the adhesive to set before reinstalling any trim or putting the vehicle back into regular use.
Challenges Faced During Replacement
Replacing a back windshield can present several challenges that may complicate the process. One of the primary difficulties is ensuring a proper seal. Any gaps or voids could allow moisture to enter the vehicle, leading to potential interior damage. Additionally, modern vehicles often come equipped with advanced technologies, such as heating elements or integrated antennas, which can complicate the installation procedure. Technicians must handle these components delicately to avoid damaging them during rear window replacement.
Another challenge is sourcing the right glass for the rear window replacement. Different makes and models often have unique specifications, meaning not all glass is compatible. Incorrectly sized or shaped glass can hinder proper installation and lead to further issues down the line. Moreover, specialized tools may be required to ensure that the installation adheres to safety standards. Lack of experience with these tools can result in improper fittings or even personal injury during the replacement process.
Common Issues and Solutions
Common issues during rear window replacement often stem from poor sealants or incorrect alignment. An improperly sealed windshield can lead to leaks, causing moisture to enter the vehicle and potentially damaging internal components. Additionally, misalignment may result in difficulty closing the rear door or could create gaps that allow air and noise to infiltrate the cabin. Addressing these problems in a timely manner is essential for maintaining the integrity of the installation.
To resolve these issues, careful attention to detail is critical. Ensure that a high-quality sealant is used and follow the manufacturer's specifications for alignment during the installation process. If leaks are discovered after installation, they should be fixed promptly with appropriate sealant. For alignment problems, revisiting the fit and making necessary adjustments will help ensure that the rear window functions properly and does not compromise the vehicle's overall structure.
Costs Involved in Replacement
The costs involved in rear window replacement can vary widely based on factors such as vehicle make and model, type of glass used, and labor rates in your area. Typically, the price for the glass itself may range from $200 to $600, while installation costs can add another $100 to $300. It's essential to factor in any additional expenses, such as service fees from mobile installers or potential costs for adjusting window seals and trims.
Labor costs are also influenced by the complexity of the installation. For example, more advanced vehicles may require specialized techniques or additional components, which can drive up the total expense. It's advisable to get quotes from multiple service providers and consider the warranty offered with the replacement. This way, you can make a more informed decision regarding the overall investment in your vehicle's rear window replacement.
Breakdown of Expenses
The costs associated with rear window replacement can vary significantly depending on several factors, including the make and model of the vehicle and the type of glass used. Typically, the expense ranges from $200 to $600 for standard glass installations. In cases involving advanced safety features or specialized glass, such as tinted or heated windows, the price can exceed this range. Labor costs also contribute to the total expense, with most auto glass shops charging between $50 and $100 per hour.
Additional expenses may arise from extra services required during the replacement process. Some clients opt for added guarantees, which can increase the overall cost. Disposal fees for the shattered glass and any necessary framing or adhesives can also impact the final bill. Therefore, it is beneficial for vehicle owners to get a detailed estimate before proceeding with rear window replacement to understand the full financial commitment involved.
FAQS
Is replacing a back windshield a DIY job?
While it's possible to replace a back windshield yourself, it requires specific tools and skills. It's recommended to have prior experience with auto glass installation for the best results.
What are some common challenges when replacing a back windshield?
Some common challenges include ensuring a proper seal, dealing with difficult adhesives, and managing the weight of the glass. Additionally, ensuring that the defroster and sensors are reconnected correctly can also be tricky.
How long does it typically take to replace a back windshield?
The replacement process usually takes about 1 to 2 hours if done by a professional. DIY replacements may take longer, especially if you're not familiar with the process.
What factors influence the cost of replacing a back windshield?
Factors that influence the cost include the make and model of the vehicle, the type of glass used, labor costs, and whether any additional features (like defrosters or sensors) need to be integrated.
Can I drive my vehicle immediately after the back windshield is replaced?
It's advisable to wait at least an hour before driving your vehicle after the replacement to allow the adhesive to set properly. Always follow the technician's recommendations regarding wait time.