Table Of Contents
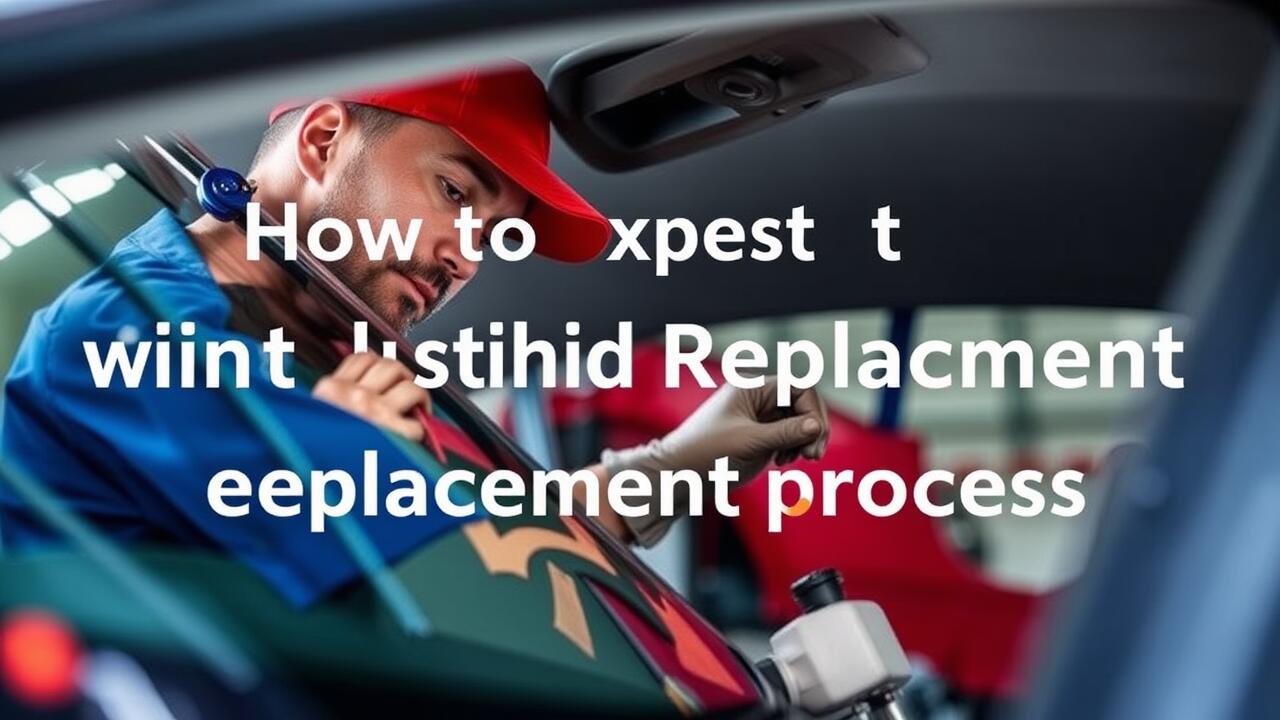
Cost Analysis of DIY Windshield Repair vs. Professional Services
DIY windshield repair can be a cost-effective alternative to professional services. The materials needed for home repair kits typically range from $10 to $50, offering significant savings compared to the prices associated with professional windshield replacement. Most repair kits include resin, injectors, and other necessary tools aimed at addressing minor chips and cracks. However, costs may increase if multiple kits are required or if additional tools are necessary for a thorough repair.
On the other hand, professional windshield replacement involves a higher expense, often exceeding several hundred dollars. This price covers labor, materials, and the expertise of certified technicians. In some cases, insurance may partially cover these costs, which can affect the overall financial decision. Evaluating the extent of the damage and the long-term implications of a DIY repair versus a professional service can influence whether to attempt a quick fix or invest in a complete replacement.
Comparing Expenses for Budget-Friendly Decisions
When considering the expenses associated with DIY windshield repair, it's essential to weigh the cost of tools and materials against professional services. A DIY approach often requires investing in specialized kits designed to fill cracks and chips effectively. While these kits may seem economical at first, they can quickly add up if multiple repairs are necessary. Additionally, investing in quality tools can ensure better results, further increasing the overall cost.
In contrast, professional windshield repair services typically involve a straightforward pricing structure that covers both labor and materials. Although the initial cost may appear higher, the value lies in the expertise and guarantee of a job well done. For those facing significant damage, where repair isn't feasible and windshield replacement is necessary, understanding these cost implications will help with making an informed decision. Balancing immediate savings with long-term value is crucial for budget-friendly decisions.
Common Mistakes in DIY Windshield Repairs
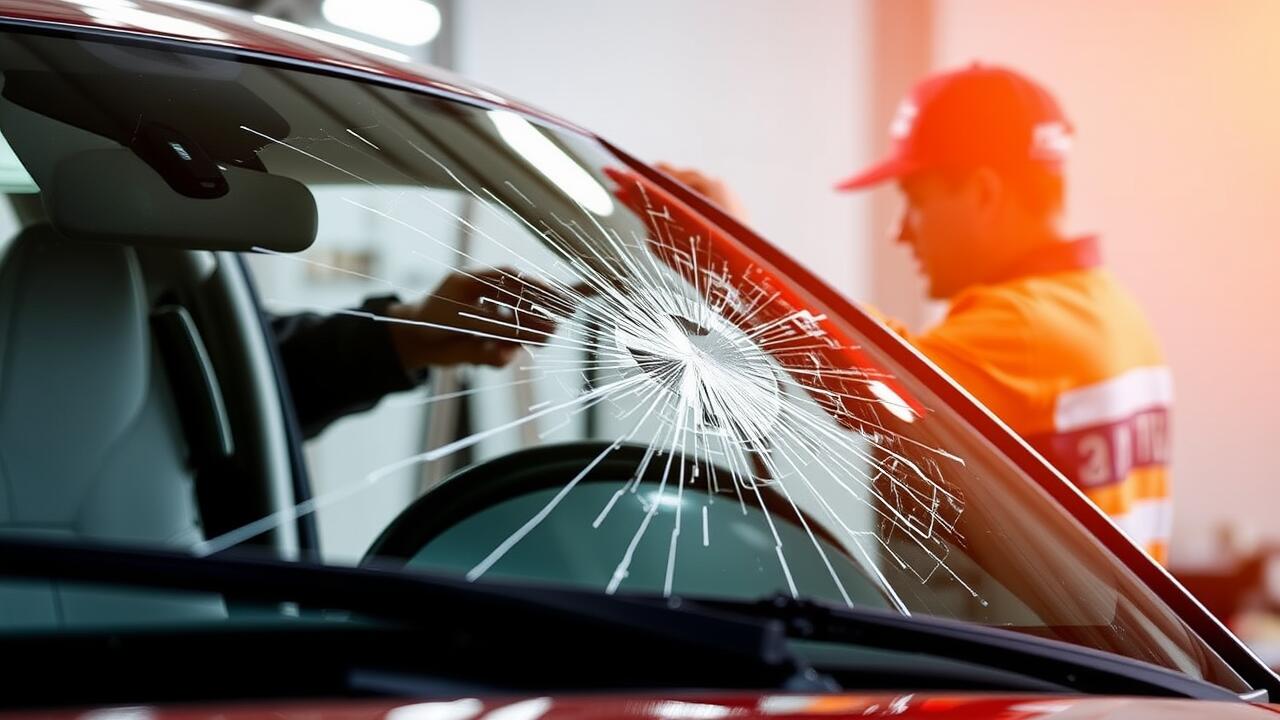
One common mistake in DIY windshield repairs is underestimating the damage. Many individuals may attempt to fix minor chips or cracks without realizing that they have spread beyond repairable limits. Ignoring this can lead to further complications and ultimately necessitate a windshield replacement, which can be significantly more expensive than fixing a simple chip. Proper assessment of the damage is essential before choosing a repair method to avoid future issues.
Another pitfall involves the use of inadequate materials or tools. Relying on makeshift solutions instead of professional-grade products can compromise the integrity of the repair. Low-quality resins or ineffective application techniques can result in a less durable fix, leading to recurrent problems. In such cases, seeking professional assistance becomes unavoidable, prompting the extra expense of a windshield replacement. Preparing with the right tools and materials can make a significant difference in the outcome of the repair process.
Pitfalls to Avoid During Your Repair Process
One common pitfall in DIY windshield repairs is overlooking the extent of damage. Many individuals might initially believe that small chips or cracks are manageable, but these can sometimes lead to larger issues. Failing to recognize when a repair is insufficient may result in the need for windshield replacement later on, which can be significantly more expensive. It's crucial to evaluate the damage properly and understand when a professional should be consulted to avoid costly mistakes.
Another frequent error occurs during the application of repair resin. Inadequate mixing or improper application can hinder the entire process, leading to unsatisfactory results. Air bubbles, uneven surfaces, or misalignment can compromise the integrity of the repair. In such cases, attempting to fix a poorly executed job may eventually require windshield replacement, rendering the initial effort futile and possibly dangerous. Maintaining attention to detail during the repair process is vital for achieving a successful outcome.
Safety Precautions for DIY Windshield Repair
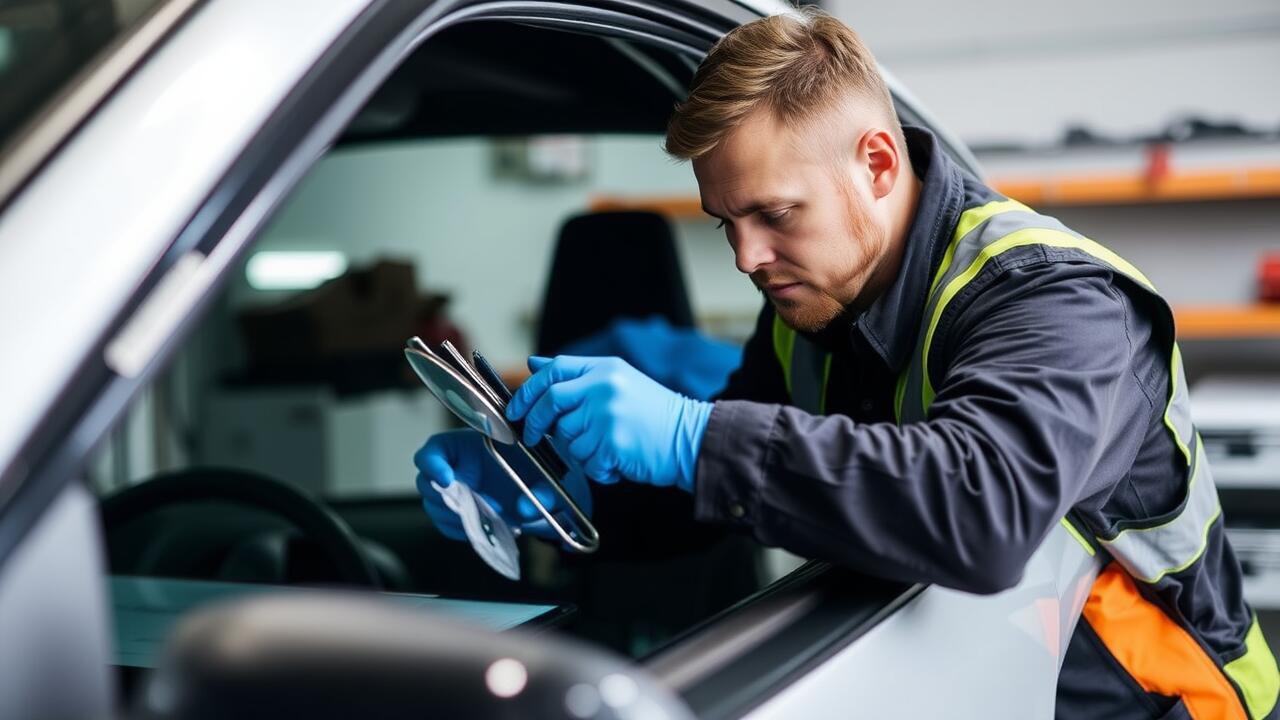
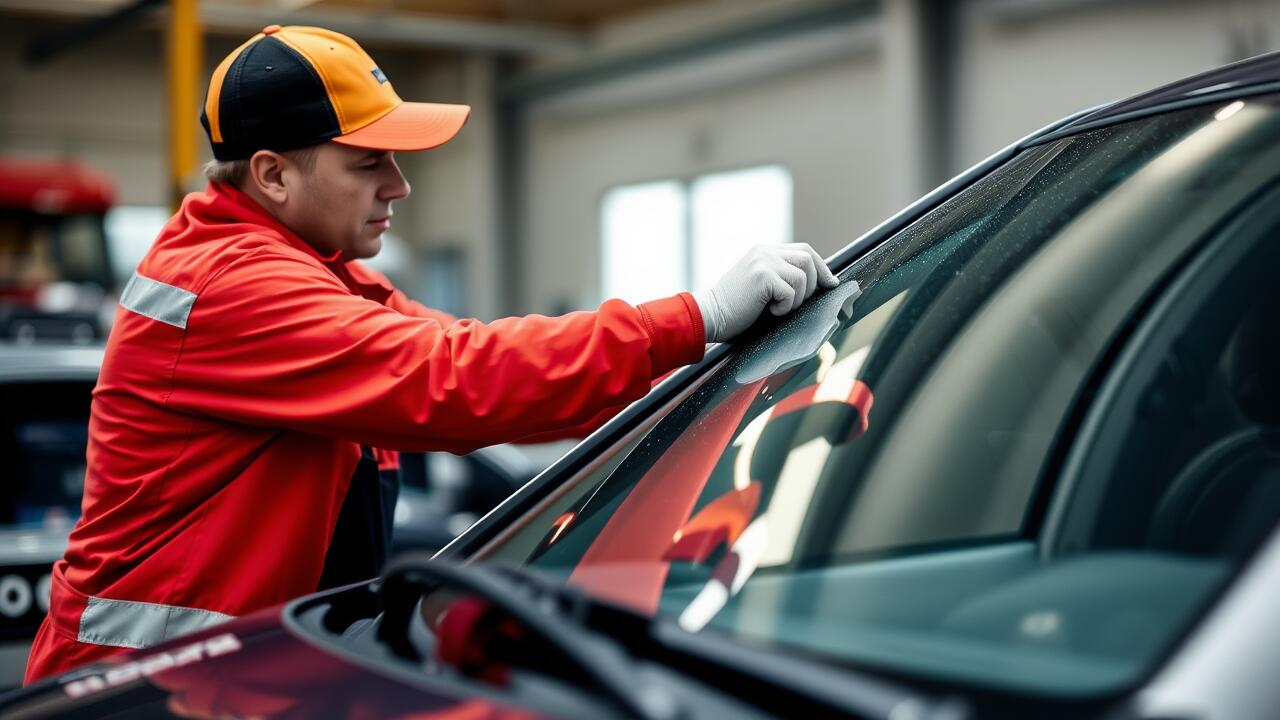
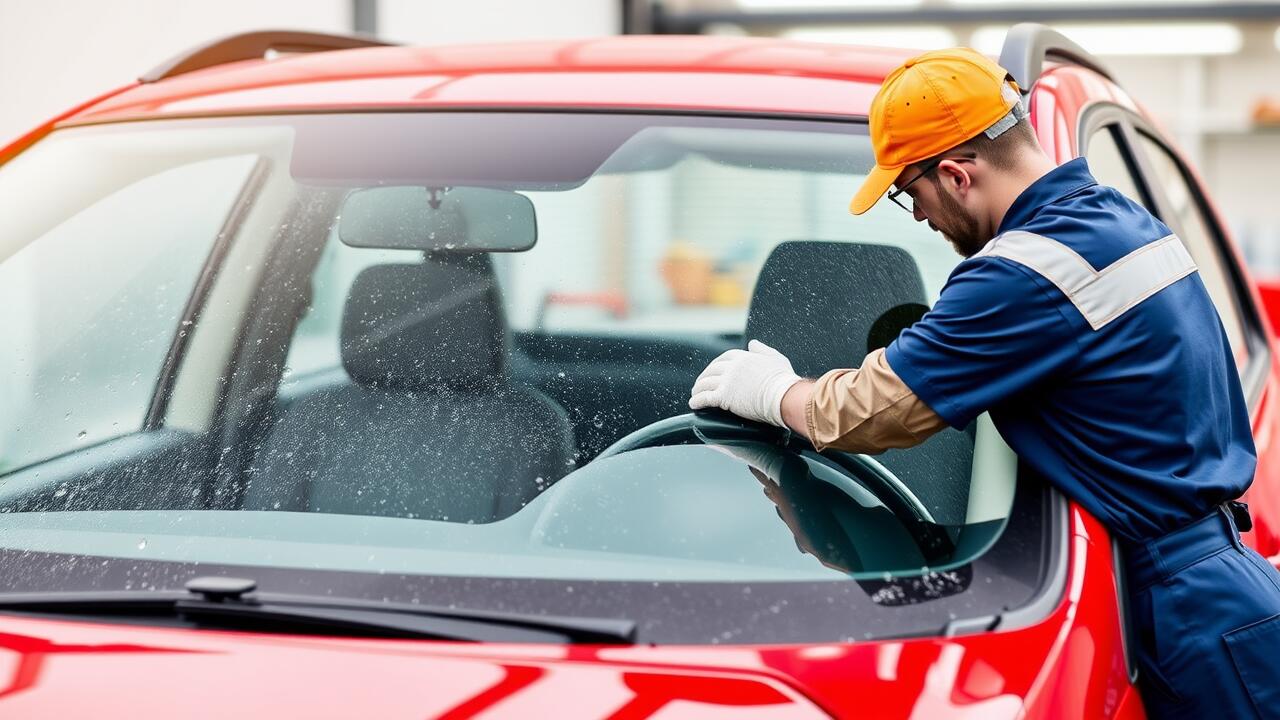
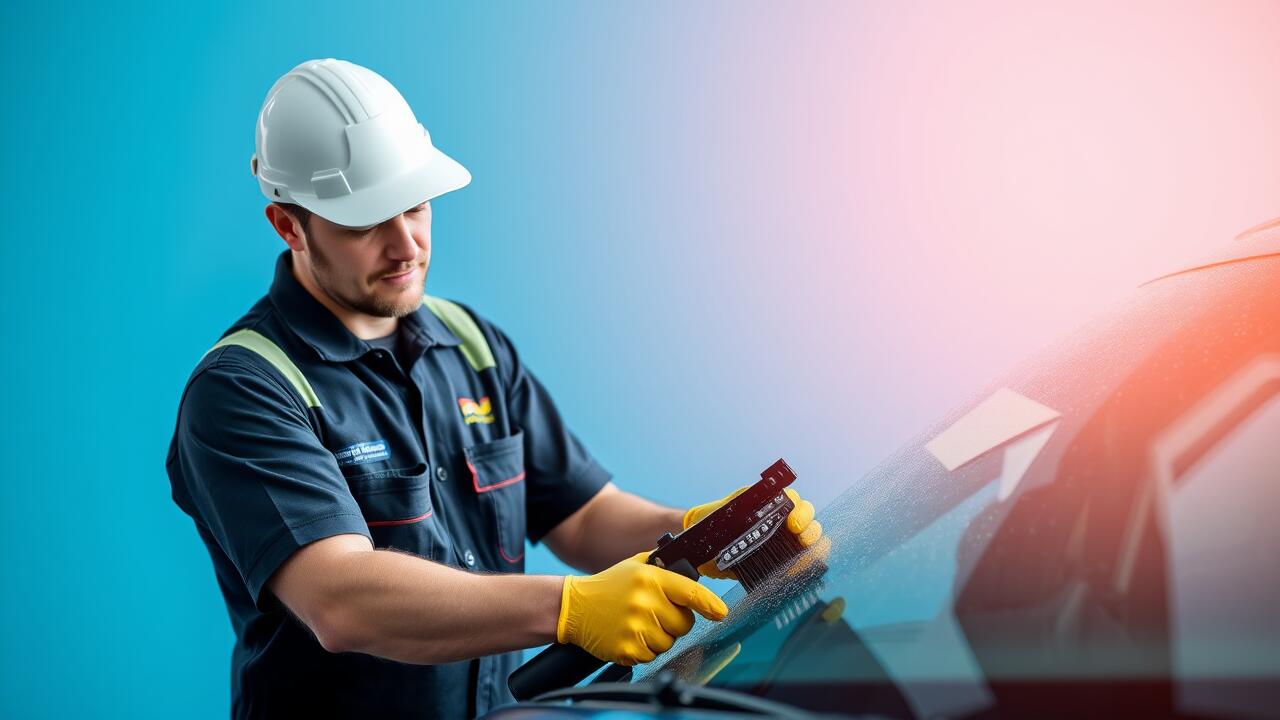
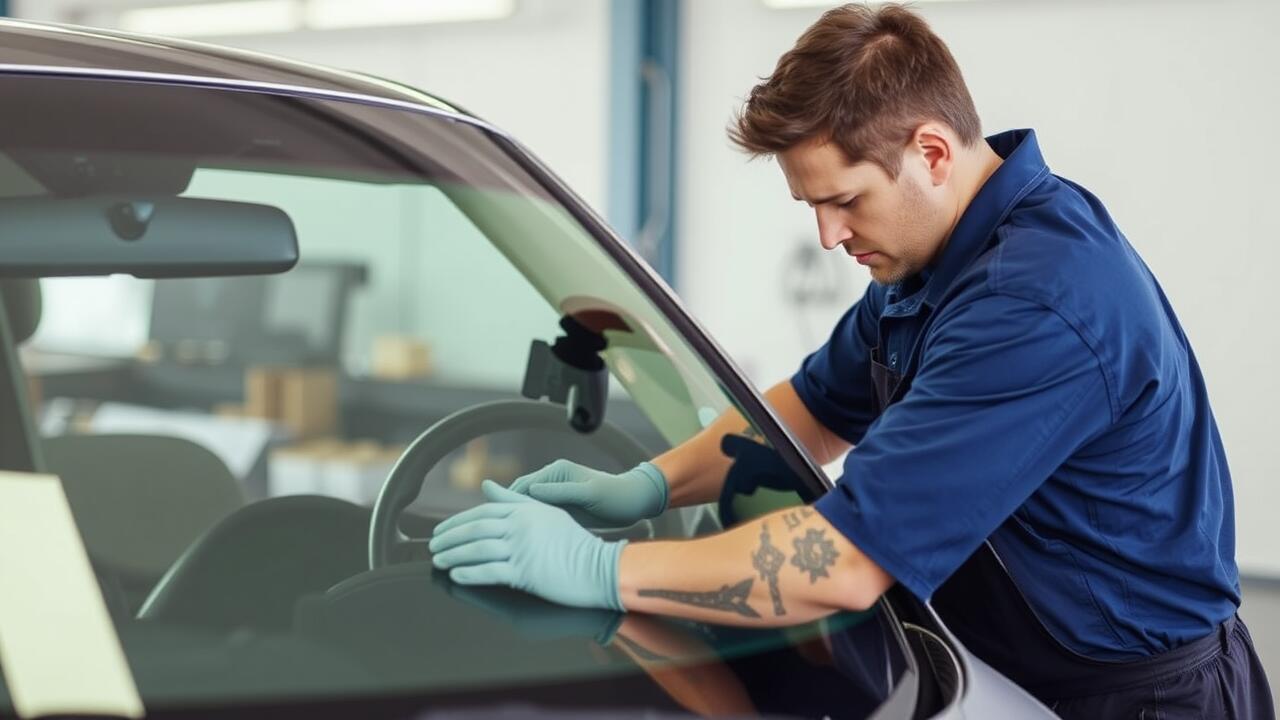
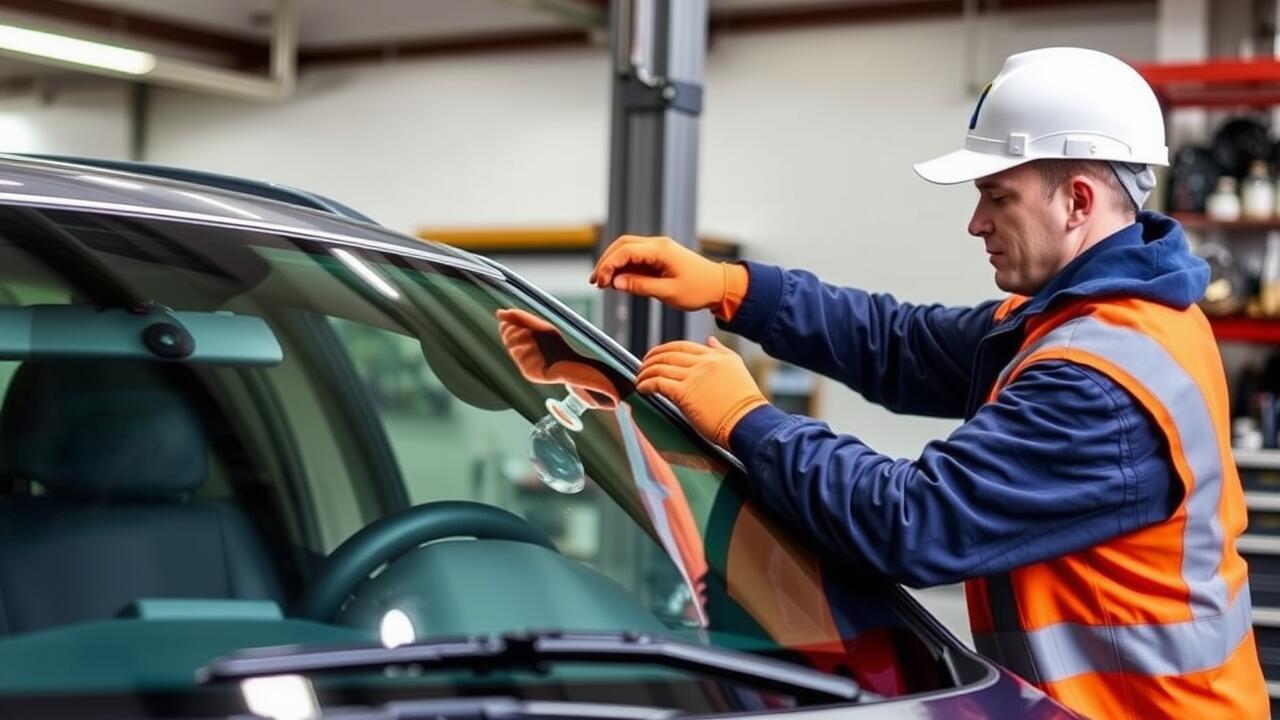
When tackling a DIY windshield repair, safety should be your top priority. Always wear protective gear, including gloves and safety glasses, to guard against glass shards and resin splashes. Working in a well-ventilated area is essential, especially when using adhesives and resins that can release harmful fumes. Ensure that your tools and materials are within easy reach to avoid unnecessary movement around your workspace, which could lead to accidents.
Be mindful of the temperature during the repair process. Extreme heat or cold can negatively affect the resin's ability to cure properly. If conditions are not ideal, consider postponing the repair to avoid a potential failure that could lead to the need for windshield replacement. Additionally, keep children and pets away from the work area to ensure a focused and safe environment. Taking these precautions will help you achieve the best results while minimizing risks.
Tips to Ensure Your Safety While Repairing
When undertaking DIY windshield repair, ensuring personal safety should be a top priority. Using safety goggles protects your eyes from glass shards, while gloves help prevent cuts from broken pieces. A sturdy working surface can also minimize the risk of accidents during the repair. In some cases, applying pressure on a faulty windshield might lead to unwanted cracks, which can necessitate a full windshield replacement. Proper tools and materials play a critical role in maintaining safety throughout the process.
Being prepared with a well-ventilated workspace can prevent harmful fumes from adhesive products from accumulating. Keeping a first aid kit nearby is wise in case of minor injuries. Always follow manufacturer instructions and safety guidelines included with repair kits. If the damage to the windshield is extensive, consider whether the DIY route is feasible or if professional assistance is needed to avoid the risk of needing a windshield replacement due to an improperly executed repair.
FAQS
What tools are essential for DIY windshield repair?
Essential tools for DIY windshield repair include a windshield repair kit, a razor blade, a vacuum pump, and a UV curing light. Additional items like gloves and safety goggles are also recommended for protection.
Is DIY windshield repair cost-effective compared to professional services?
Yes, DIY windshield repair is often more cost-effective than hiring a professional, especially for small chips and cracks. However, costs can vary based on the repair kit used and the extent of the damage.
What are some common mistakes to avoid during DIY windshield repairs?
Common mistakes include not cleaning the area properly before starting, applying too much resin, and attempting to repair damage that is too large or in the driver's line of sight, which may compromise safety.
Are there safety precautions I should take when repairing my windshield?
Yes, always wear safety goggles and gloves to protect yourself from glass shards and chemicals. Work in a well-ventilated area and ensure the repair site is free from distractions.
How long does a DIY windshield repair typically take?
A typical DIY windshield repair can take anywhere from 30 minutes to an hour, depending on the size of the damage and the type of repair kit used. Additionally, curing time for the resin may vary.