Table Of Contents
Preparing the Area
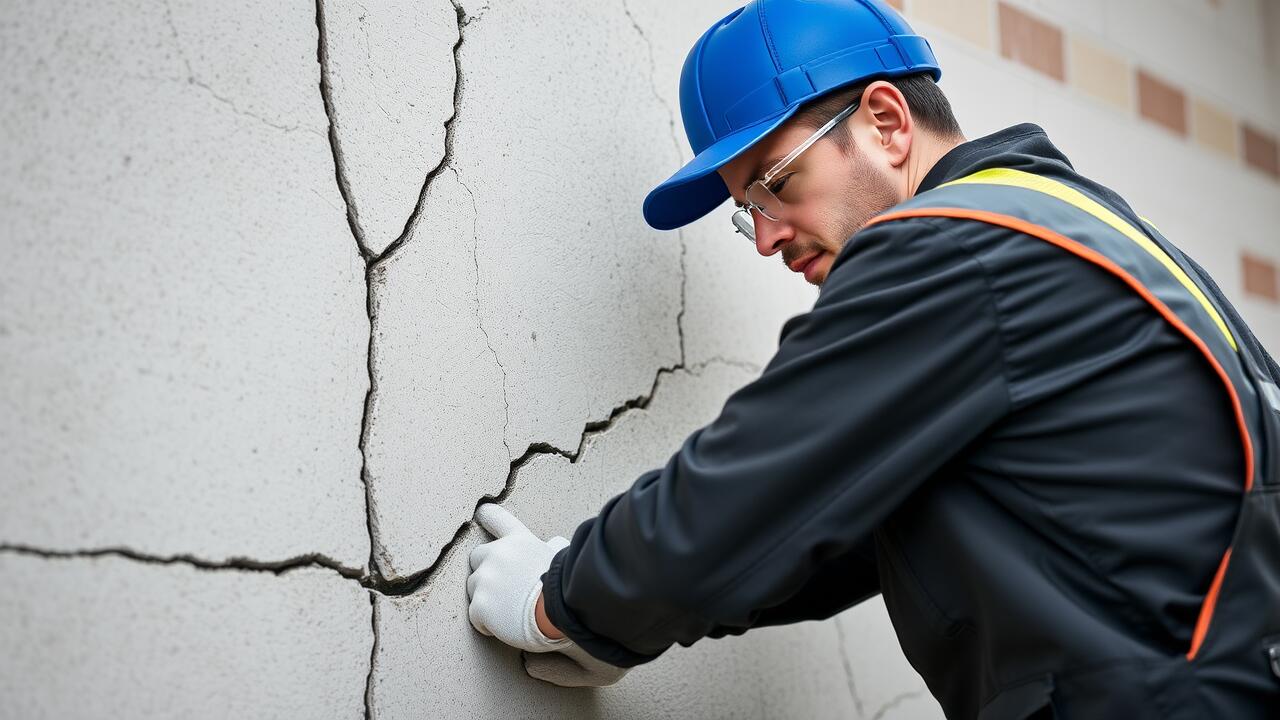
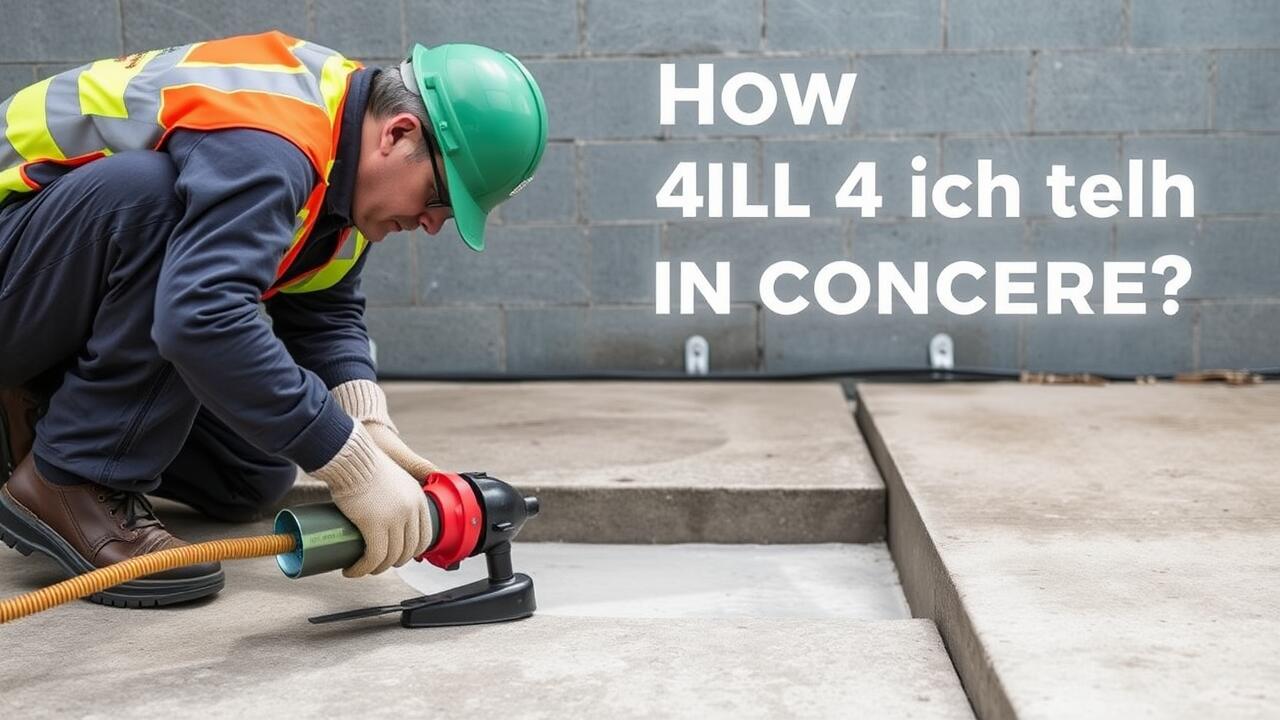
Before starting any crack repair project, it is essential to prepare the area properly. Clear the space of furniture and other obstacles to ensure easy access to the wall or ceiling needing attention. Dust and debris can interfere with the application of fillers, so take the time to sweep or vacuum the area thoroughly. If possible, also consider using drop cloths to protect your flooring from any mess that may arise during the repair process.
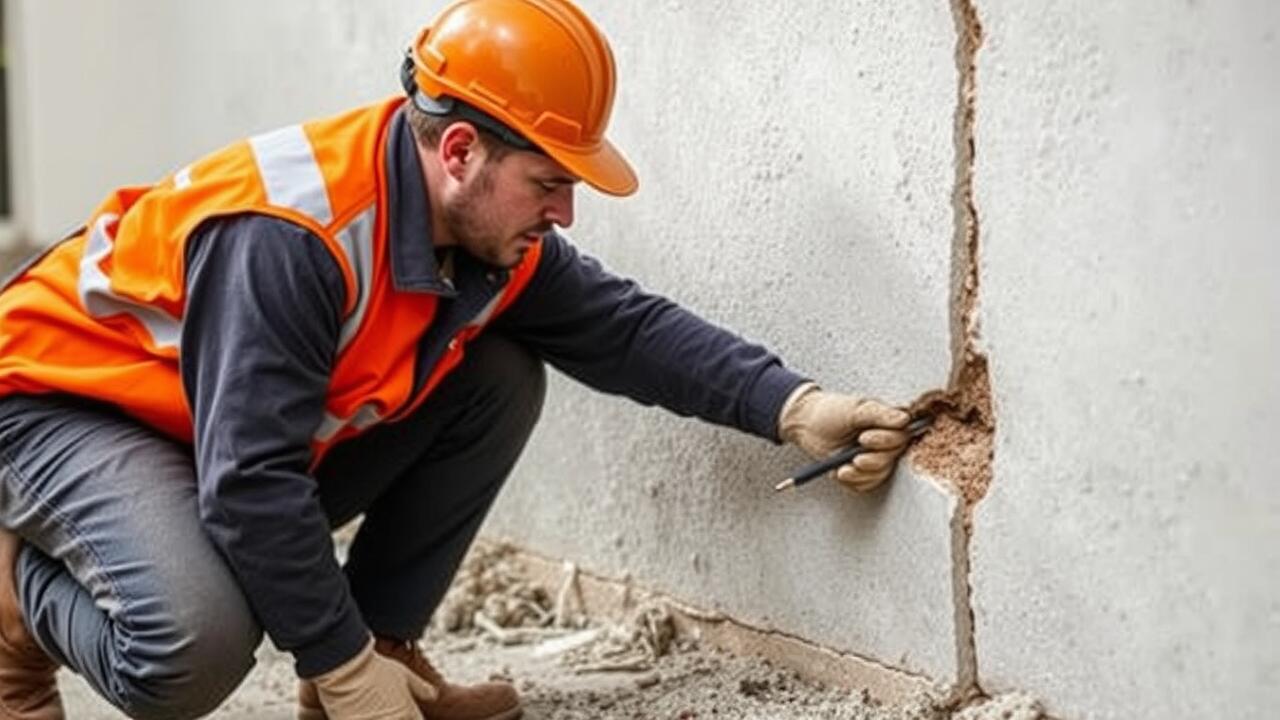
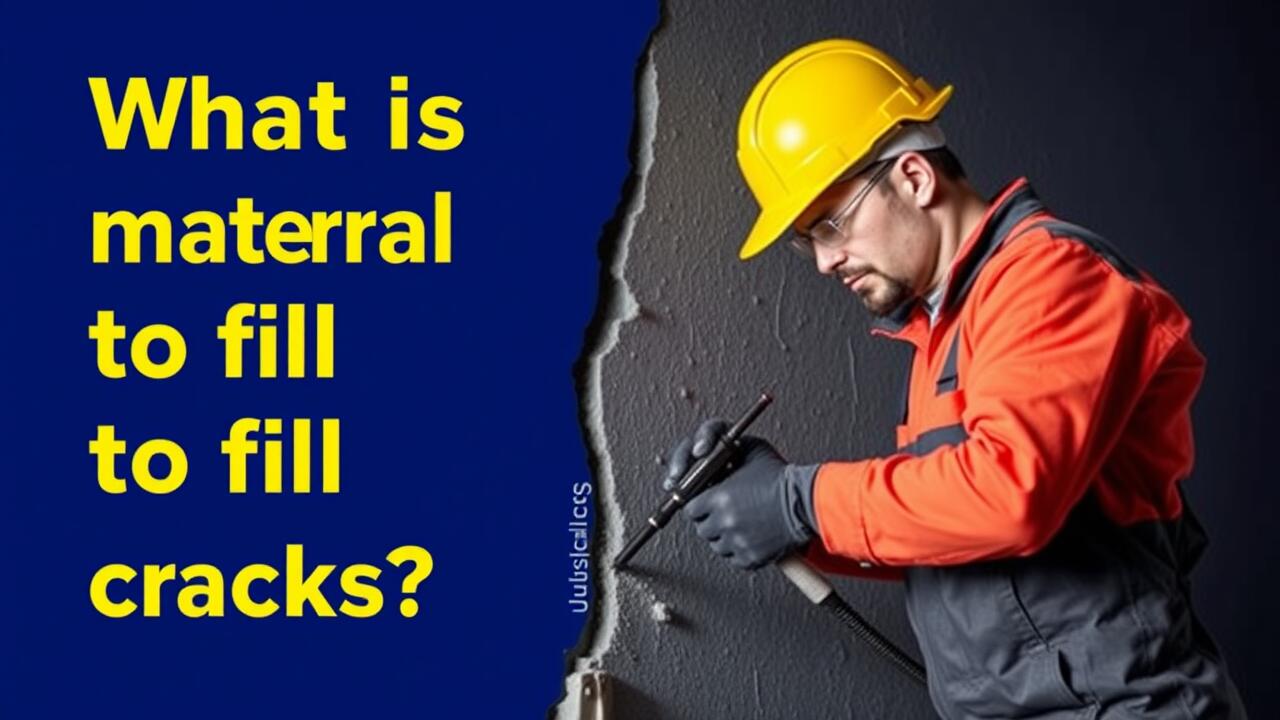
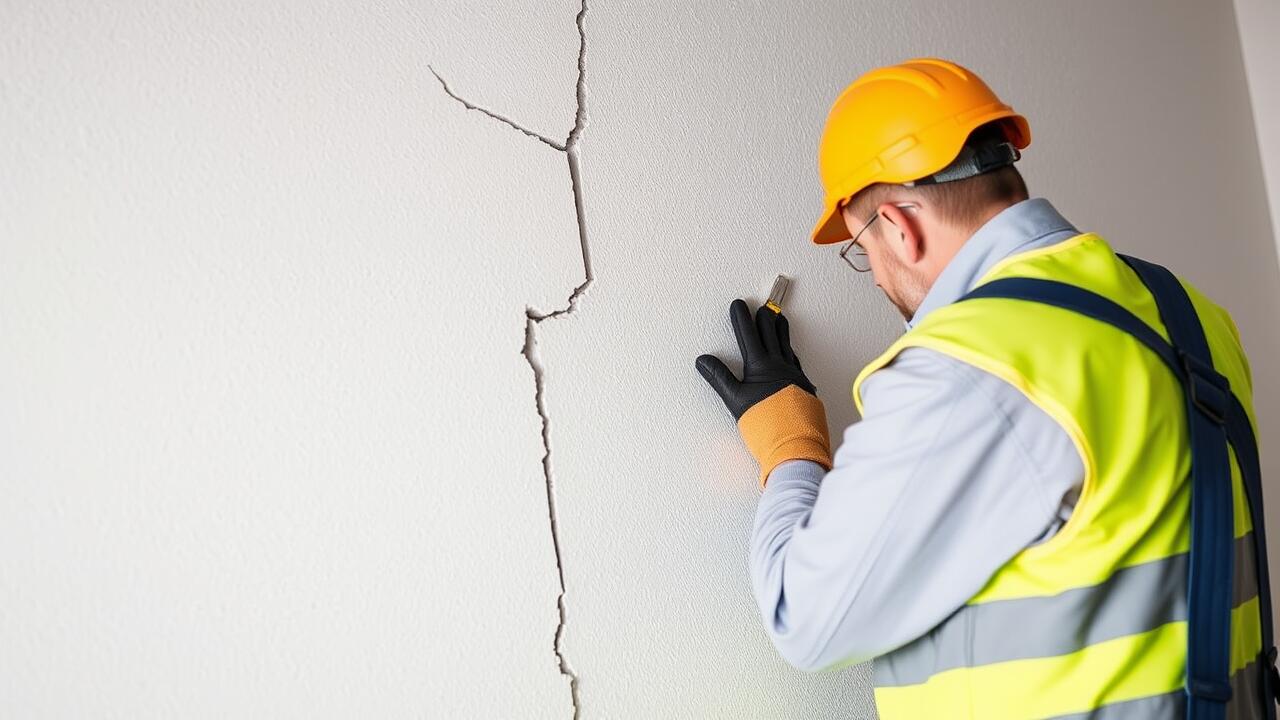
Inspect the cracks before proceeding. Determine the size and depth of the cracks you need to address. This assessment will help you choose the appropriate filler and the application method. If the cracks are large, you may need to widen them slightly to allow for better adhesion of the filler. Ensuring the area is adequately prepared will lead to a more effective and lasting crack repair result.
Steps for Proper Surface Preparation
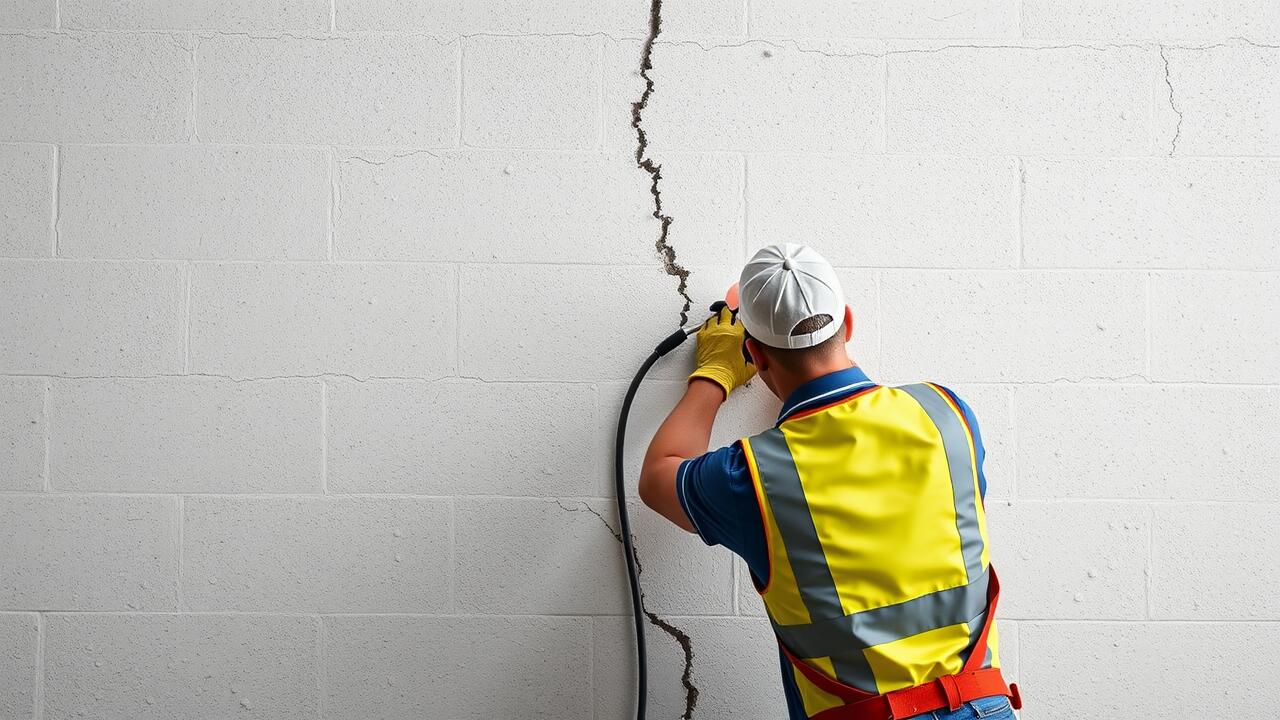
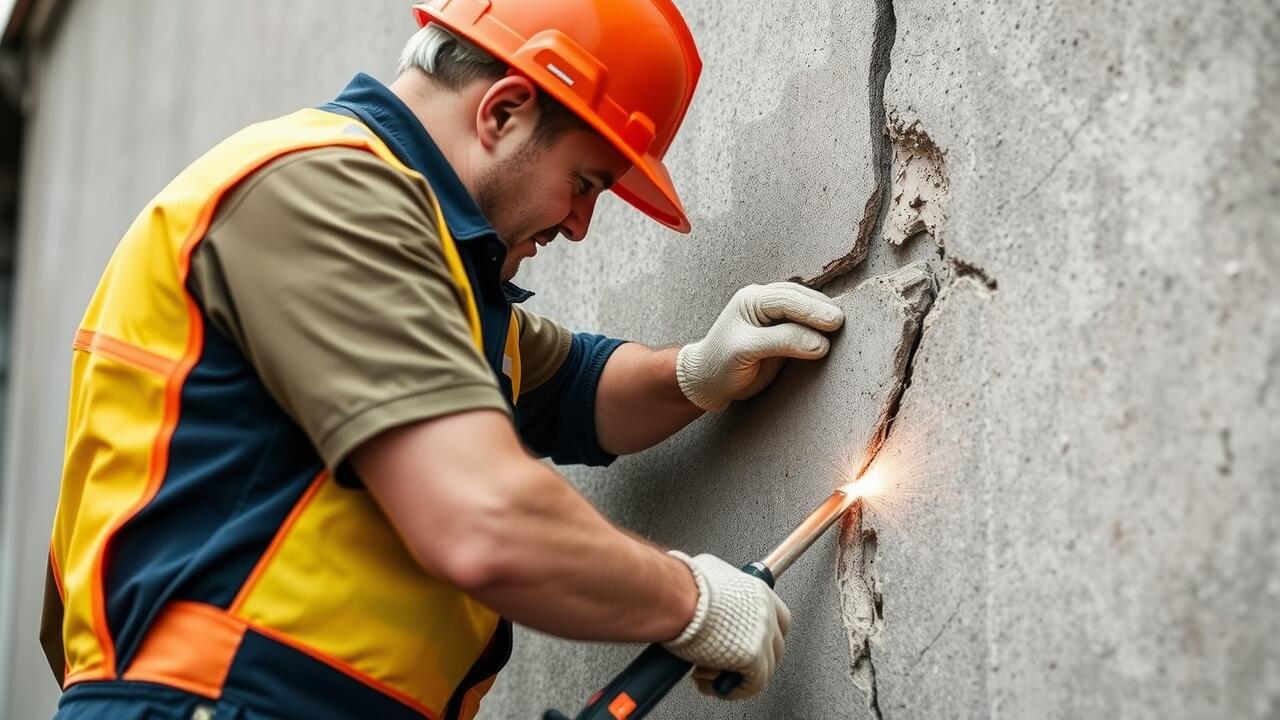
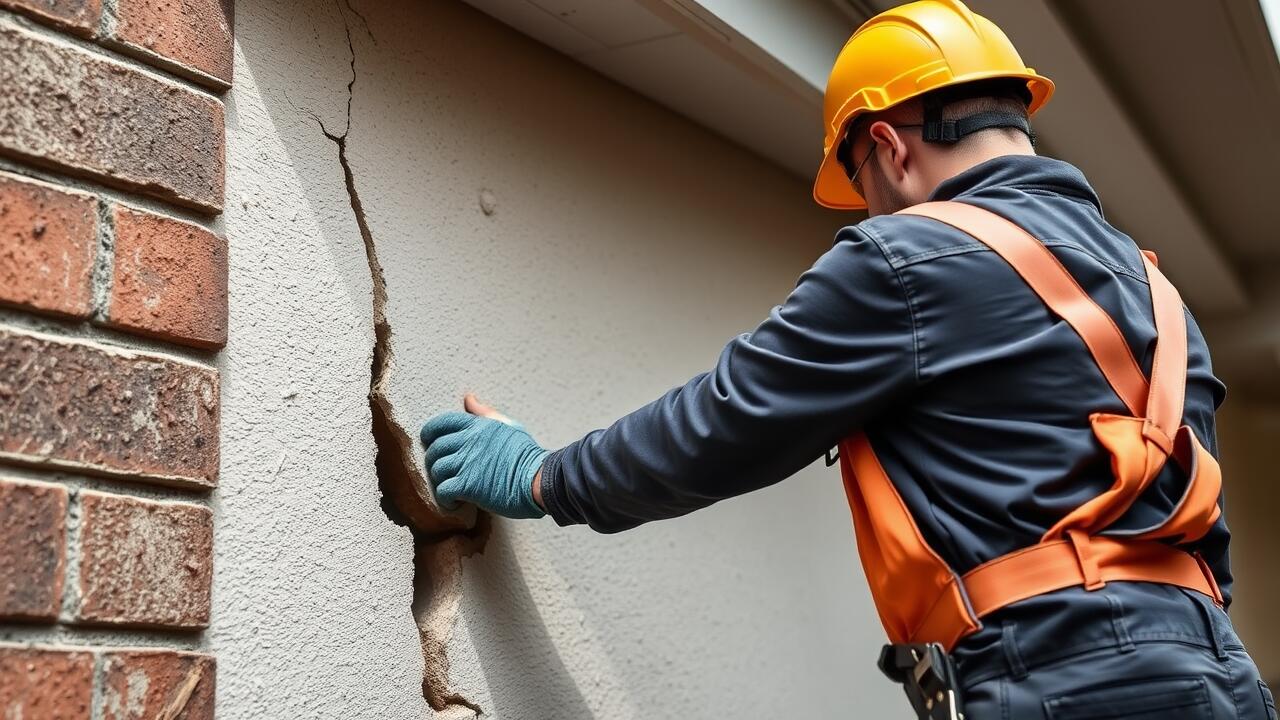
To achieve effective crack repair, start by cleaning the affected area thoroughly. Remove any loose debris, dust, or paint that may interfere with the adhesion of the filler. A stiff brush or a vacuum can help in ensuring the surface is completely clear. If the cracks are wider, consider using a putty knife to scrape away any loose bits. This step is essential in preparing the surface for a strong bond between the filler and the plaster, guaranteeing a long-lasting repair.
Next, assess the depth and width of the cracks before applying any filler. For minor hairline cracks, a simple caulk or plaster repair compound may suffice. Wider cracks may require a more substantial filler designed for such repairs. Apply a primer to the area if necessary, as this can boost adhesion and prepare the surface for the filler. By following these preparation steps, you set the foundation for a successful crack repair that blends seamlessly with the surrounding plaster.
Curing and Drying Time
Curing and drying time are critical aspects of any crack repair process. After applying your chosen filler, it is essential to allow adequate time for the material to cure properly. Each product will have specific instructions regarding drying times, often dependent on humidity and temperature levels. Following these guidelines ensures that the filler bonds effectively with the plaster, preventing future cracks or damage.
Additionally, the surface condition before filling can influence drying time. Areas with high moisture content may extend the curing period, while well-ventilated spaces typically allow for quicker drying. Monitoring environmental factors during the crack repair process can provide optimal results and enhance the longevity of the repair work.
How Long Should You Wait?
After applying the filler for crack repair, it is essential to allow ample time for the material to cure. The duration can vary based on the type of filler used, environmental factors, and the depth of the crack. Typically, you should wait at least 24 hours before painting or applying additional layers. Always refer to the manufacturer’s instructions for specific recommendations, as some products may require a more extended drying period.
Humidity and temperature play critical roles in the drying process. In high-humidity areas, the curing time may be prolonged, while warmer temperatures can accelerate it. Monitoring the condition of the filled area during this time ensures that the repair holds well and maintains a smooth finish. Patience is crucial in achieving the best results in your crack repair project.
Finishing Touches
Achieving a smooth finish after applying filler for crack repair is essential for a seamless look. Once the filler has dried, lightly sand the area using fine-grit sandpaper. This technique helps to blend the repaired section with the surrounding plaster, making imperfections less noticeable. Wipe away any dust with a damp cloth to ensure a clean surface for painting or additional treatments.
After sanding, assess the area for any remaining unevenness. If necessary, apply a thin layer of joint compound to further smooth the surface. Allow this layer to dry completely before sanding it down again. This attention to detail during the finishing touches will ensure a professional appearance for the crack repair, resulting in a refined and polished final result.
Techniques for a Smooth Finish
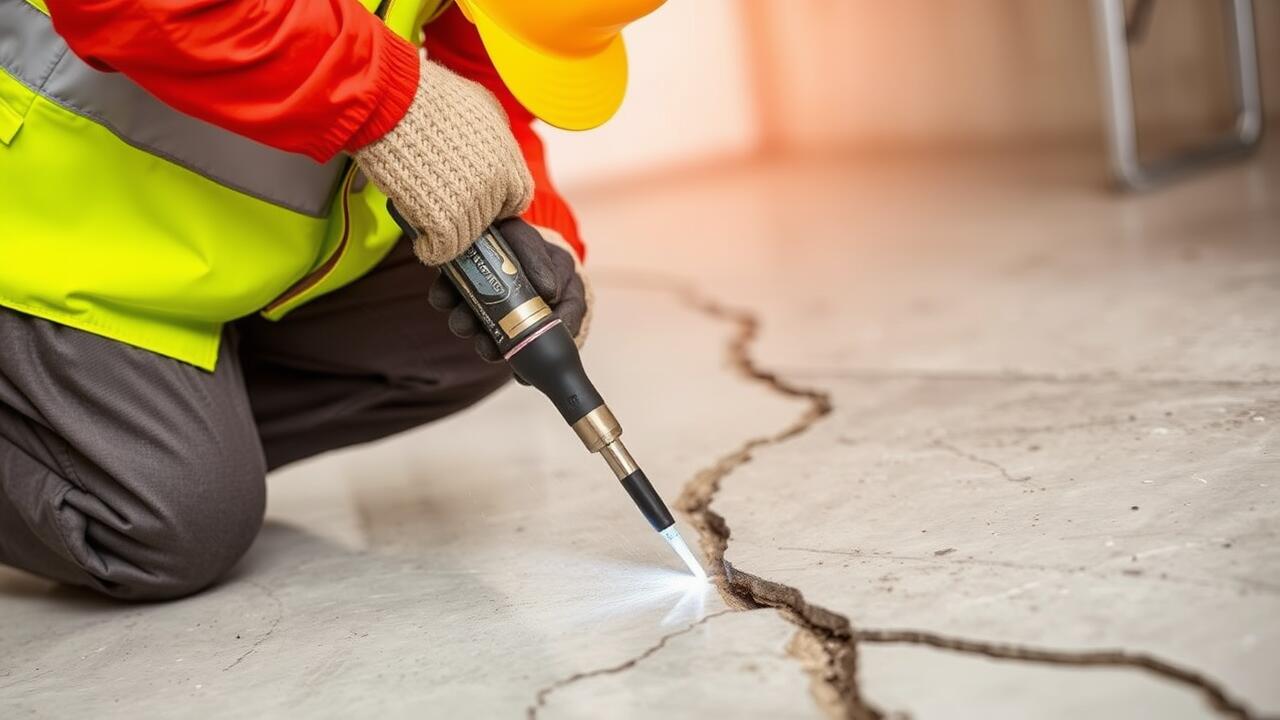
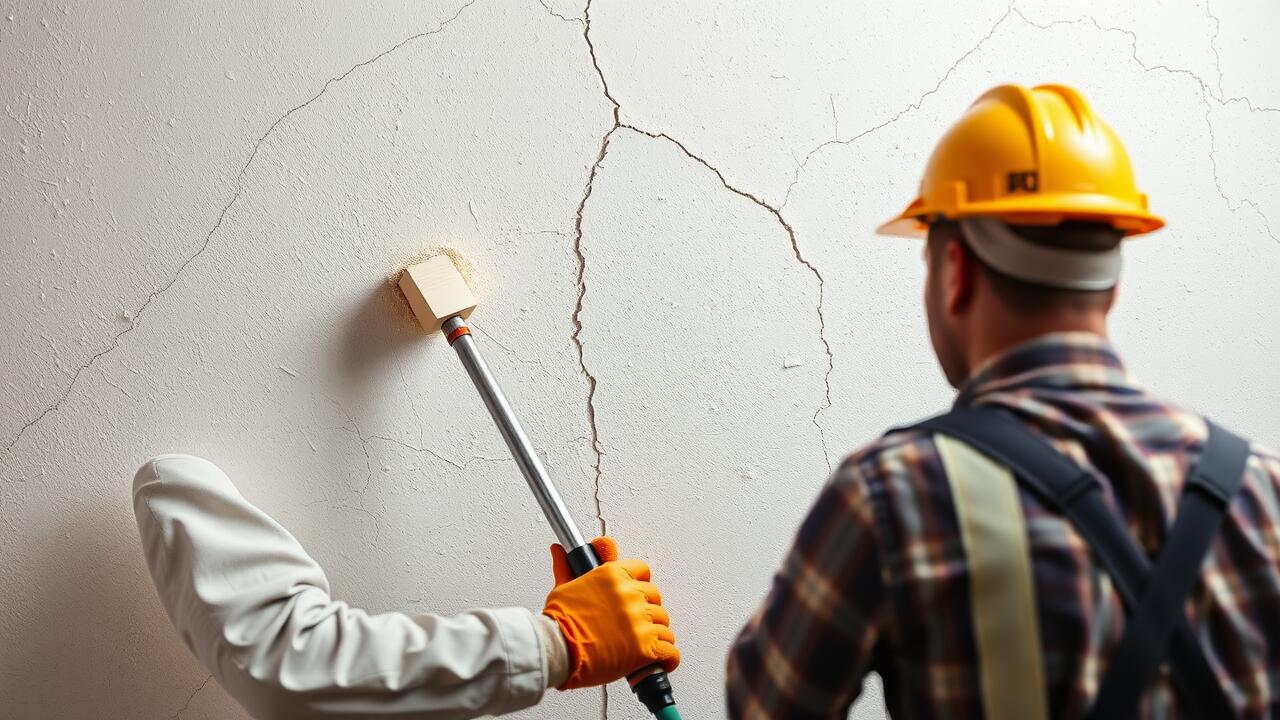
Achieving a smooth finish in crack repair requires careful attention to detail. After the filler has been applied and is still slightly tacky, you can use a putty knife to gently smooth the surface. Start from the center of the repair and work your way outward, applying even pressure to avoid disturbing the surrounding plaster. This initial smoothing helps to minimize excess filler and ensures an even surface that is easier to paint over once dry.
Once the filler has fully cured, sanding is the next crucial step in the process. Use fine-grit sandpaper to carefully sand the repaired area, blending it seamlessly into the rest of the wall. It is essential to use a light touch to prevent damaging the surrounding plaster. After sanding, wipe the area with a damp cloth to remove any dust. This creates a clean surface for painting and enhances the overall appearance of the crack repair.
FAQS
What type of filler is best for small cracks in plaster?
For small cracks in plaster, a lightweight spackling compound or a pre-mixed plaster repair filler is often the best choice. These products are easy to apply and sand down to create a smooth finish.
Can I use caulk to fill cracks in plaster?
While caulk can be used for minor cracks or gaps, it is not the ideal choice for plaster. Caulk is more flexible and may not adhere well to plaster surfaces. It's better to use a filler specifically designed for plaster repairs.
How do I know if the crack in my plaster needs to be filled?
If the crack is wider than 1/8 inch, is growing, or if it has resulted in a loss of structural integrity, it should be filled. Additionally, if you notice any water damage or mold, it is essential to address the issue promptly.
Do I need to prime the area before applying filler?
Priming is not always necessary, but it can help improve adhesion and prevent the filler from drying too quickly. It is generally recommended to apply primer after filling and sanding for a uniform finish before painting.
What is the best technique for applying plaster filler?
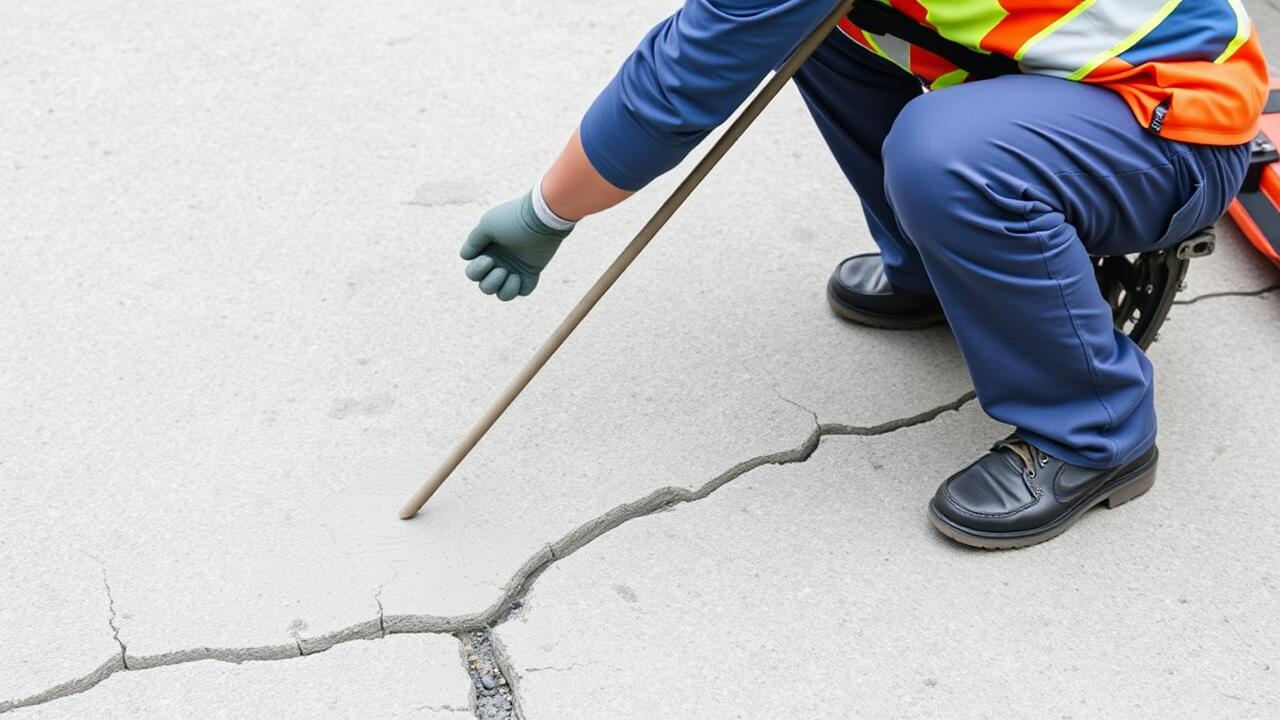
The best technique for applying plaster filler is to use a putty knife to spread the filler into the crack, ensuring it fully fills the space. Apply in thin layers if needed, allowing each layer to dry before adding more for a smooth and even finish.