Table Of Contents
Curing and Drying Times
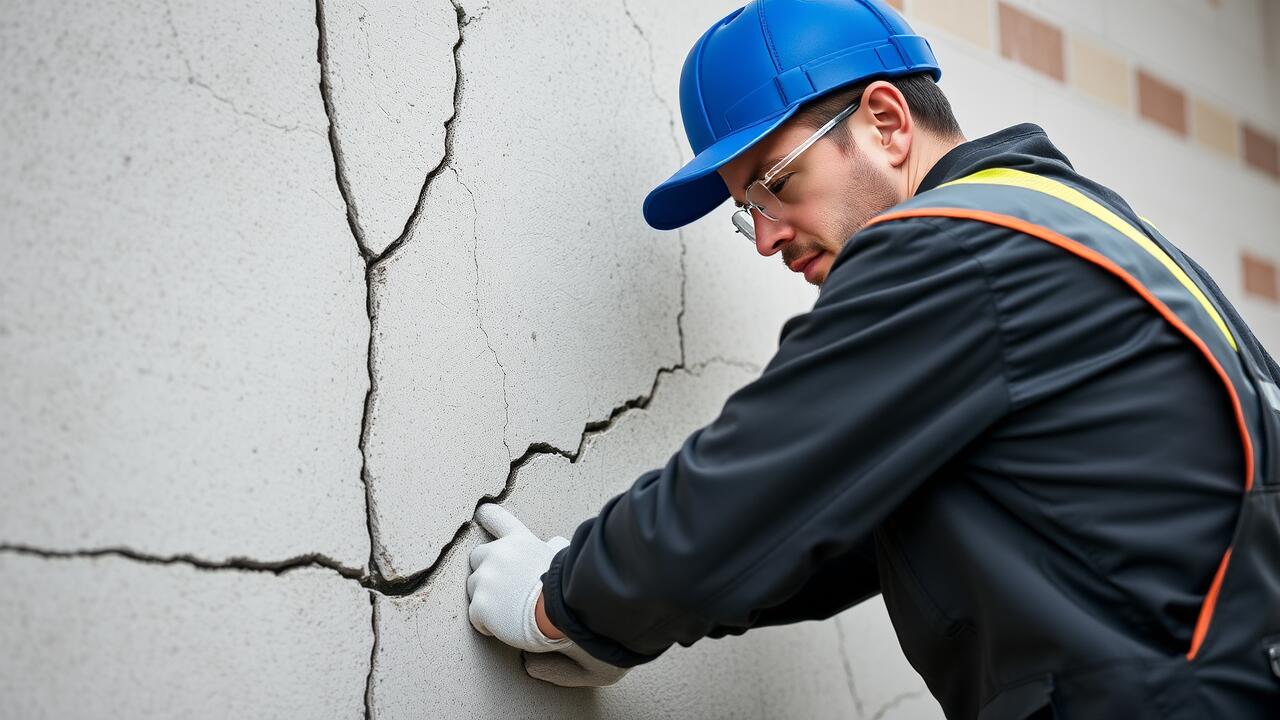
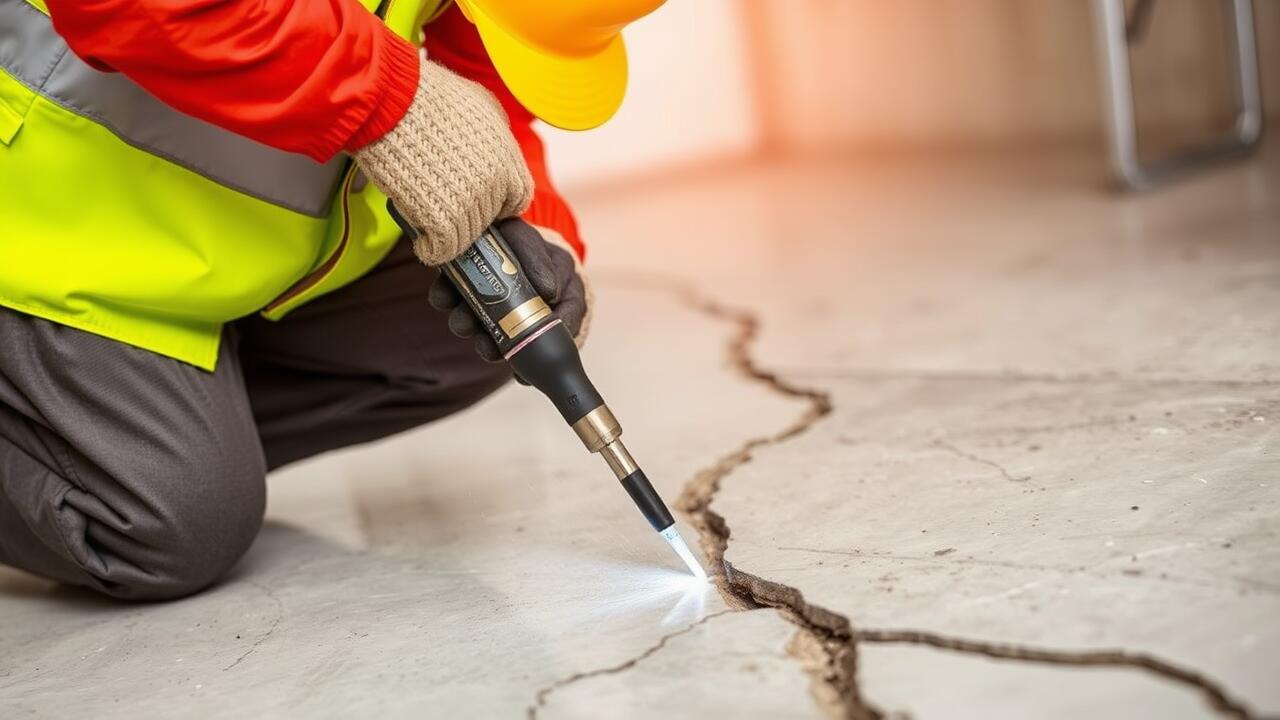
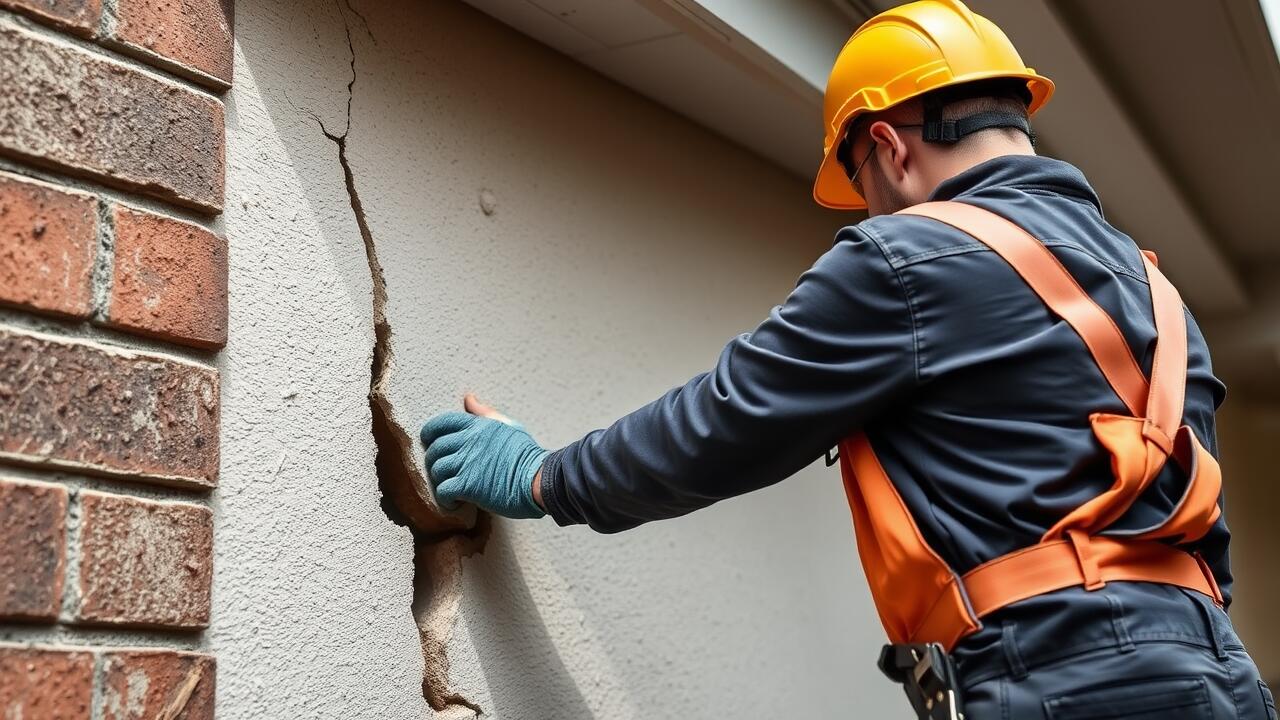
Understanding curing and drying times is essential in the crack repair process. Different fillers require varying periods to fully cure, and this can impact the durability of the repair. Some materials may dry quickly but lack the necessary strength once cured, while others may take longer but provide superior adhesion and resilience. It is crucial to follow the manufacturer's recommendations regarding time frames for the best results.
Improper curing can lead to compromised repairs and might necessitate further touch-ups in the future. Allowing adequate time for the filler to cure not only ensures a robust fix but also enhances the overall appearance of the surface. Taking the time to ensure that the filler has settled properly before any additional steps—like sanding or painting—will yield a more effective crack repair that stands the test of time.
Importance of Allowing Proper Drying Time
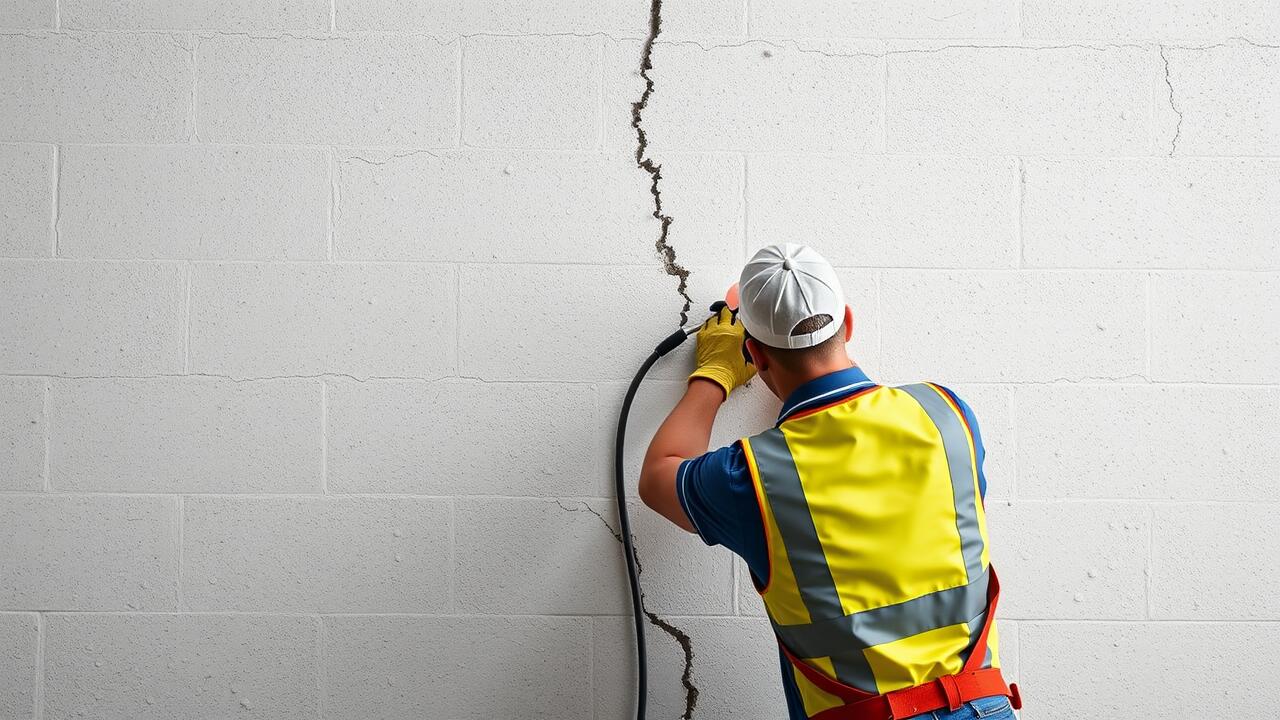
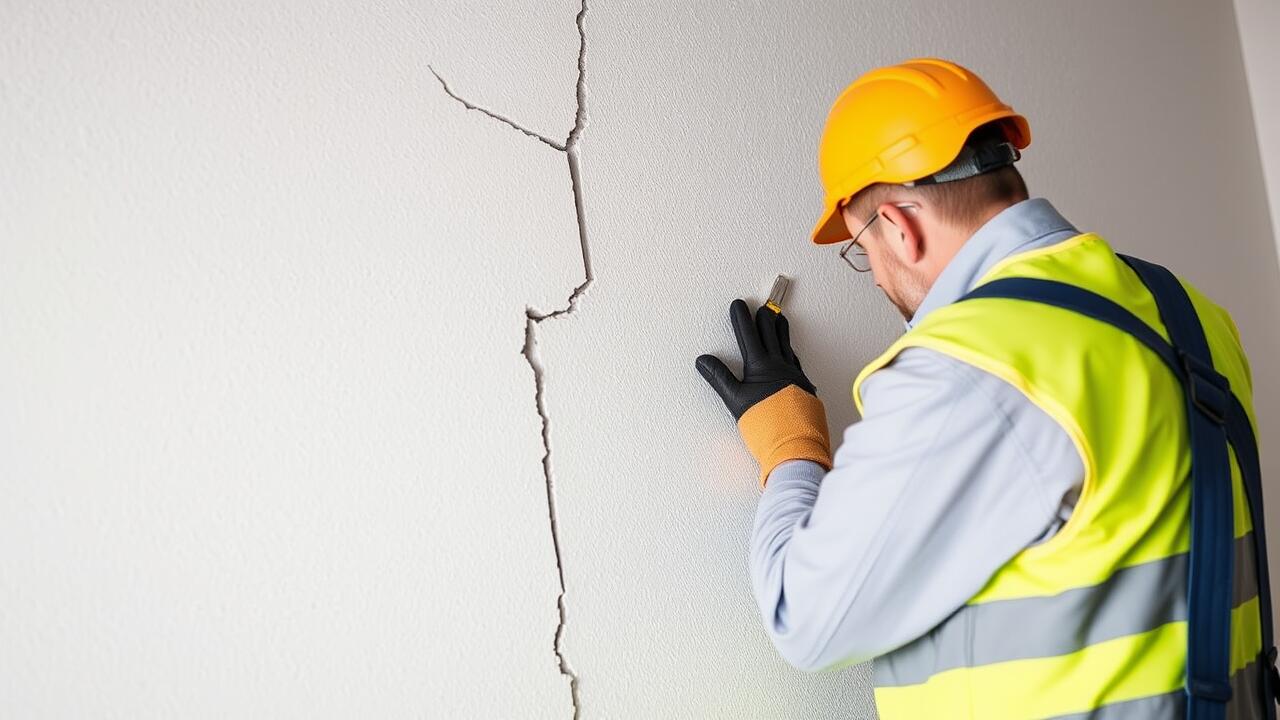
Allowing proper drying time during crack repair is essential for achieving a durable and effective result. When filler materials are applied, they require adequate time to cure properly. Rushing this process can lead to poor adhesion and diminish the longevity of the repair. If the filler is not fully dried, it may not bond effectively with the surrounding surface. This could result in future cracking or peeling.
Additionally, factors such as temperature and humidity can impact the drying process. In humid conditions, the filler may take longer to dry, while high temperatures could accelerate drying but lead to cracking if the filler sets too quickly. It is vital to monitor these environmental factors and follow the manufacturer's recommended drying times to ensure the best outcome for your crack repair project. A well-dried filler will provide a solid foundation, minimizing the likelihood of future repairs.
Maintaining Your Filled Surfaces
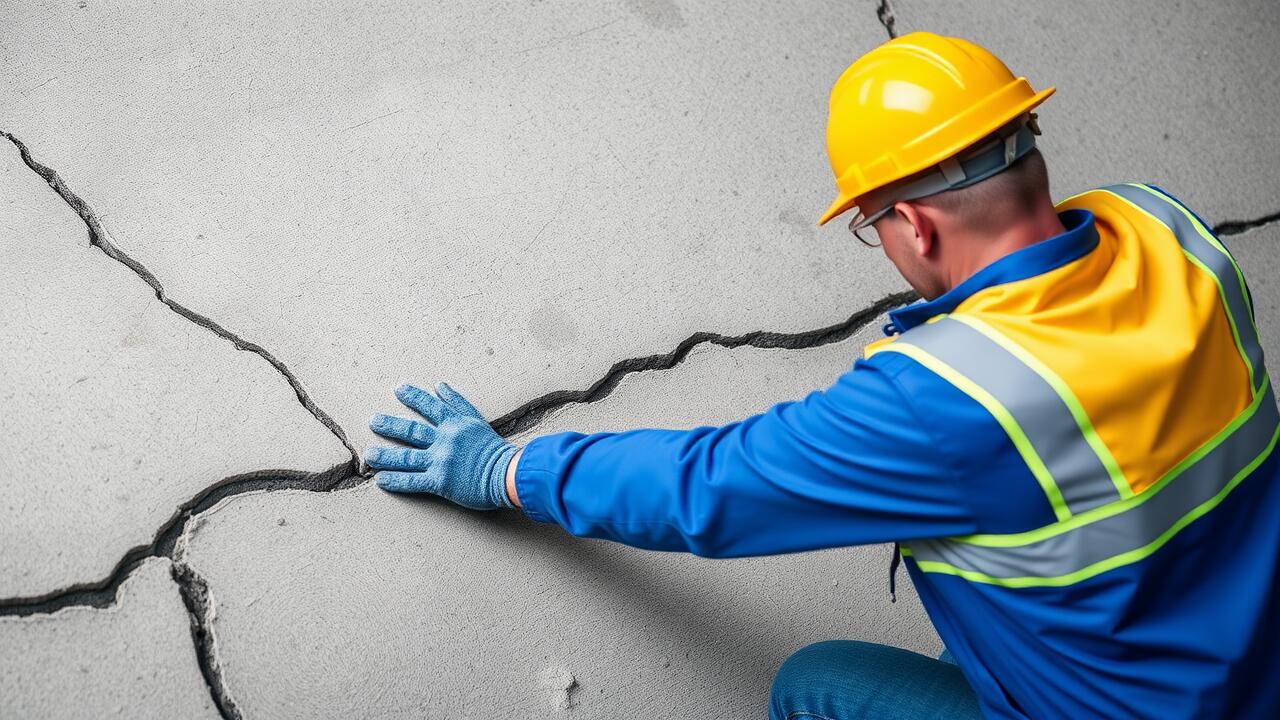
After completing crack repair, it is essential to maintain the filled surfaces to ensure their longevity. Regularly inspect the area for any signs of new cracking or deterioration. Addressing minor issues promptly can prevent them from escalating into more significant problems. Keep the surface clean and free from debris, as this helps maintain adhesion and prevents moisture from compromising the filler material.
Additionally, applying a sealant over the filled cracks can provide an extra layer of protection. Choose a sealant that complements the existing surface, whether it be paint, stucco, or concrete. This not only enhances the appearance but also adds durability. By taking proactive measures in maintenance, you can extend the life of your repairs and keep your surfaces looking their best.
Tips for Long-Lasting Repairs
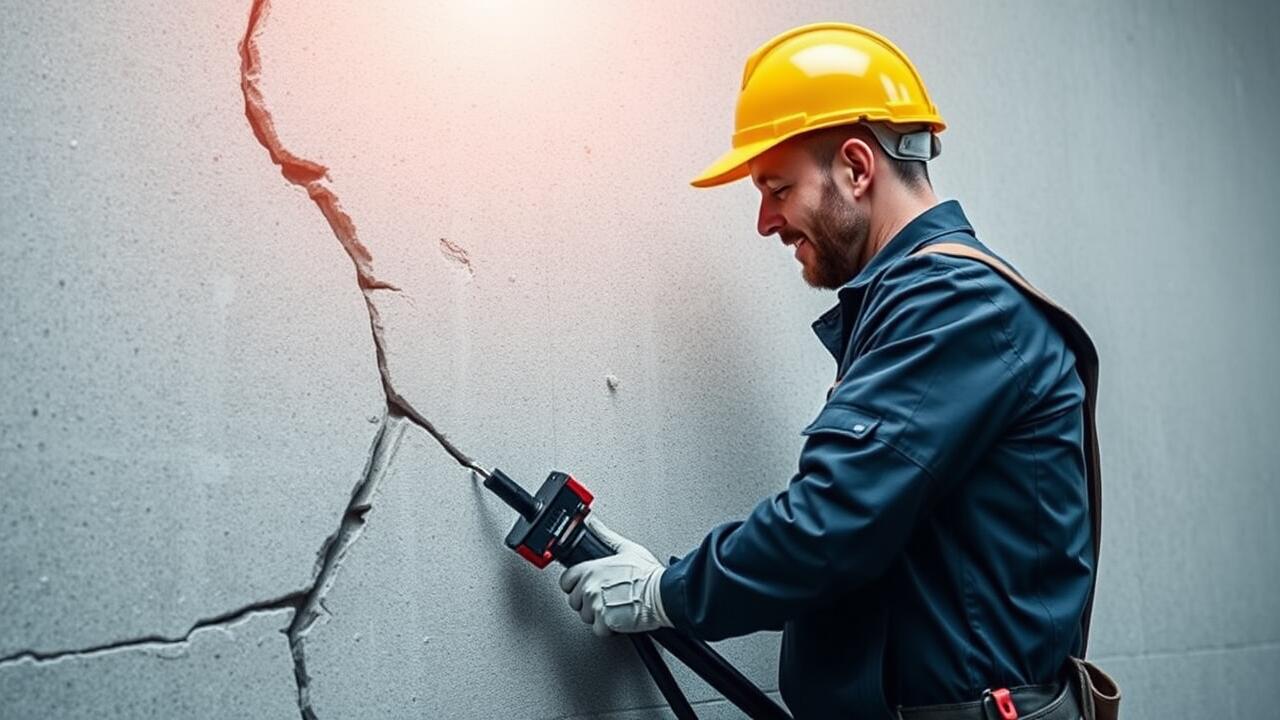
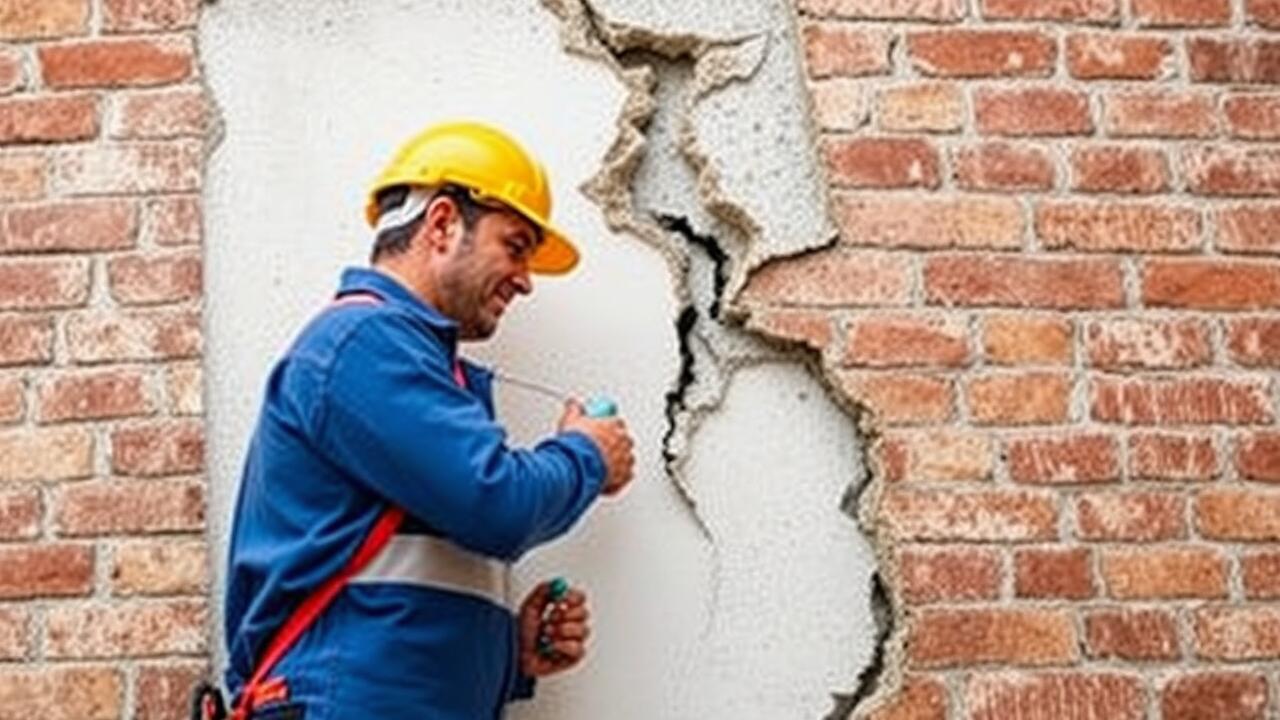
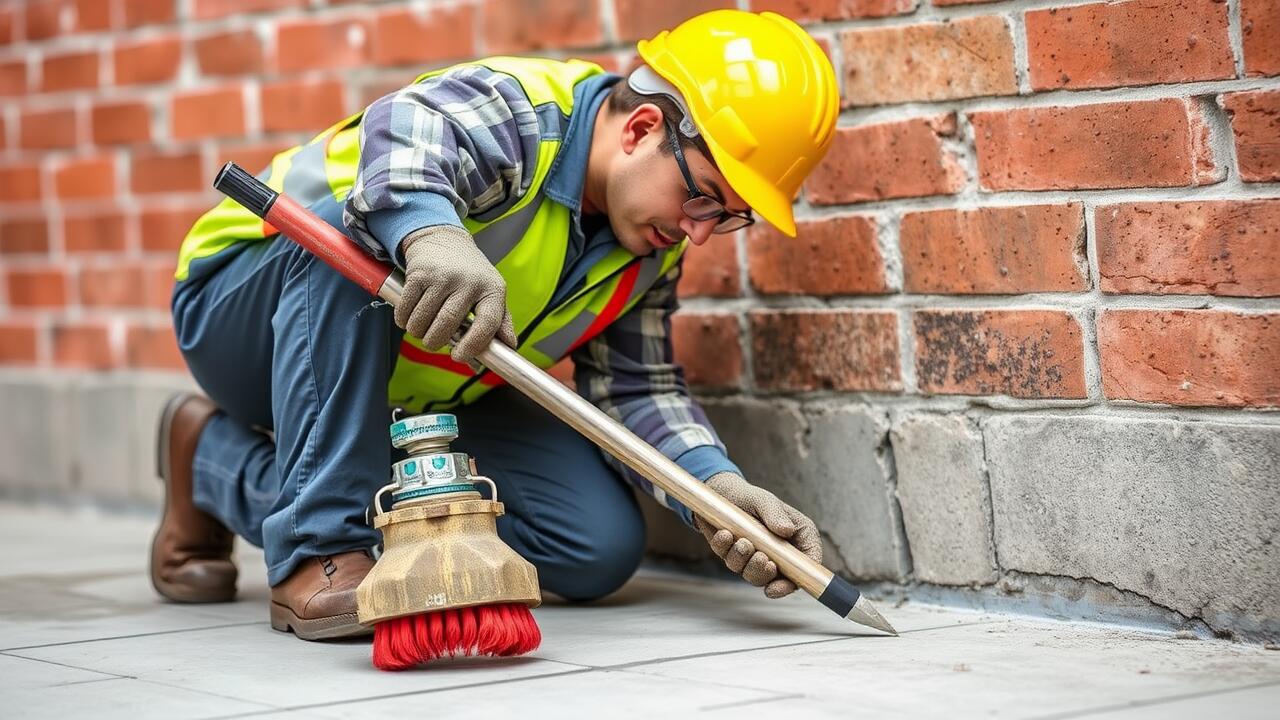
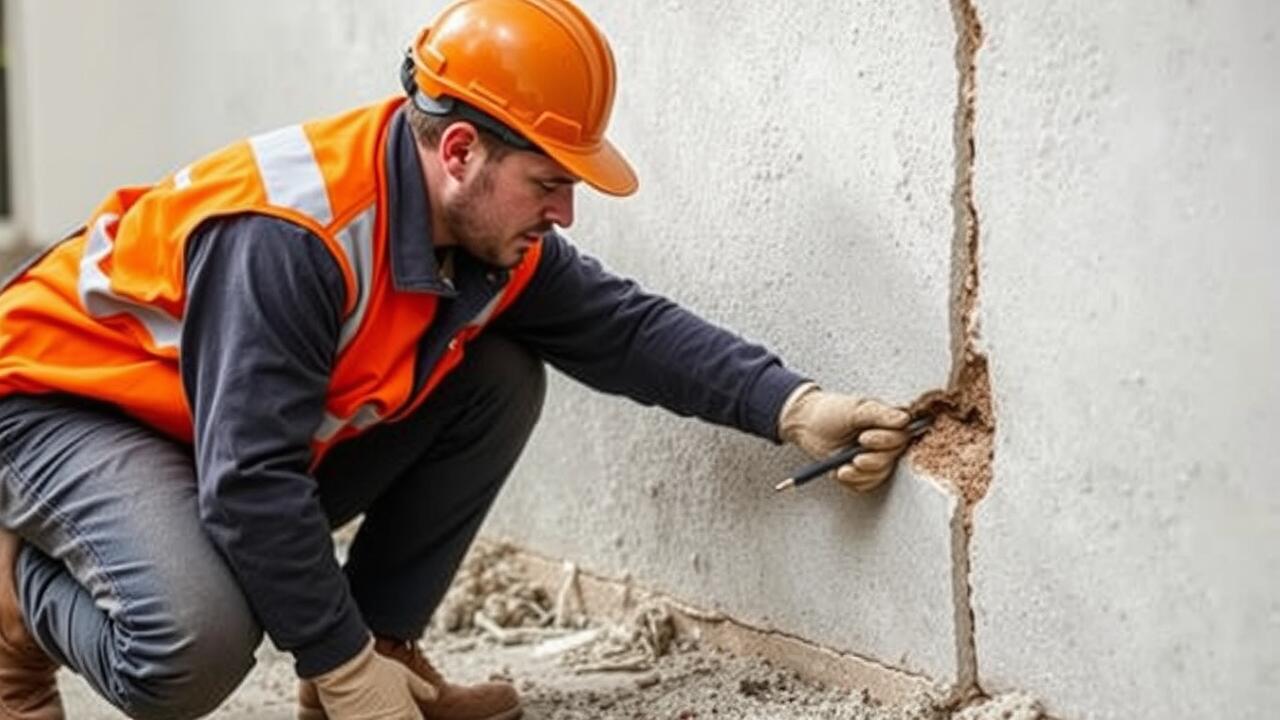
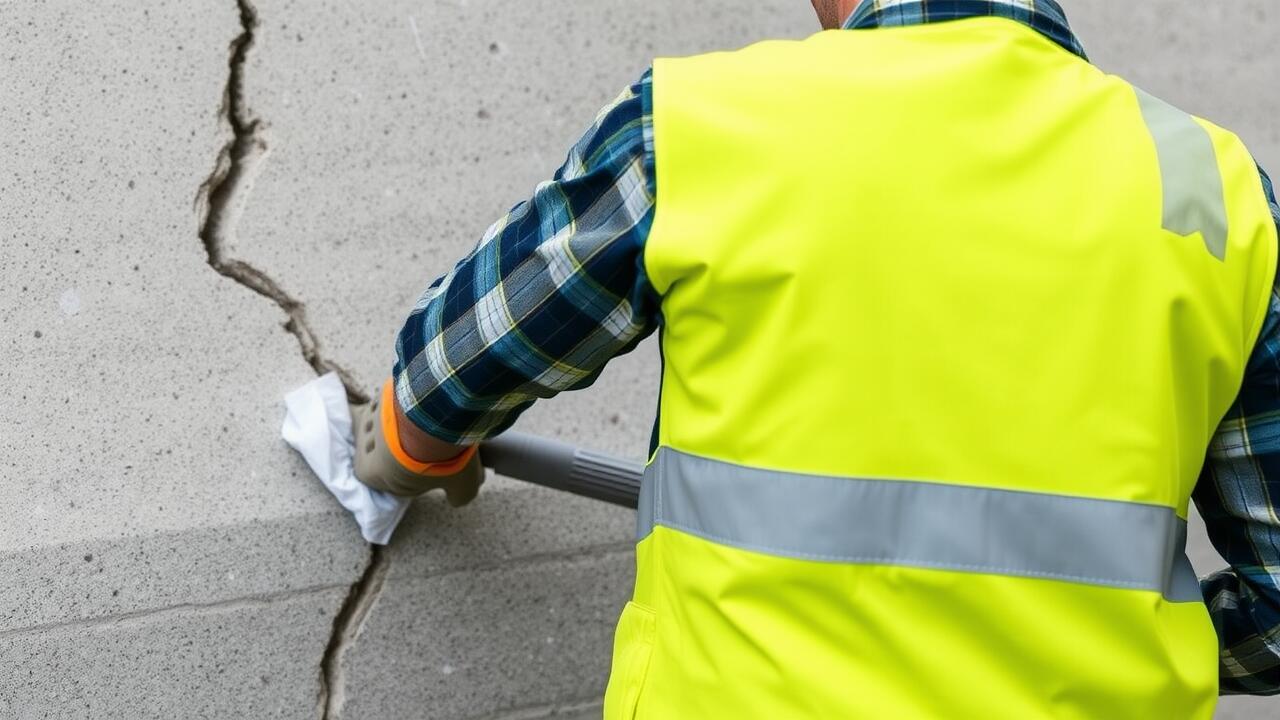
Applying the right technique during crack repair is essential for ensuring that the filled areas remain intact over time. Start by cleaning the cracks thoroughly to eliminate dust and debris. A clean surface allows the filler to bond effectively, minimizing the chances of future damage. Pay close attention to the recommended application method for your chosen filler. Whether you are using a caulk, epoxy, or spackle, proper application will contribute significantly to the longevity of your repair.
Regular maintenance plays a crucial role in preserving the integrity of your filled surfaces. Inspect the areas periodically for signs of wear or new cracks, as proactive measures can help you address issues before they worsen. If you notice any small cracks forming, it's wise to fill them quickly to prevent larger problems down the line. Keeping the repaired surfaces clean and well-maintained will enhance the durability of your crack repair efforts, ensuring a polished appearance over time.
Cost Considerations for Fillers
When choosing the right filler for crack repair, budget plays a significant role. Various options are available that cater to different price points. Premium fillers often provide additional benefits such as enhanced durability and faster curing times. However, budget-friendly alternatives can still effectively restore surfaces, making them suitable for minor repairs or when project costs need to be minimized.
Understanding the different types of fillers is essential for making informed decisions. Acrylic-based fillers and epoxy compounds tend to be more expensive due to their resilience and versatility. On the other hand, traditional caulks or plaster-based products may suffice for simple crack repair tasks at a lower cost. Weighing the specific needs of your repair project against the available options will help achieve the desired results without overspending.
Budget-Friendly Options vs. Premium Choices
When addressing crack repair, budget-friendly options typically include products such as low-cost caulks or basic fillers found at hardware stores. These materials are designed for straightforward applications and can effectively address small cracks in walls and ceilings. The advantage of these economical choices lies in their accessibility and ease of use, making them suitable for DIY enthusiasts who may not require professional-grade solutions.
On the other hand, premium choices for crack repair often feature advanced formulations that offer enhanced durability and superior adhesion. These products might include specialized epoxy blends or high-performance patching compounds designed to withstand more significant stress and environmental factors. While the upfront costs for premium options can be higher, they may lead to more long-lasting repairs, minimizing the need for frequent touch-ups and ultimately saving money over time.
FAQS
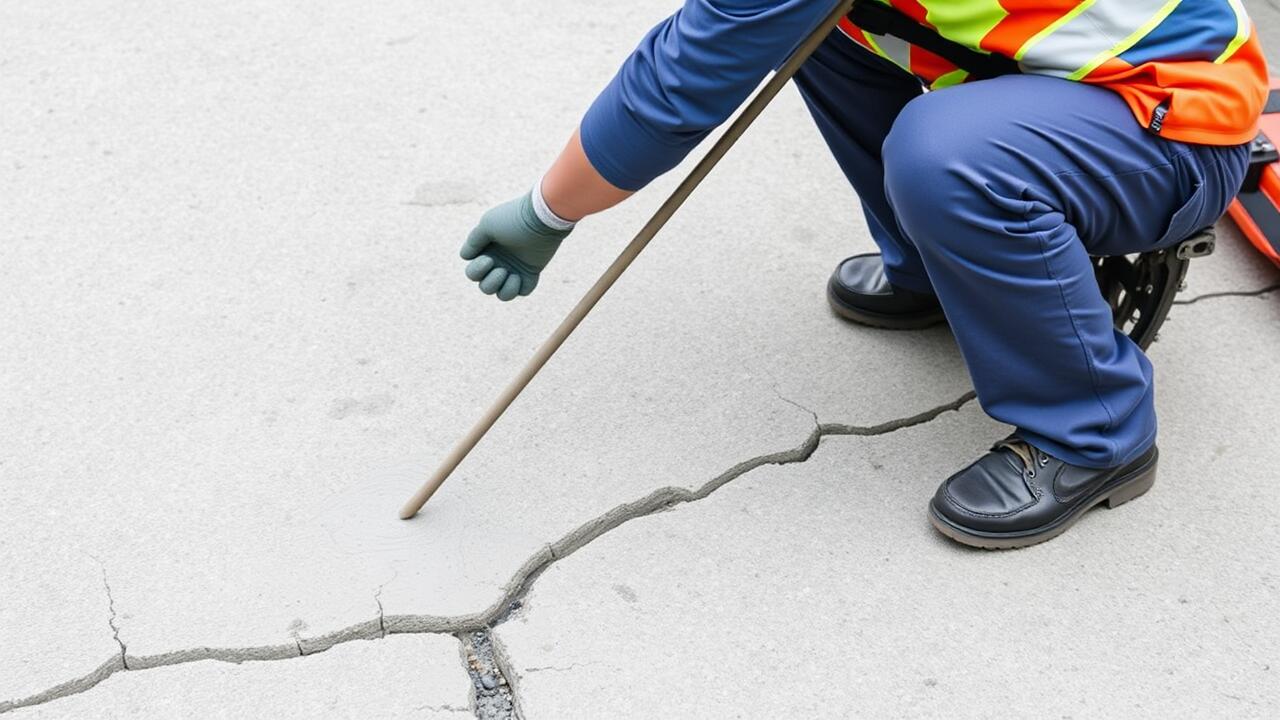
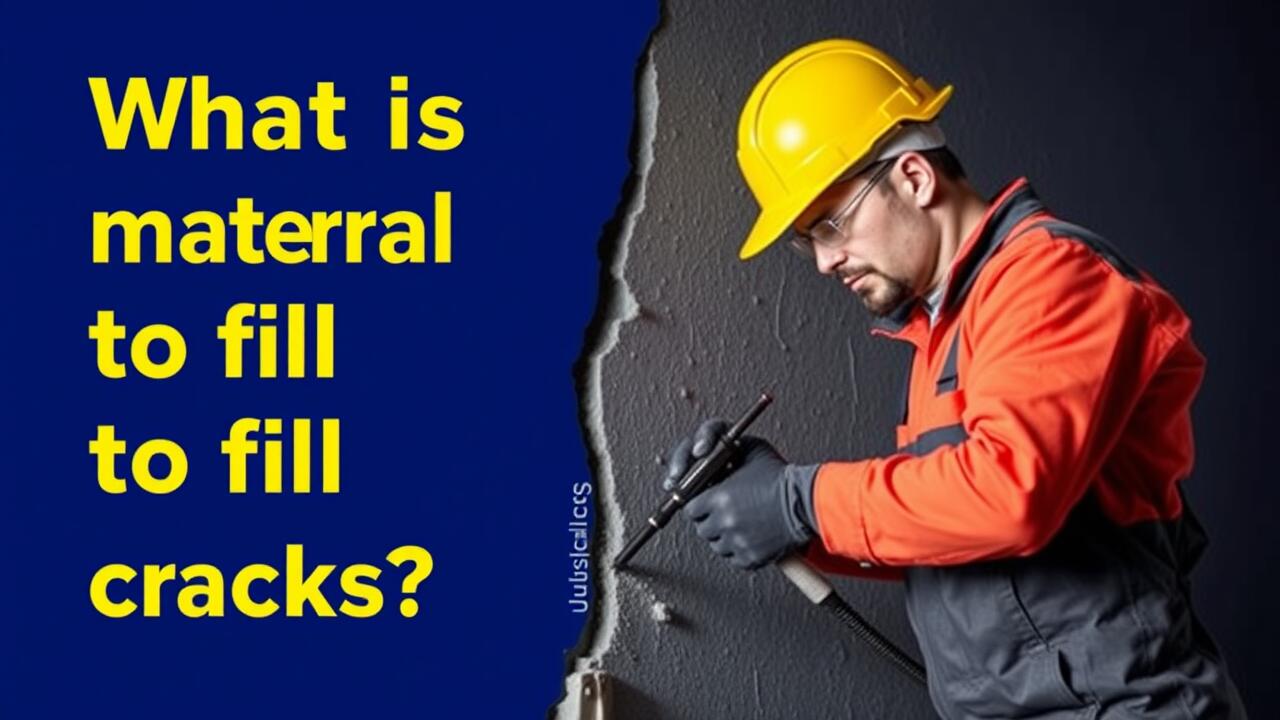
What is the best filler for settling cracks?
The best filler for settling cracks typically includes products such as epoxy putty, latex caulk, or specialized crack fillers designed for the specific material you’re working with, like concrete or drywall.
How long does it take for crack filler to dry?
Drying times can vary depending on the type of filler used. Generally, latex-based fillers dry within a few hours, while epoxy fillers may take up to 24 hours or longer to fully cure.
Should I sand the surface after applying crack filler?
Yes, sanding the surface after the filler has dried is recommended for a smooth finish. Make sure to wait until the filler is completely cured before sanding.
Can I paint over filled cracks?
Yes, most fillers can be painted over once they are fully dry and sanded. It’s best to use a primer first to ensure better adhesion and a uniform finish.
What factors should I consider when choosing a crack filler?
Factors to consider include the type of surface being repaired, the size of the crack, drying and curing times, weather conditions, and your budget for materials.