Table Of Contents
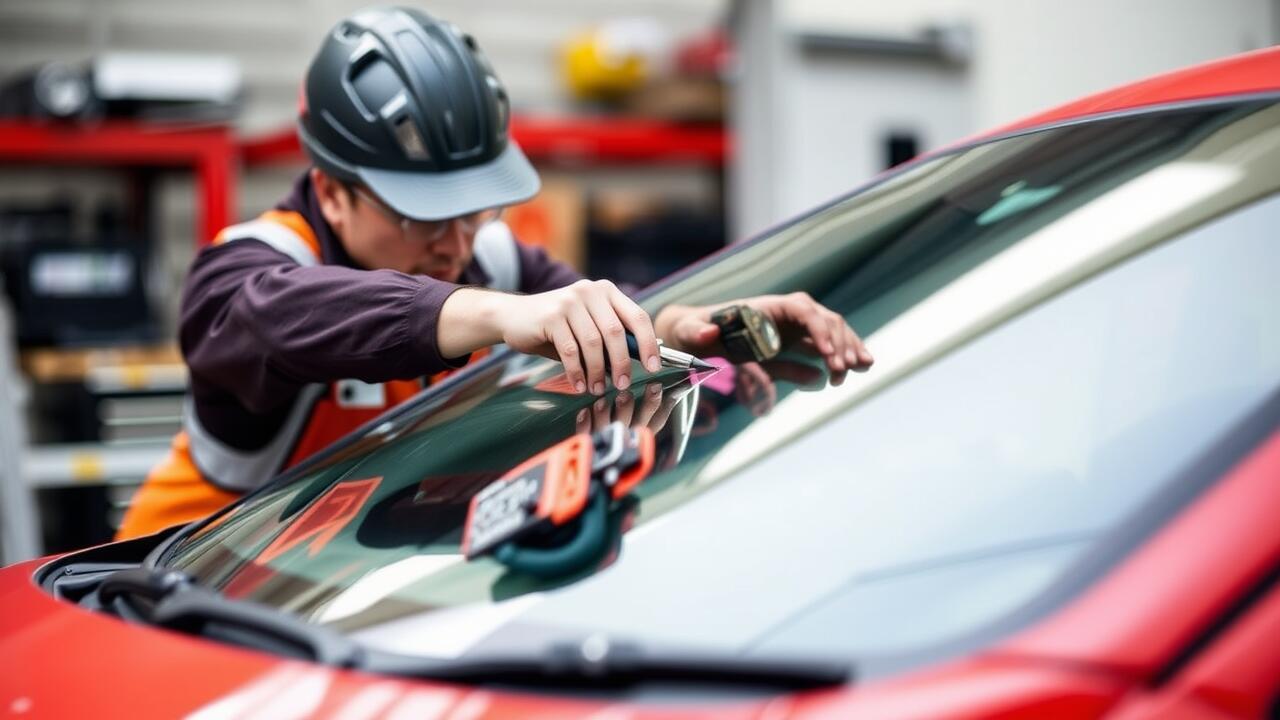
Curing the Resin
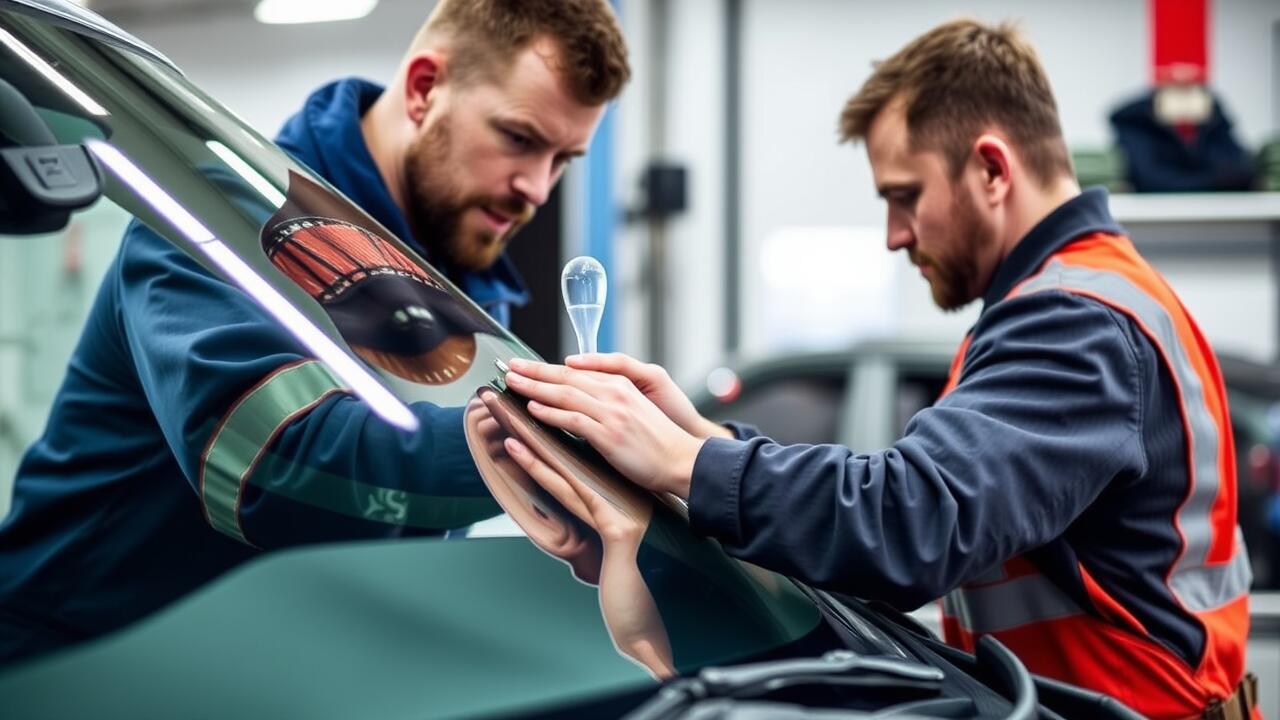
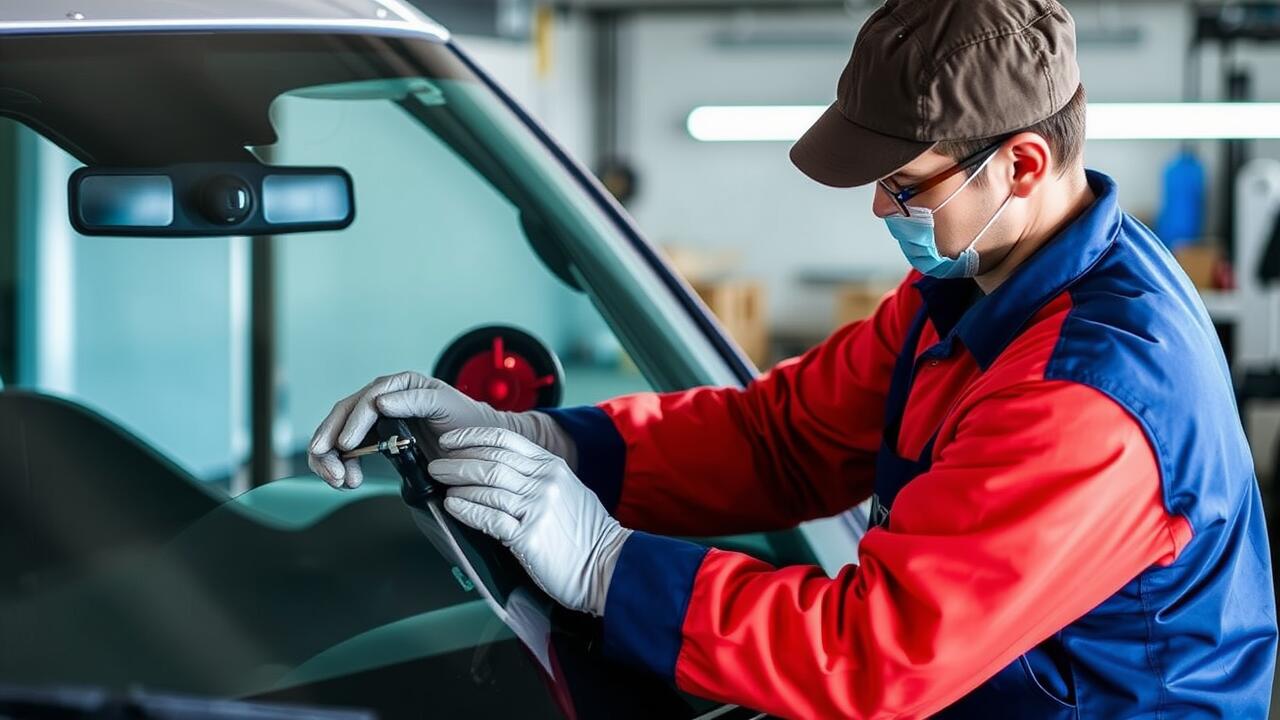
Curing the resin is a crucial step in the chip repair process. The resin needs time to harden properly to effectively fill the damaged area and restore the integrity of the windshield. It is essential to follow the instructions provided with your repair kit carefully. Most products will suggest a specific curing time, which is typically influenced by temperature and humidity conditions. Keeping the area protected from direct sunlight during this phase can also help ensure an even cure.
Once the resin has cured, it becomes solid and strong, bonding with the glass. This solidification minimizes the risk of the chip spreading further. Some kits may include a UV light to speed up the curing process, while others rely on natural sunlight. Regardless of the method chosen, make sure to allow adequate time for the resin to set. Rushing this step can compromise the overall quality of the chip repair, leading to unsatisfactory results.
Importance of Proper Curing Time
Curing the resin is a critical step in the chip repair process. If the resin is not allowed to cure properly, the repair might not hold, leading to further damage over time. Following the manufacturer’s instructions on curing time is essential for achieving optimal results. The right conditions, such as temperature and humidity, also play a significant role in ensuring the resin sets correctly.
Many DIY kits provide a specified time frame for curing, typically ranging from a few minutes to several hours. It’s vital to avoid rushing this stage, as impatience can compromise the repair's integrity. Properly cured resin forms a solid bond with the glass, improving clarity and strength. Without this crucial step, you may find that the chip reopens or worsens, negating any efforts made during the chip repair.
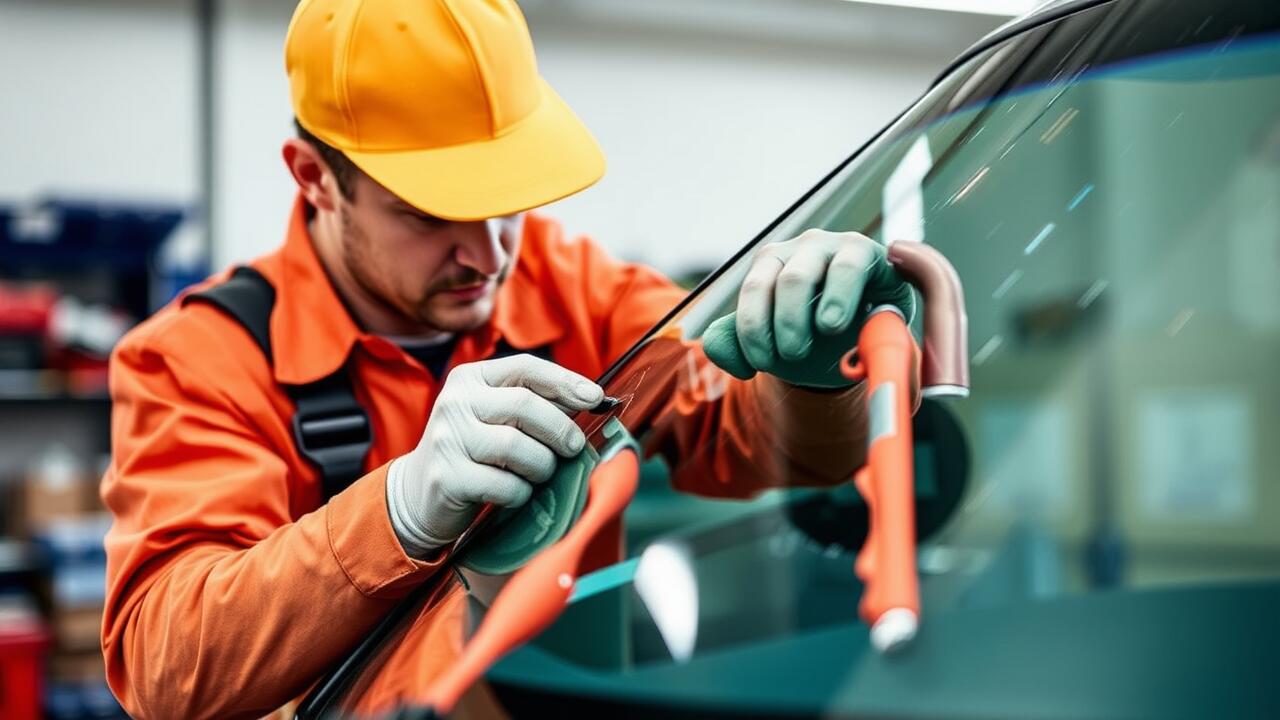
Finishing Touches
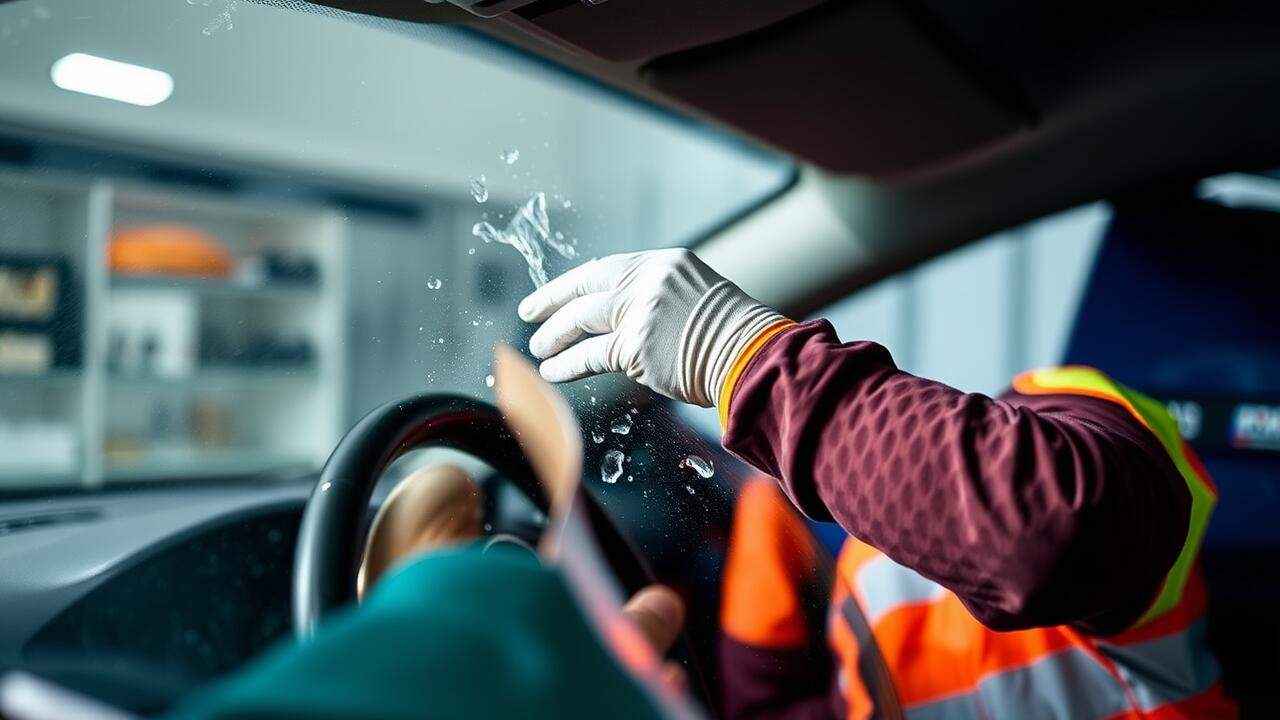
After completing the resin application, the finishing touches are crucial for achieving a seamless repair. Careful attention to detail is necessary during the polishing phase. Start by using a soft, clean cloth to gently buff the area around the chip. This step not only enhances the appearance of the windshield but also helps to ensure that the repair is as smooth as possible, minimizing the visible impact of the chip repair.
For the best results, consider using a glass polish specifically designed for windshield repairs. Apply it according to the product instructions, taking care to avoid applying excessive pressure. Properly finishing a chip repair can significantly improve the overall clarity and visibility of the affected area, making the repair less noticeable and restoring the windshield's integrity.
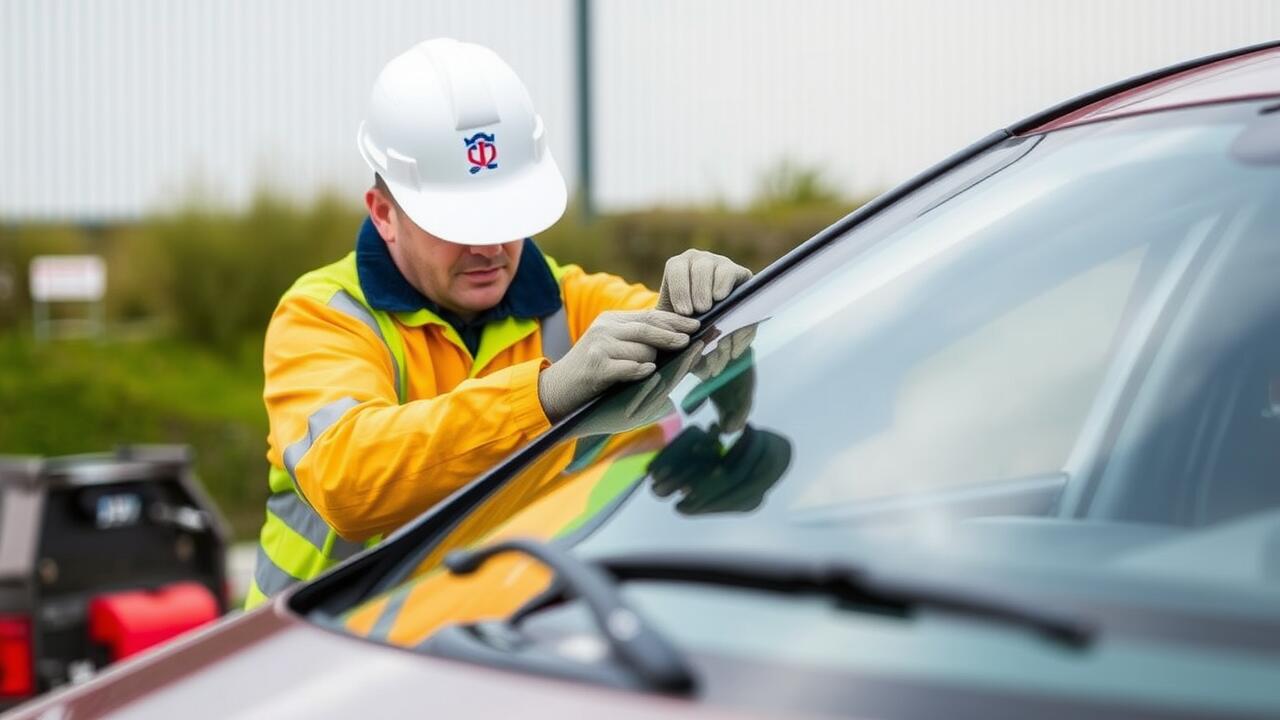
Polishing the Repaired Area
Polishing the repaired area after a chip repair is essential for restoring the windshield's clarity and preventing the repair from being noticeable. Use a fine polishing compound designed specifically for glass to smooth out any rough patches left by the resin. Applying the compound with a soft cloth ensures an even distribution, which helps achieve a surface that closely resembles the original windshield. This step not only enhances aesthetics but also contributes to the overall strength of the repair.
It is crucial to take your time during the polishing process. Rushing can lead to further damage or an uneven finish. After applying the compound, gently buff the area until it shines. A clean and polished repair enhances visibility while driving and provides a degree of protection against environmental elements. Properly finished chip repair can maintain the integrity of the windshield, promoting safety on the road.
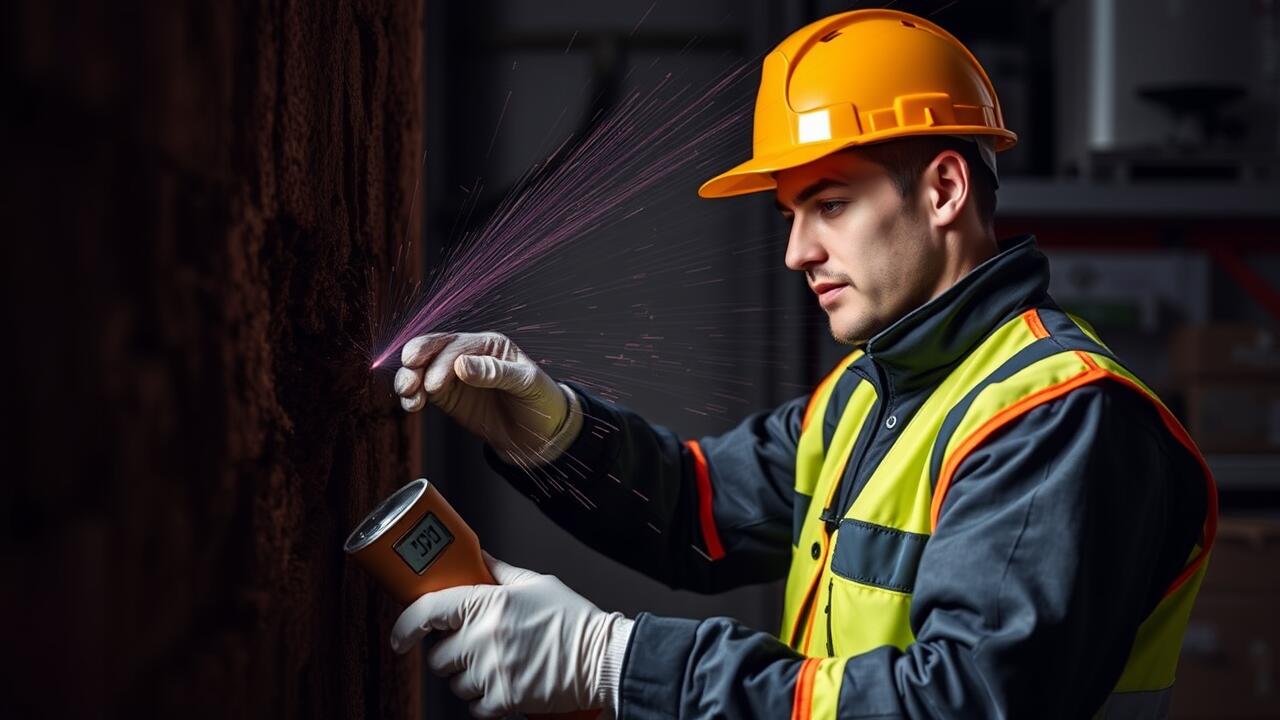
When to Seek Professional Help
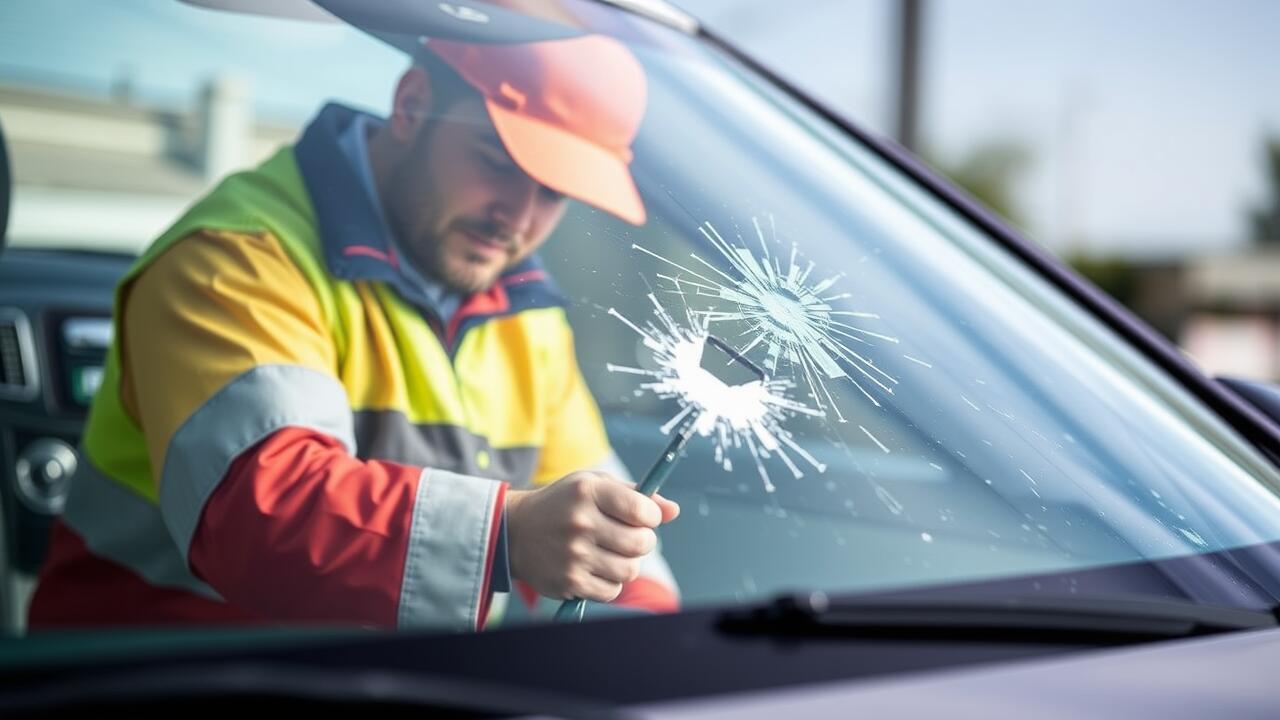
When dealing with windshield damage, it's essential to recognize when a DIY chip repair may fall short of expectations. If the chip is larger than a quarter or has multiple cracks radiating from it, professional intervention becomes crucial. A compromised windshield can not only impair visibility but also diminish the structural integrity of the vehicle. Seeking expert assistance ensures that the repair is performed to industry standards, guaranteeing safety while driving.
Another key indicator that you should consult a professional is if the chip is located in the driver's line of sight. Even if the damage seems minor, a poorly executed chip repair in this area can lead to significant safety risks. Additionally, weather conditions such as temperature changes and moisture may affect the resin used in the repair process. Specialists can provide the necessary skill and equipment to handle these situations effectively, ensuring a durable and clear repair.
Signs That DIY Repair May Not Be Enough
Not all windshield chips are suitable for DIY repair. If the chip is larger than the size of a quarter or has multiple cracks radiating from it, attempting a home fix may not yield the desired results. Additionally, chips located at the edges of the windshield can compromise the structural integrity of the glass, making professional intervention necessary. In such cases, repairing the chip may not only be ineffective but could also lead to more significant issues.
Another factor to consider is the age and depth of the chip. If moisture or dirt seeped into the crack, the effectiveness of the resin used in the chip repair diminishes. It is crucial to recognize when the damage has progressed beyond a simple fix. Ignoring these signs could lead to further damage, potentially necessitating a complete windshield replacement. Understanding when DIY chip repair is insufficient can save both time and money in the long run.
FAQS
Can I fix a chip in my windshield myself?
Yes, you can fix a chip in your windshield yourself using a windshield repair kit, but it's important to follow the instructions carefully for the best results.
What materials do I need to fix a chip in my windshield?
You'll typically need a windshield repair kit, which includes resin, a syringe for applying the resin, and a curing film. Some kits may also include a razor blade for smoothing the area.
How long does it take for the resin to cure?
The curing time can vary depending on the product used and weather conditions, but it usually takes about 30 minutes to an hour for the resin to cure properly.
What are the signs that I should seek professional help instead of attempting a DIY repair?
If the chip is larger than a quarter, located near the edges of the windshield, or if there are multiple chips, it's best to seek professional help as DIY repairs may not be sufficient.
Can I drive my car while the windshield repair is curing?
It's recommended to avoid driving while the resin is curing to prevent any movement that could affect the repair's effectiveness.