Table Of Contents
Curing the Repair
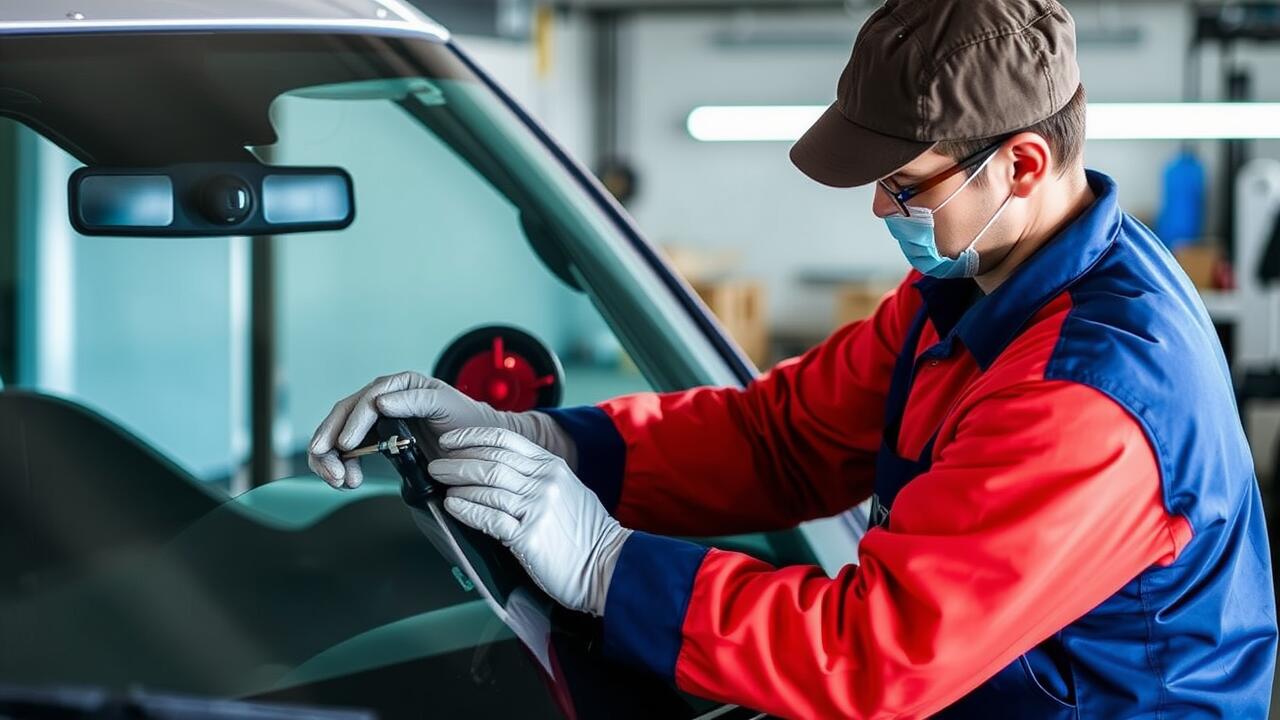
Curing the repair effectively is crucial for the longevity and stability of the chip repair. After applying the resin into the chip, it is important to follow the instructions provided with the repair kit regarding curing time. This period allows the resin to bond properly with the glass surface, creating a durable seal. Proper curing minimizes the risk of the chip spreading or becoming more visible over time.
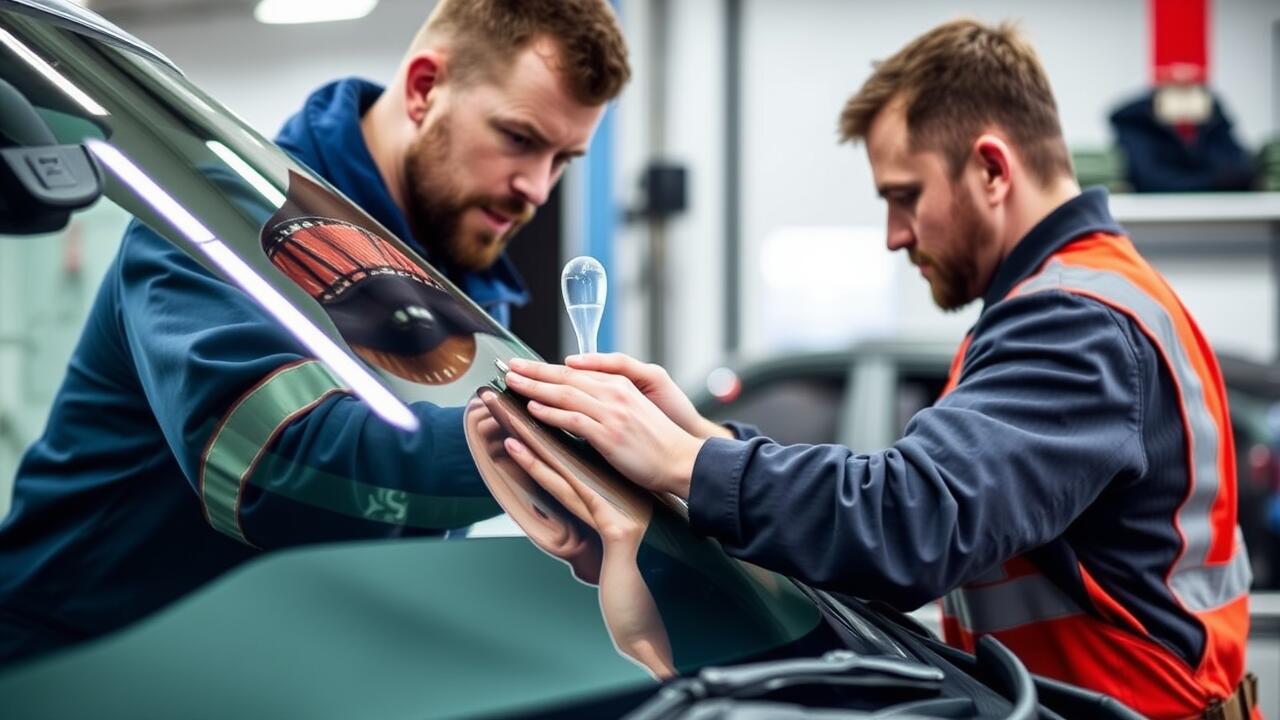
To expedite the curing process, consider using a UV light if your repair kit comes with one. This tool can significantly reduce the necessary wait time for the resin to harden. Ensure the area is free from dust and moisture during this process to avoid complications. A well-cured chip repair not only restores the integrity of the windshield but also helps maintain clear visibility while driving.
Importance of Proper Drying Time
Proper drying time is crucial when performing chip repair on your windscreen. After applying the resin, it is essential to allow it to cure fully before any additional handling or use of the vehicle. Insufficient drying time can lead to incomplete adhesion and a weakened seal, potentially causing the repair to fail. This not only impacts the longevity of the fix but may also exacerbate the original damage, leading to further complications.
Monitoring the temperature and humidity levels during the drying period can significantly affect the outcome of the chip repair. Extreme temperatures or moisture can hinder the curing process, resulting in poor results. For optimal performance, the repaired area should be shielded from direct sunlight and excessive wind to ensure an even drying process. Being patient and allowing adequate time for the repair to set will ultimately yield the best results and preserve the integrity of your windscreen.
Checking Your Work
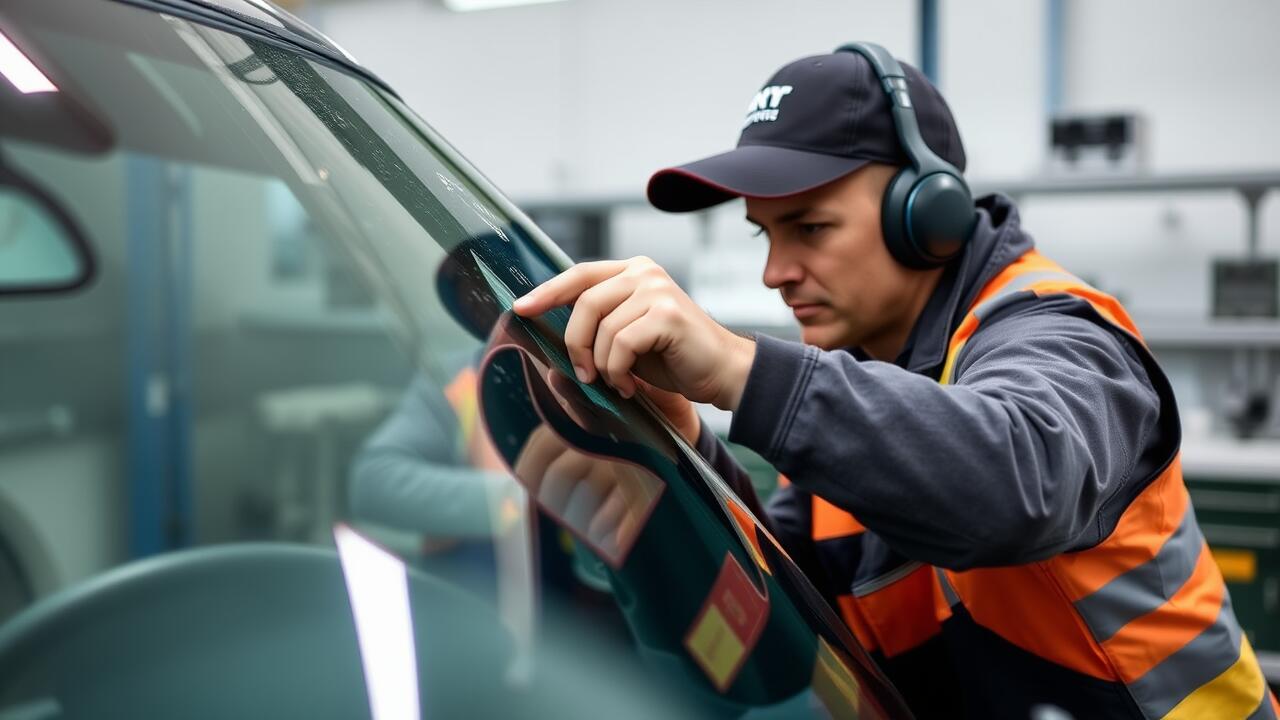
After completing the Chip Repair process, it's essential to evaluate the quality of your work. Start by inspecting the repaired area for clarity and visibility. Look for any remaining air bubbles or imperfections that could compromise the integrity of the repair. A well-executed repair should result in minimal visibility of the original chip, providing a clear view through the glass. If any issues are detected, you may need to repeat the repair process to achieve satisfactory results.
Next, check the surrounding area of the chip for any signs of damage or stress that may have been overlooked. Even if the chip itself appears to be repaired, cracks or weakness in the surrounding glass can pose potential problems later on. It's crucial to ensure that the entire windshield is in good condition to maintain safety while driving. Regular inspection can help catch any issues early and ultimately contribute to the longevity of your windshield after a Chip Repair.
Evaluating the Quality of the Repair
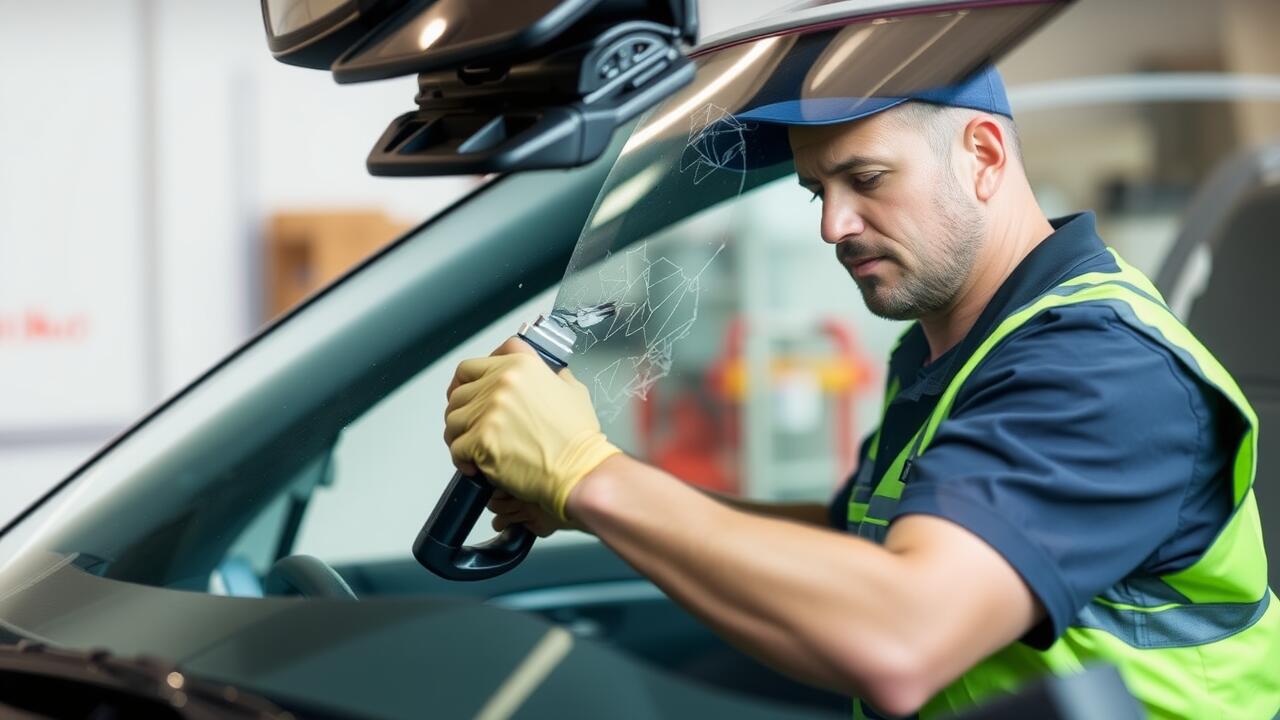
Once you have completed your chip repair, evaluating the quality of your work is crucial. Examine the repair closely under varying lighting conditions. Ensure that the resin has properly filled the chipped area and is flush with the surface of the glass. Look for any air bubbles or imperfections. A well-executed chip repair should be nearly invisible from a distance and should reflect light similarly to the surrounding glass.
Additionally, assess the structural integrity of the repair. Gently press on the area around the repair to check for any signs of weakness. If the chip repair is done correctly, the glass should feel solid and stable. Noticing any cracks spreading from the original chip or difficulties in seeing through the repaired area could indicate a flawed job. Proper evaluation helps ensure that the repair will hold up over time and maintain the safety of the vehicle.
Safety Considerations
When undertaking chip repair, safety should be a top priority. Make sure to work in a well-ventilated area to minimize exposure to fumes from repair resin. Wearing protective eyewear can prevent any potential injury from glass shards or resin splashes. Additionally, keep all tools organized and use them as directed to avoid accidents during the repair process.
It is also important to consider the condition of your vehicle while performing a chip repair. Ensure the car is parked on a stable surface to prevent slips or falls. Avoid distractions from mobile devices or other equipment that could divert your attention. Taking these precautions will help create a secure environment for completing the chip repair effectively and safely.
Ensuring a Secure Work Environment
When embarking on a chip repair project, establishing a secure work environment is crucial for both safety and effectiveness. Start by selecting a well-lit area with ample space to maneuver. Remove any obstacles or distractions that could interfere with the repair process. Wearing appropriate protective gear is also important. Safety goggles and gloves can help prevent potential injuries from resin or sharp glass shards.
Additionally, consider the vehicle's stability during the repair. Park the car on a level surface to avoid any unwanted movement while you work. Ensure that windows are closed to prevent debris from entering the vehicle, which could complicate the chip repair. By prioritizing a secure environment, you enhance your ability to complete the job efficiently and safely.
FAQS
Can I fix a windscreen chip myself?
Yes, you can fix a windscreen chip yourself if you have the right tools and materials, as well as a bit of patience and attention to detail.
What tools do I need to repair a windscreen chip?
To repair a windscreen chip, you will typically need a windscreen repair kit, which includes resin, a syringe or injector, a razor blade, and a curing film.
How long does it take for a windscreen chip repair to set?
The curing time for a windscreen chip repair can vary but generally takes about 30 minutes to an hour, depending on the specific resin used and the environmental conditions.
Are there any safety precautions I should take while repairing a windscreen chip?
Yes, ensure you are in a secure work environment, use protective eyewear, and follow the instructions provided with your repair kit to minimize risks.
How can I evaluate the quality of my windscreen chip repair?
After the repair is complete, check for clarity by looking through the repaired area; it should be almost invisible. You can also check for any remaining cracks or air bubbles.