Table Of Contents
Curing the Repair
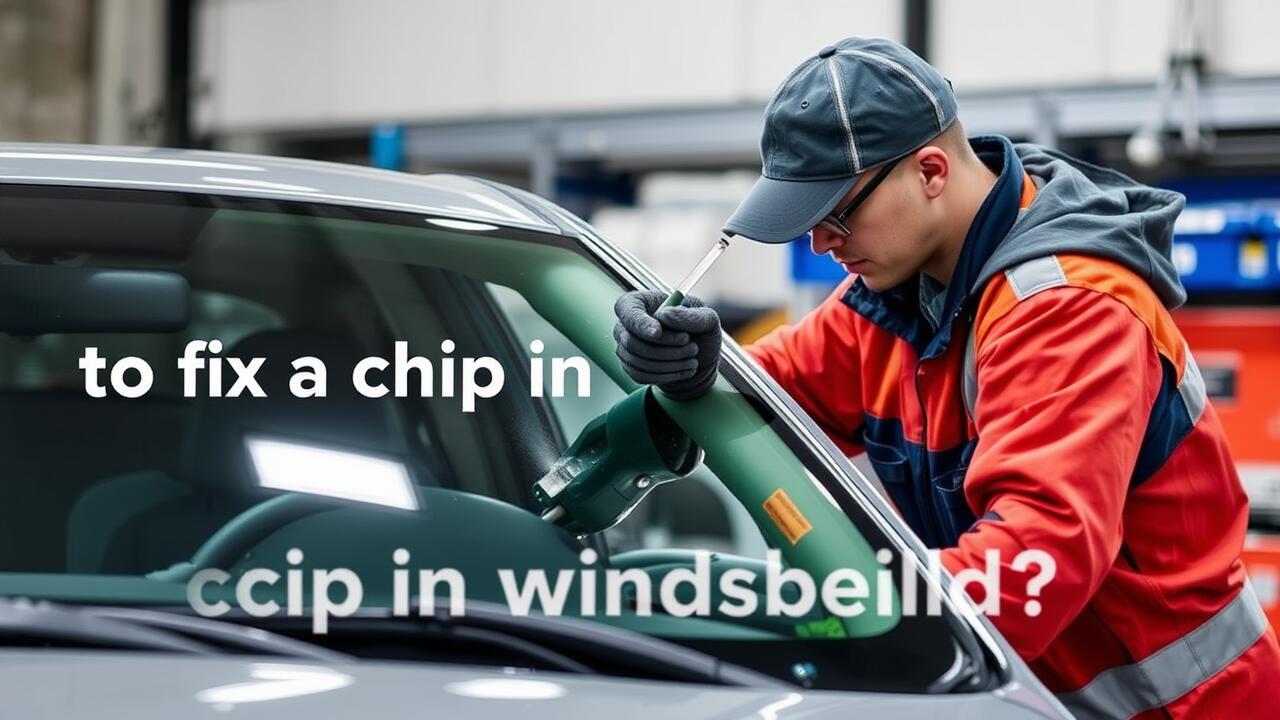
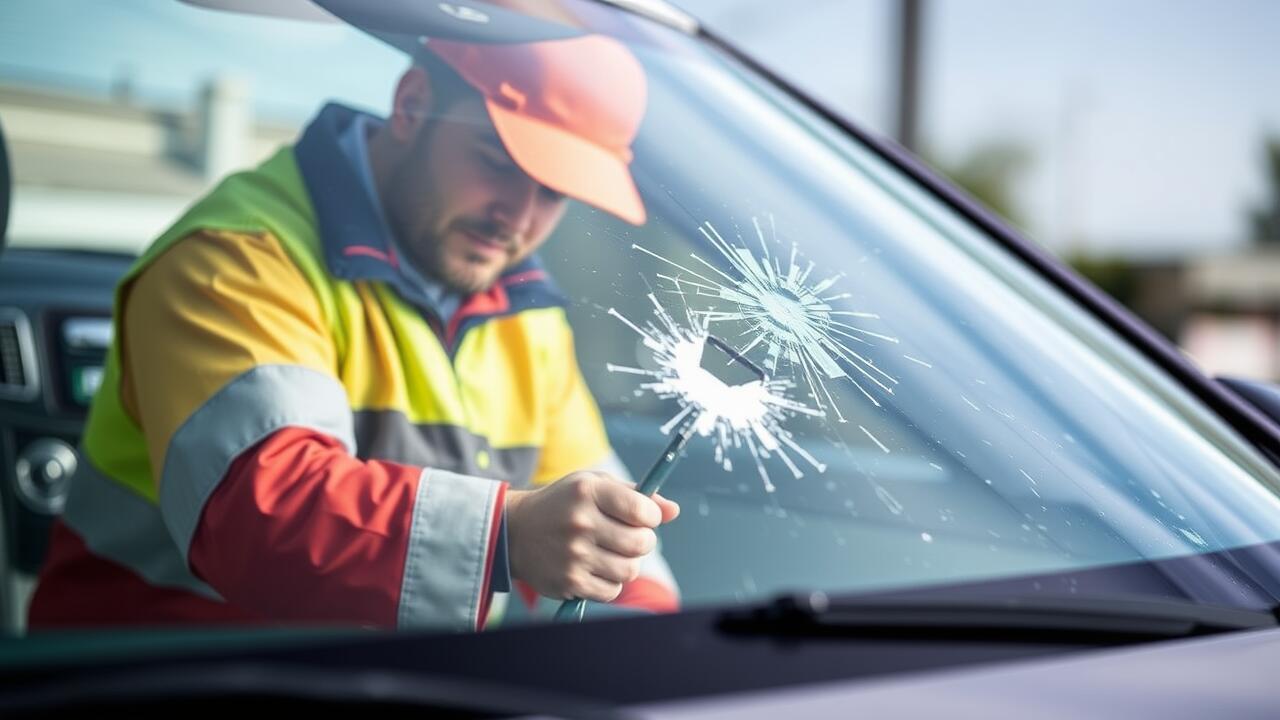
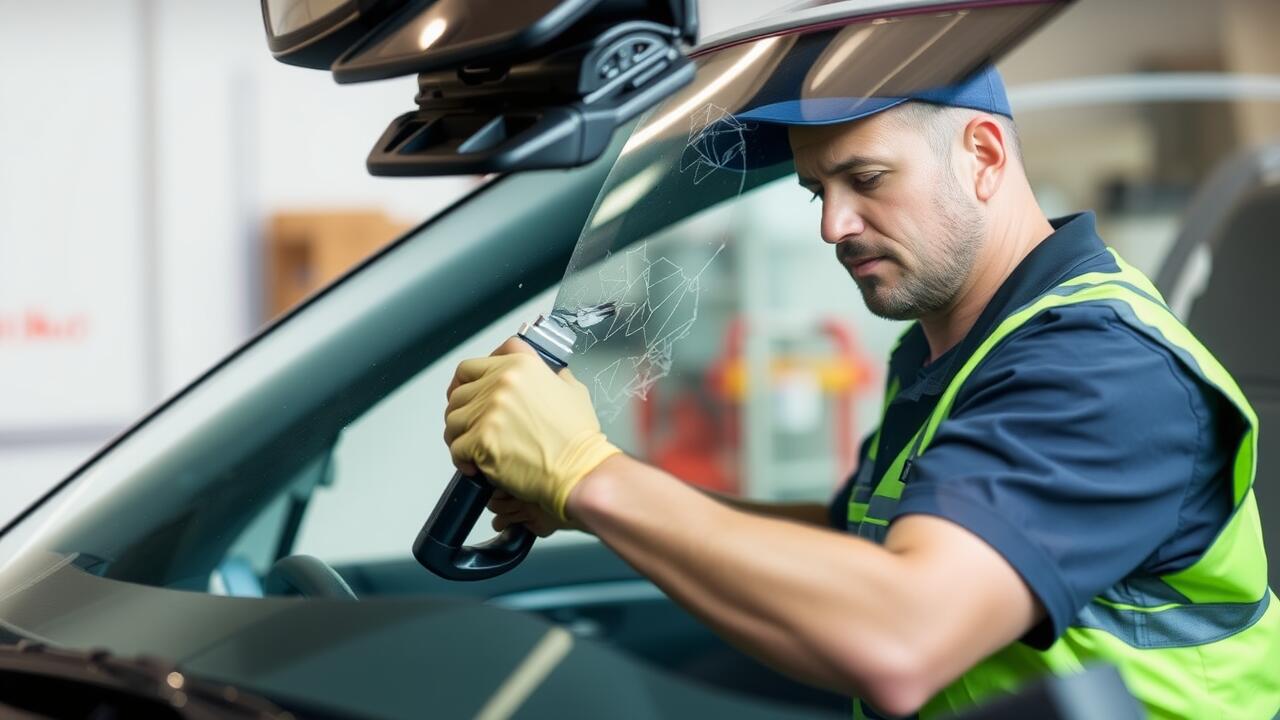
After completing the initial steps of your windscreen chip repair, the next phase is curing the repair resin. This process ensures that the resin hardens properly, forming a durable bond within the chip. Utilizing UV light or natural sunlight can enhance the curing process. If your repair kit includes a UV lamp, position it over the chip for the recommended time as specified in the product instructions. If relying on sunlight, make sure the car is parked in a suitable spot with ample direct light.
Once the resin cures, check for any excess material around the chip area. It is essential to smooth out the surface using a razor blade provided in your repair kit. This will help prevent distortion in your field of vision. Properly cured and polished, the chip repair should blend seamlessly with the surrounding glass. Ensuring that you follow these guidelines will enhance the effectiveness and longevity of your windscreen repair.
Proper Techniques for Optimal Results
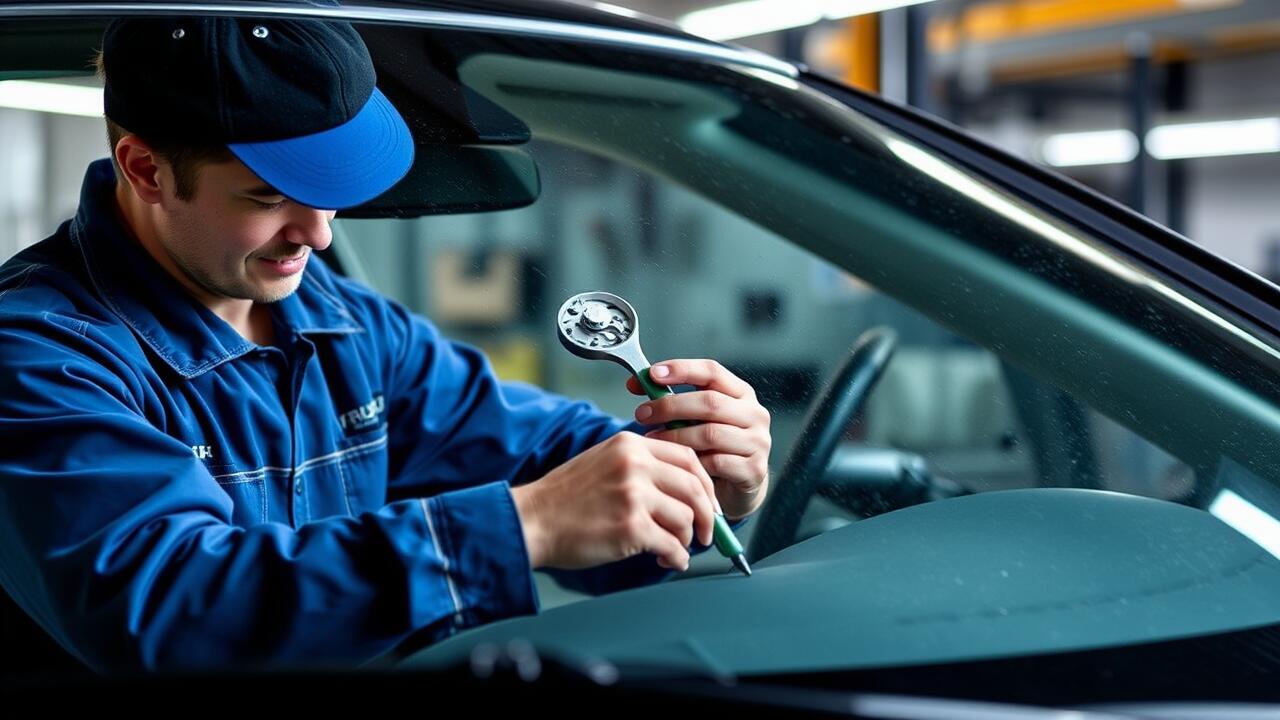
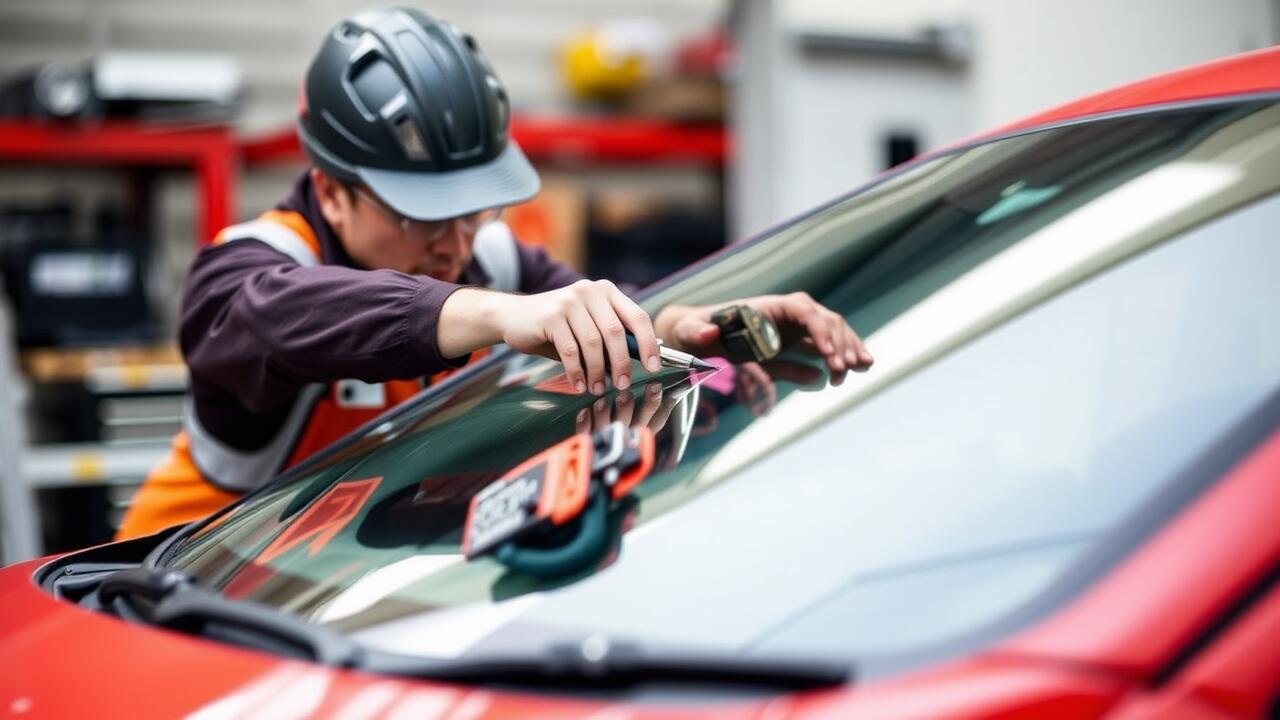
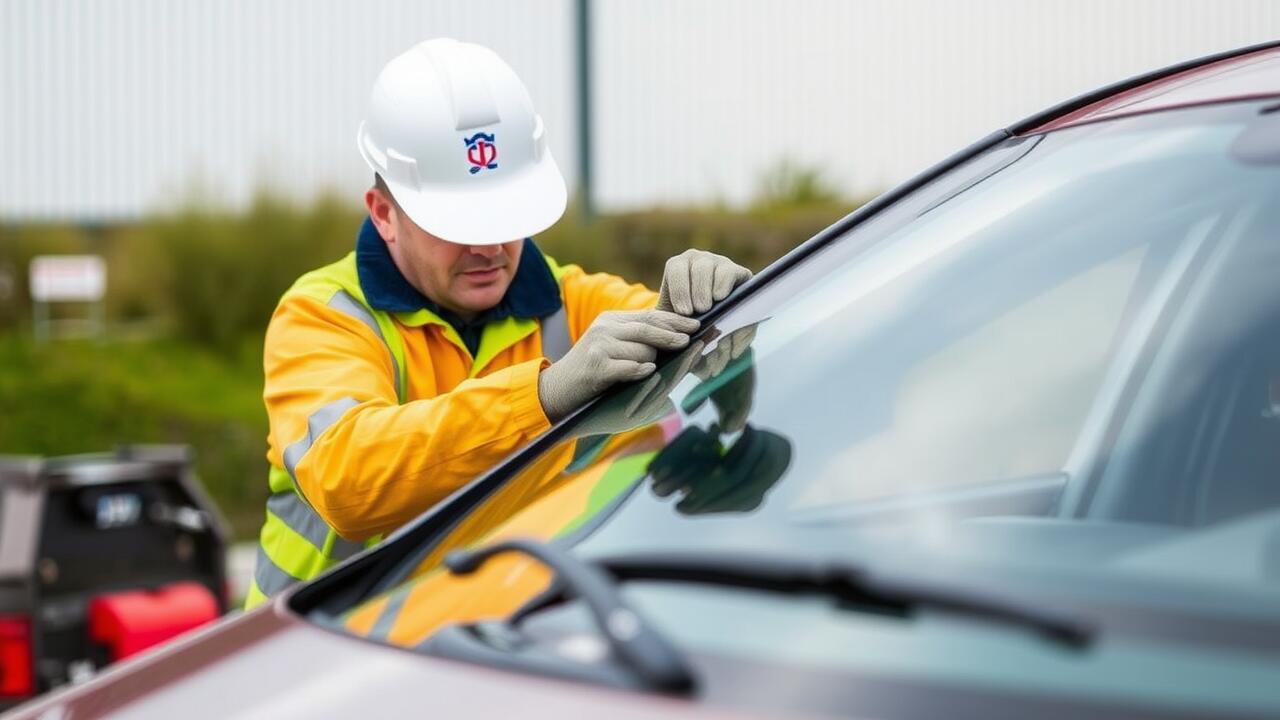
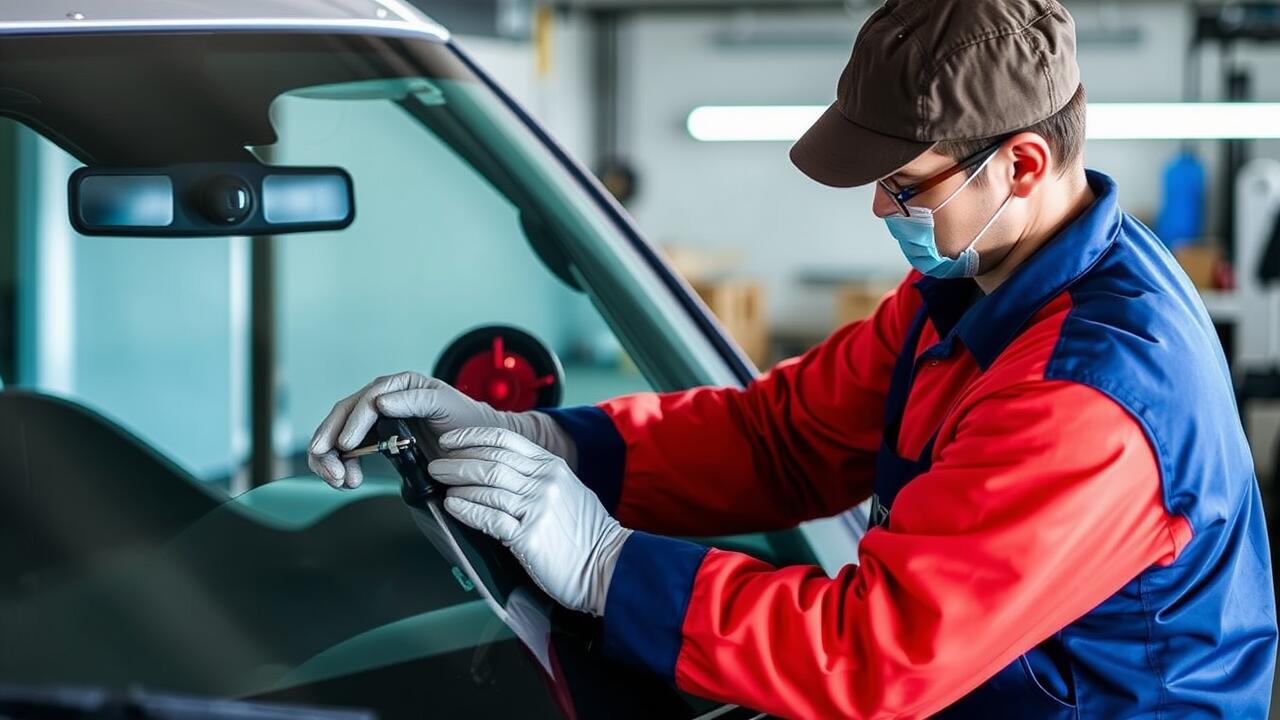
Careful preparation is essential for achieving optimal results in chip repair. Start by cleaning the area surrounding the chip thoroughly. Use a mild detergent and water to remove any dirt and debris, ensuring the surface is dry before applying any repair material. This step helps the adhesive bond better, which improves the effectiveness of the repair. Follow the instructions provided with the chip repair kit to ensure accuracy in applying the resin.
After the repair resin has been applied, allow adequate time for it to cure fully. This typically involves exposing the repair to UV light or leaving it in a safe environment where it can set undisturbed. Avoid any moisture, dirt, or movement during this curing process. Making sure the resin is evenly distributed and free of air bubbles will greatly enhance the durability and appearance of the chip repair. Regular checks during the curing period can help catch any issues before they result in a subpar finish.
Post-Repair Inspection
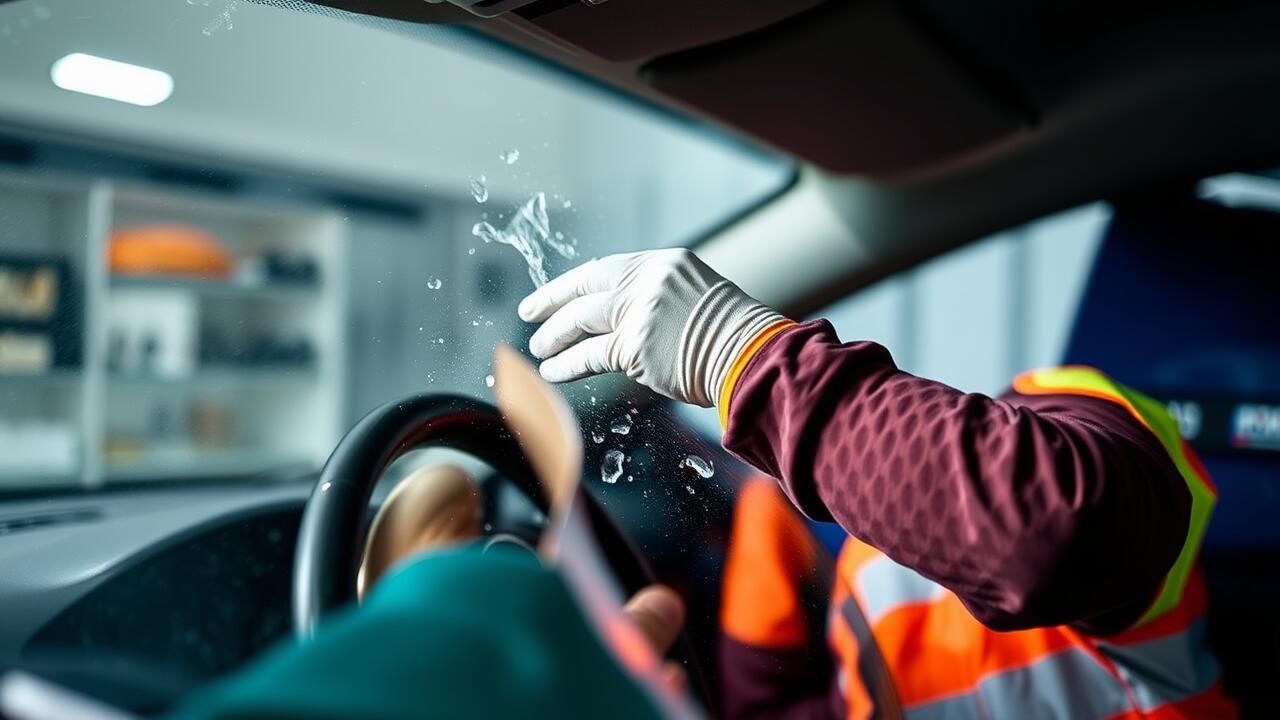
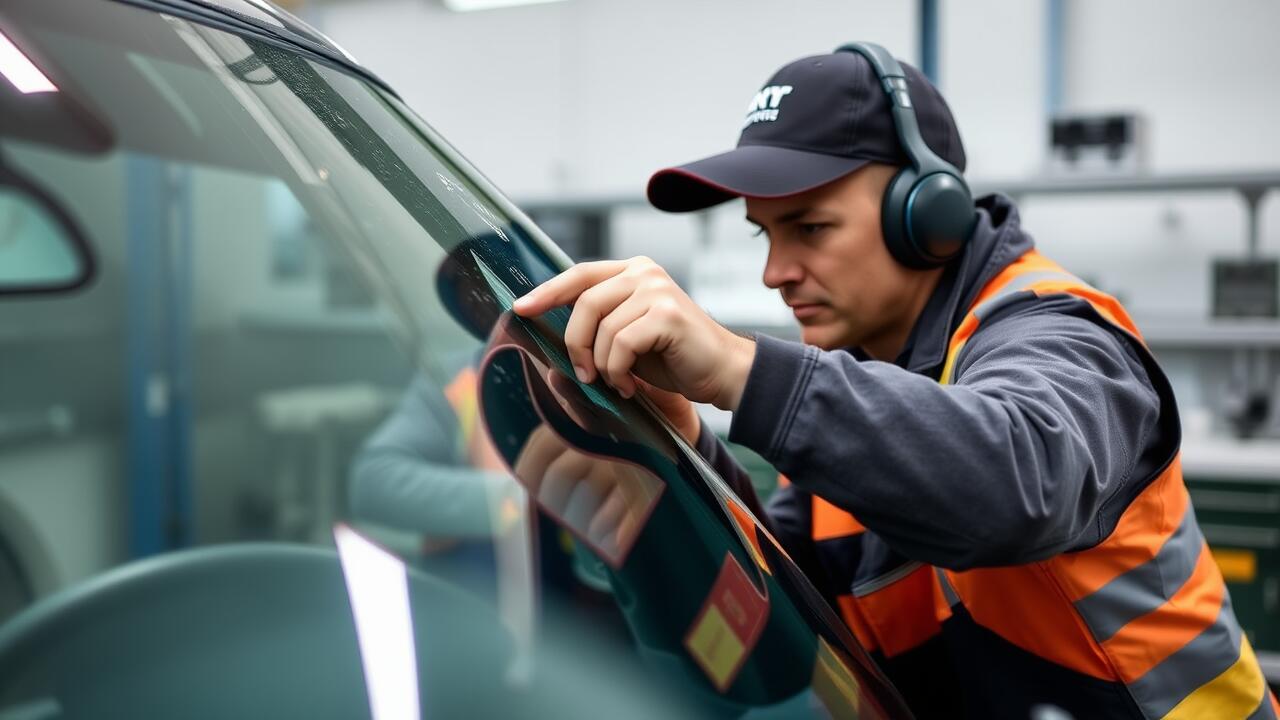
After completing the chip repair, it's essential to conduct a thorough inspection to ensure that the repair has been successful. Begin by examining the area closely for any signs of remaining damage. Look for cracks or imperfections that may not have been fully addressed during the process. A well-done chip repair should leave minimal visual imperfections and restore the integrity of the windscreen.
In addition to visual assessment, check for any distortion in your line of sight caused by the repair. Sit in the driver’s seat and view the road through the repaired area. If there is noticeable distortion or if the repair is distracting while driving, it may require further attention. Properly executed chip repair helps maintain visibility and safety while on the road.
Evaluating the Repair Quality
Once the chip repair process is complete, it is essential to assess the quality of the repair. Start by visually inspecting the area where the repair was conducted. The repaired section should be nearly invisible, blending seamlessly with the surrounding glass. Look for any air bubbles, cracks, or imperfections that may indicate a faulty repair job. Proper lighting can help illuminate any issues that need attention, ensuring a comprehensive evaluation.
Additionally, consider the structural integrity of the windscreen post-repair. Tap gently on the repaired area to check for any weakness or unusual sounds. A successful chip repair should restore the windscreen's strength and help prevent the spread of damage. If you notice any signs of failure or if the repair does not meet your expectations, seeking professional assistance may be necessary to address the concerns effectively.
Maintaining Your Windscreen
Proper maintenance of your windscreen can significantly extend its lifespan and enhance your driving safety. Regularly clean your windshield with a soft cloth and a suitable glass cleaner to remove dirt and grime. Avoid using abrasive materials that can scratch the surface. Pay attention to temperature changes; rapid shifts can weaken the integrity of the glass. Taking care of minor issues, like a chip repair, as soon as they occur can prevent larger cracks that may require replacement.
Additionally, it's essential to park in shaded areas whenever possible to reduce sun exposure and minimize heat buildup. Investing in a good quality windscreen cover can also protect against UV rays and extreme weather conditions. Regular inspections for chips, cracks, and other signs of wear can help you catch issues before they escalate, allowing you to perform timely repairs. Effective chip repair techniques, combined with vigilant maintenance, contribute to a clearer view and a safer driving experience.
Tips for Preventing Future Damage
Regular maintenance of your windscreen can significantly reduce the likelihood of future damage. Ensure that your windshield wipers are in good condition. Worn-out blades can scratch the glass, making it more susceptible to chips. Keep the glass clean; dirt and debris can cause wear over time. Parking in shaded areas or using sunshades can protect the windscreen from extreme temperatures, which may lead to cracks.
Driving cautiously also plays a vital role in preventing windscreen damage. Be mindful of road conditions and avoid driving behind large vehicles that may kick up rocks or debris. If possible, steer clear of rough roads that can jolt your car and cause minor chips. Even with the best precautions, smaller chips can occur. Addressing them quickly with effective chip repair helps maintain the integrity of your windscreen.
FAQS
Can I really repair a windscreen chip myself?
Yes, with the right tools and materials, you can successfully repair a windscreen chip yourself. However, it’s important to follow proper techniques for optimal results.
What materials do I need for a DIY windscreen chip repair?
You will need a windscreen repair kit, which typically includes a resin, a suction tool, a razor blade, and a cleaning cloth. Make sure to read the instructions provided with the kit for any additional requirements.
How long does it take to repair a windscreen chip?
The time for a DIY windscreen chip repair can vary, but the actual application process usually takes about 30 minutes to an hour, depending on the size and type of chip. Curing the repair can take longer, typically a few hours.
What should I do after completing the repair?
After completing the repair, allow the resin to cure fully as per the instructions before driving the vehicle. It’s also recommended to perform a post-repair inspection to evaluate the quality of the repair.
How can I prevent future windscreen damage?
To prevent future damage, try to avoid driving behind large vehicles that may kick up debris. Regularly check your windscreen for any minor chips and address them promptly, and maintain a safe following distance to minimize risks.