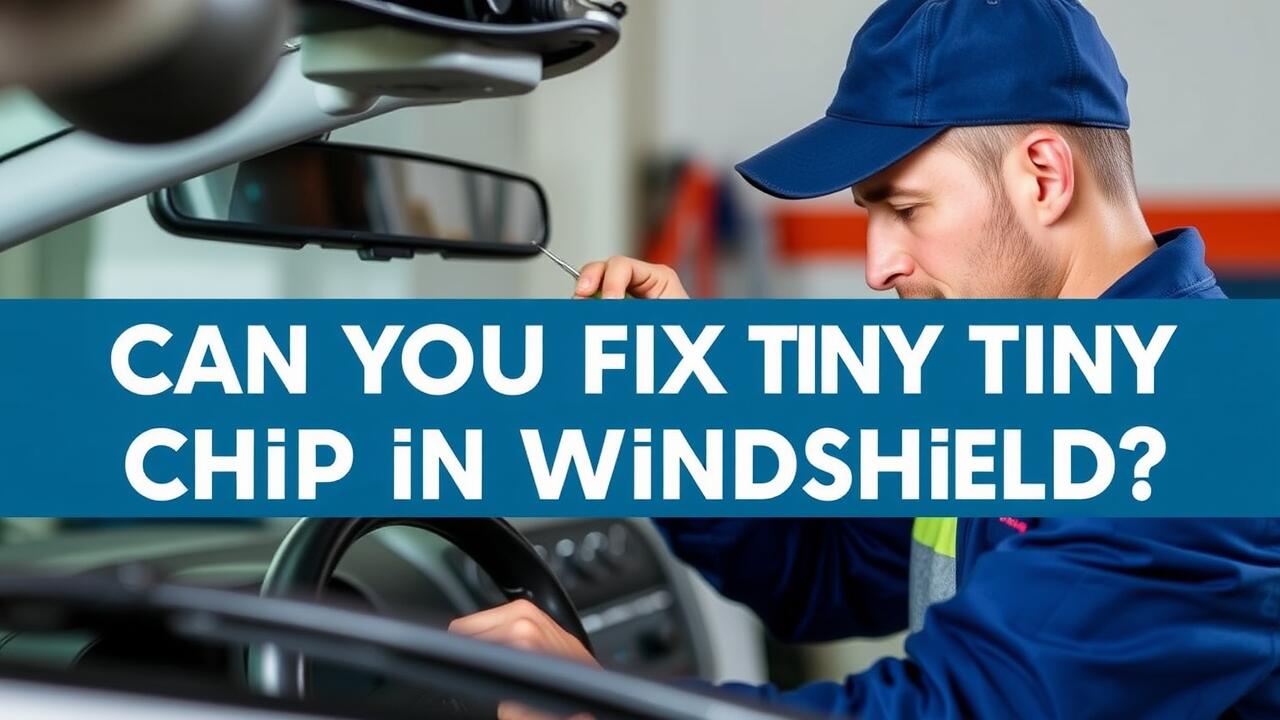
Table Of Contents
Curing the Repair
After applying the resin during the chip repair process, the next crucial step involves curing the repair. Curing is essential as it allows the resin to harden and bond with the glass. Most DIY kits come with a UV light or suggest exposure to sunlight for effective curing. The right amount of time spent under UV light or sunlight depends on the specific resin used, so following the manufacturer’s instructions is important to achieve a proper bond.
Factors influencing the curing time can include temperature, humidity, and the quality of the resin applied. In colder or more humid conditions, curing may take longer than expected. It is beneficial to monitor the repair as it cures, ensuring that there are no air bubbles and that the resin has fully penetrated the chip. Ensuring optimal conditions for curing will contribute to the overall success and longevity of the chip repair.
Factors Affecting Cure Time
Cure time plays a crucial role in the effectiveness of any chip repair. Environmental factors, such as temperature and humidity, significantly influence how quickly the resin hardens. A warmer environment generally accelerates the curing process, while high moisture levels can slow it down, potentially leading to incomplete or uneven curing. Ensuring the right conditions can make a substantial difference in the long-term durability of the repair.
The type of resin used also impacts the cure time. Different formulations possess varying properties, resulting in distinct hardening times. Some resins may cure quickly, allowing for a faster turnaround, while others might require a longer period to set adequately. It's vital to follow the manufacturer’s instructions for the resin being used to achieve optimal results in any chip repair scenario.
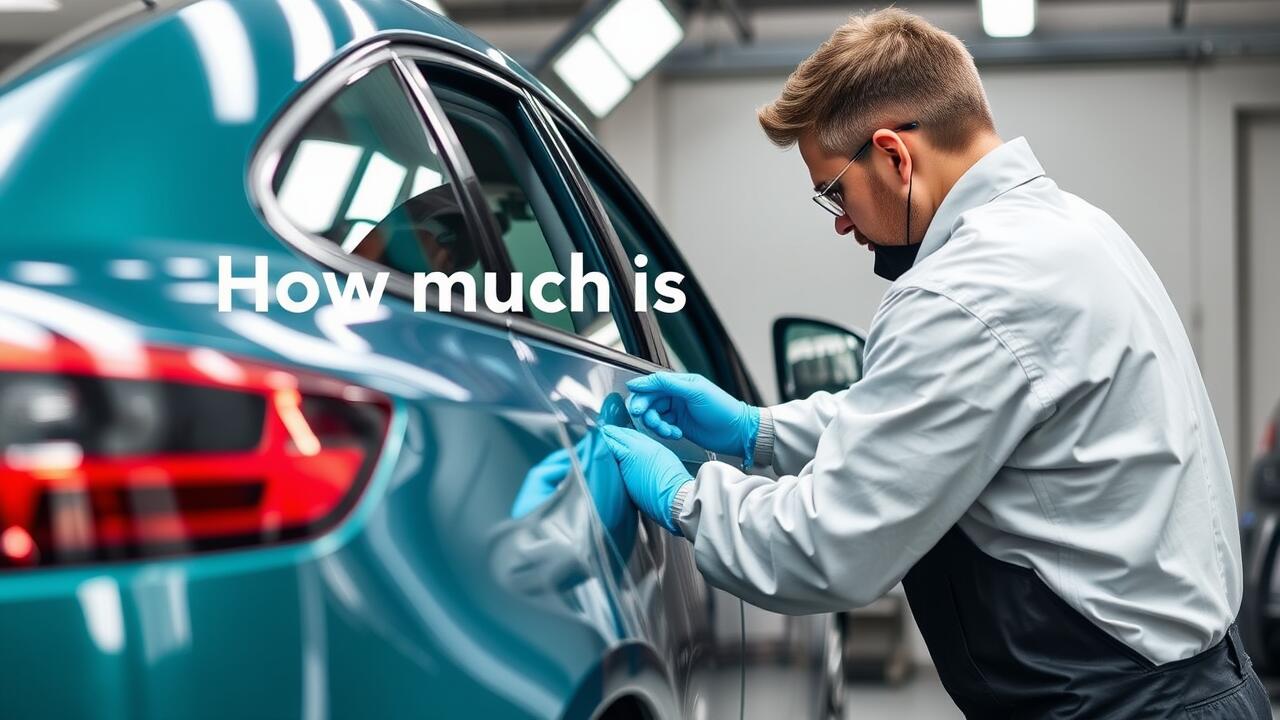
Cleaning Up After Repair
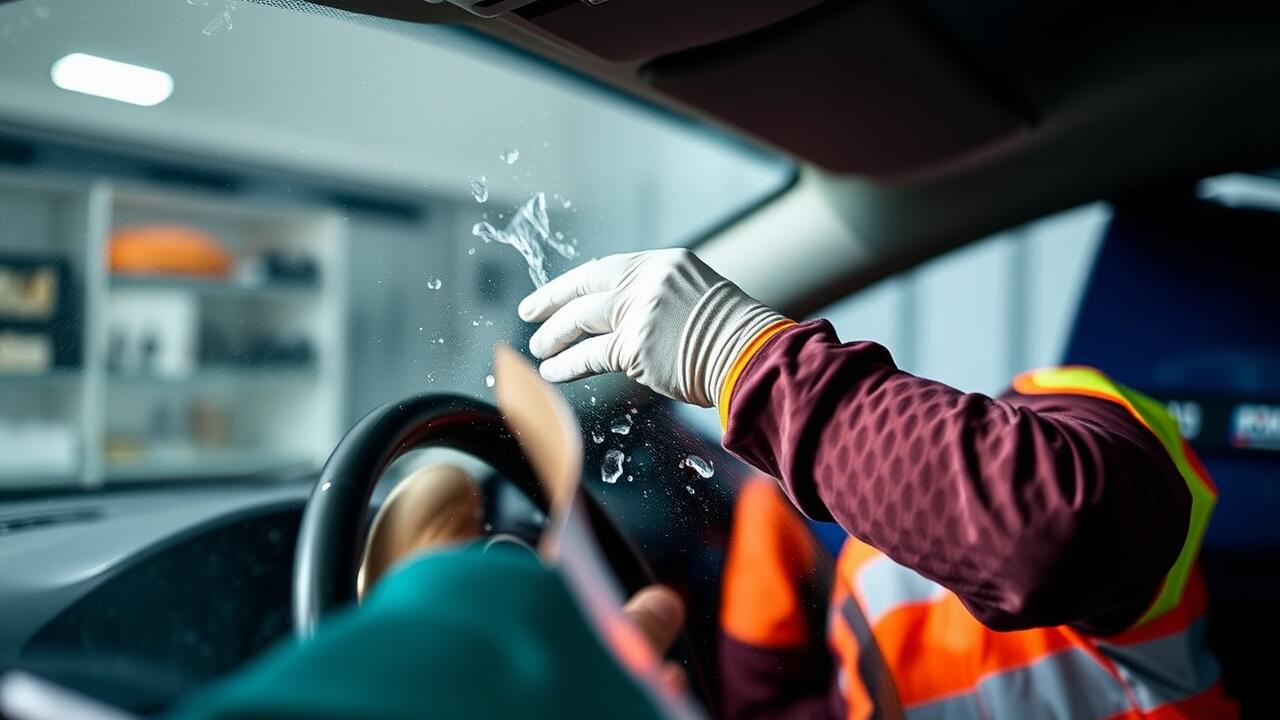
Once the chip repair has cured, it’s important to clean up any excess materials left behind. Using a razor blade, carefully scrape away any resin that has overflowed from the repair area. Take your time with this step, as a steady hand ensures you don’t accidentally scratch the windshield. A microfiber cloth can help wipe away any remaining debris and give the area a polished look.
After removing the excess resin, checking the repaired chip for clarity is crucial. Inspect your work to ensure that the repair is barely noticeable and does not obstruct the driver’s view. If there are any imperfections, they can sometimes be smoothed out with a little more resin. Proper cleaning and inspection enhance the outcome of the chip repair and contribute to the overall lifespan of the windshield.
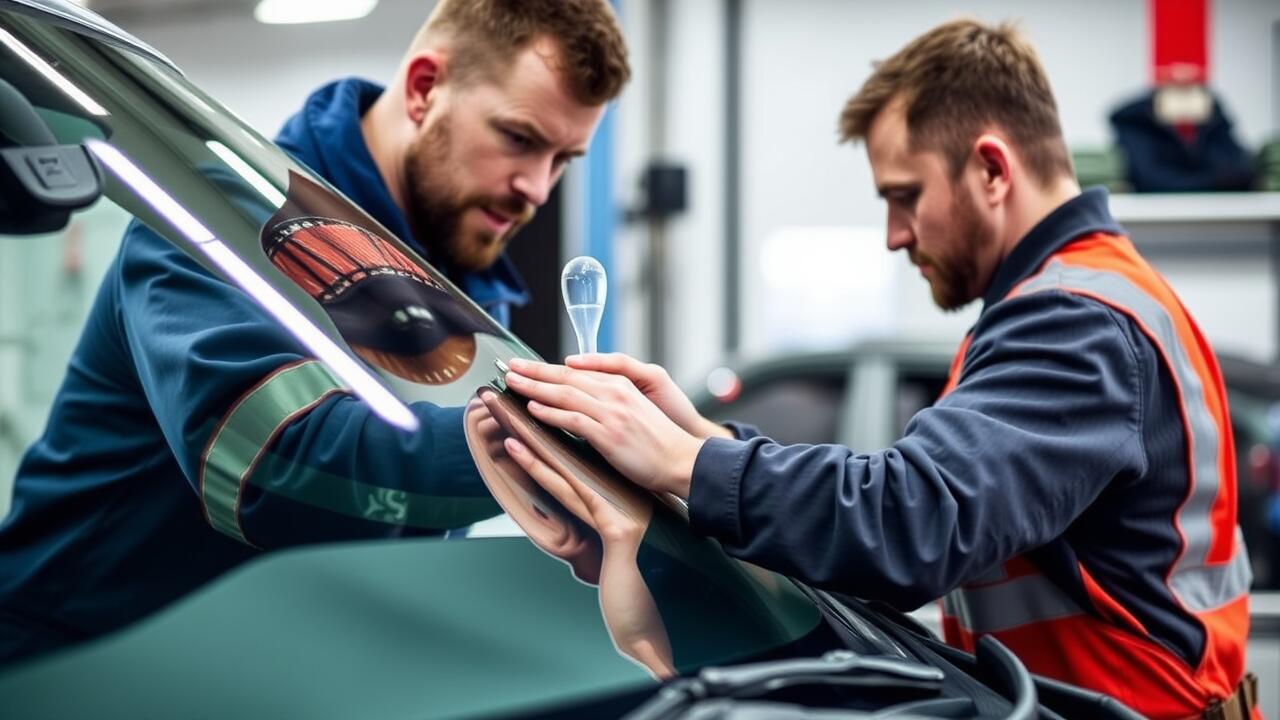
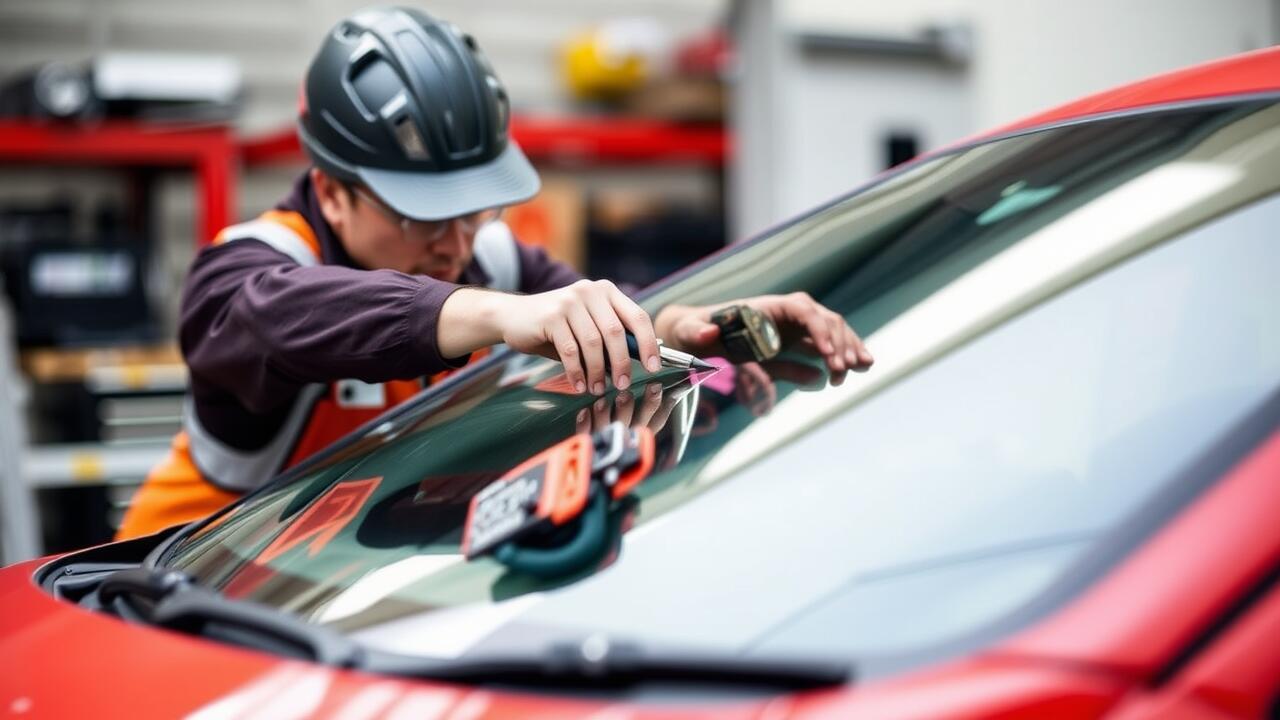
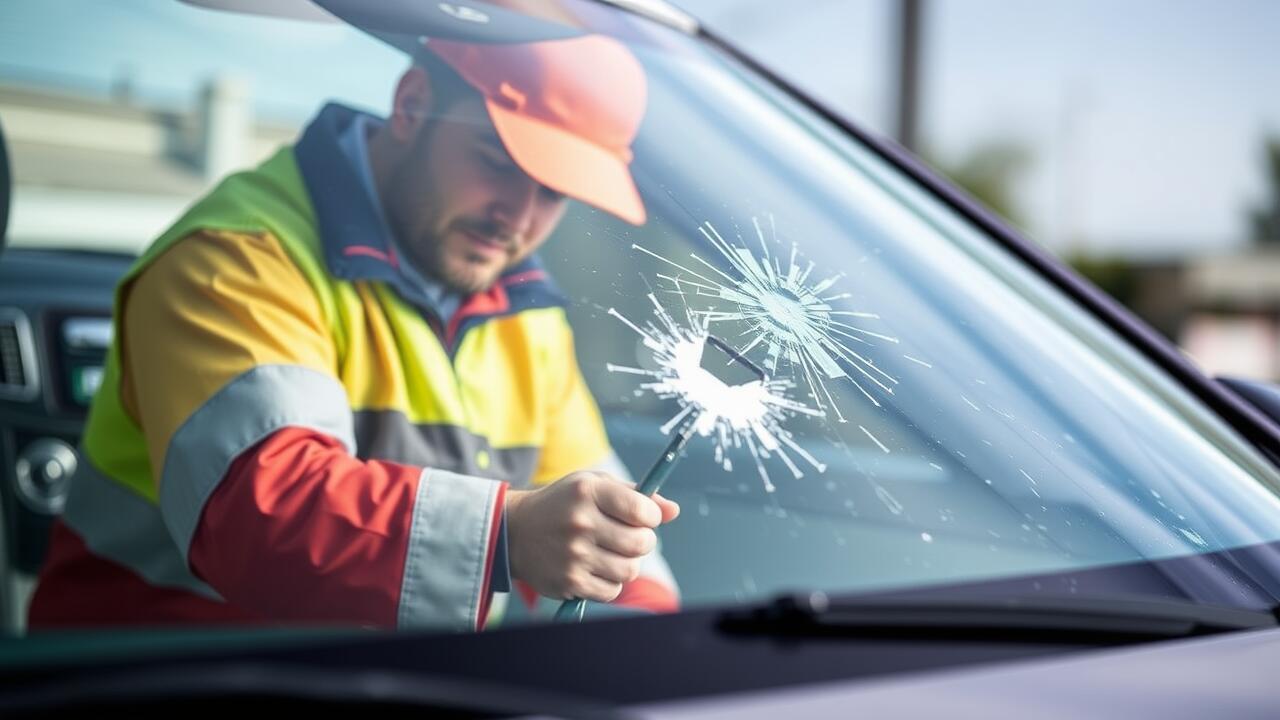
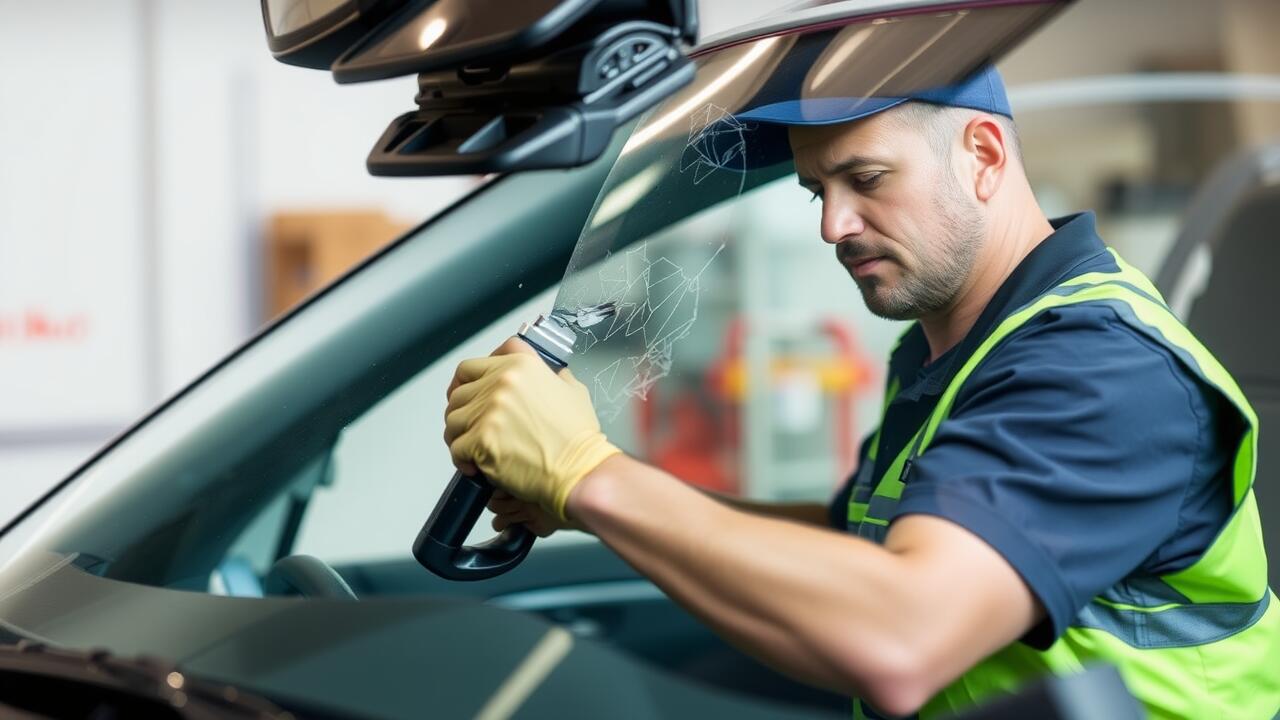
Removing Excess Resin
After completing the chip repair process, it's important to address any excess resin that may remain on the windshield. This surplus resin can obstruct visibility and detract from the overall appearance of the glass. Using a sharp blade or razor, gently scrape away the excess resin while ensuring not to scratch the surrounding glass. Take care to apply even pressure to avoid damaging the windshield's surface.
Once the resin has been removed, a microfiber cloth can be used to clean the area. This process will help restore clarity and polish to the windshield. It is advisable to inspect the area closely to ensure all excess resin has been cleared. A clean finish not only enhances visual appeal but also ensures that the integrity of the chip repair is maintained.
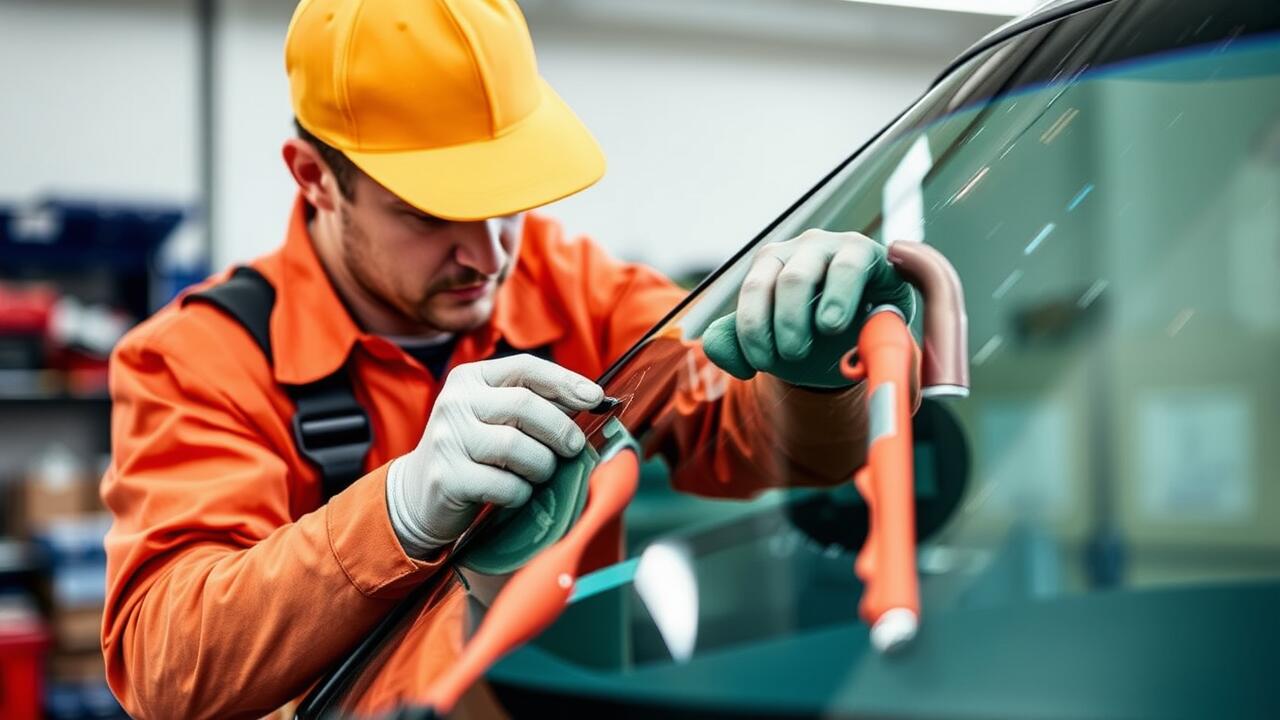
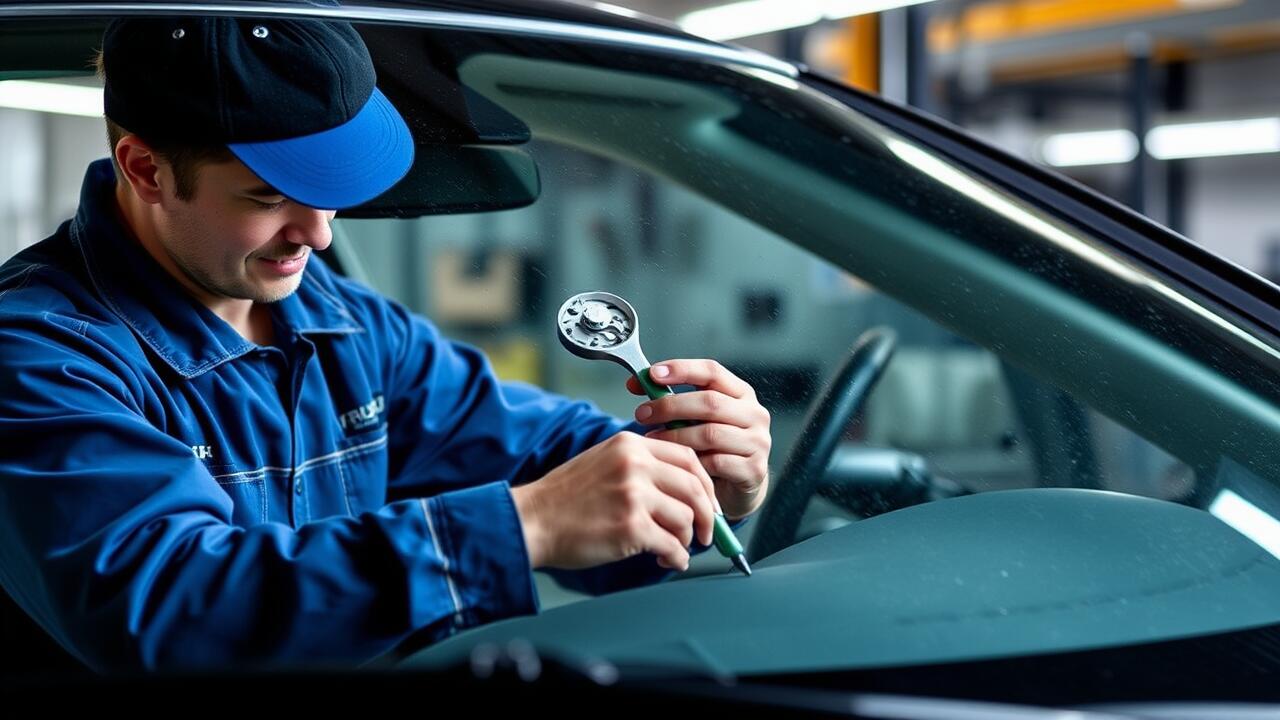
Testing the Repair
Once the resin has cured, it’s essential to test the integrity of the chip repair. A proper assessment involves inspecting the area visually to ensure that the repair has filled the chip effectively. Cracks or gaps may indicate that the repair did not bond correctly or that additional resin is necessary. Make sure to check for any distortion in the glass that could affect visibility.
Furthermore, testing the repair for structural integrity is crucial. Applying gentle pressure around the chip can help determine if the repair holds under stress. If the resin shifts or if any cracks extend from the original chip, the repair may not be sufficient. Properly executing a chip repair not only restores the appearance of the windshield but also helps retain its strength and durability on the road.
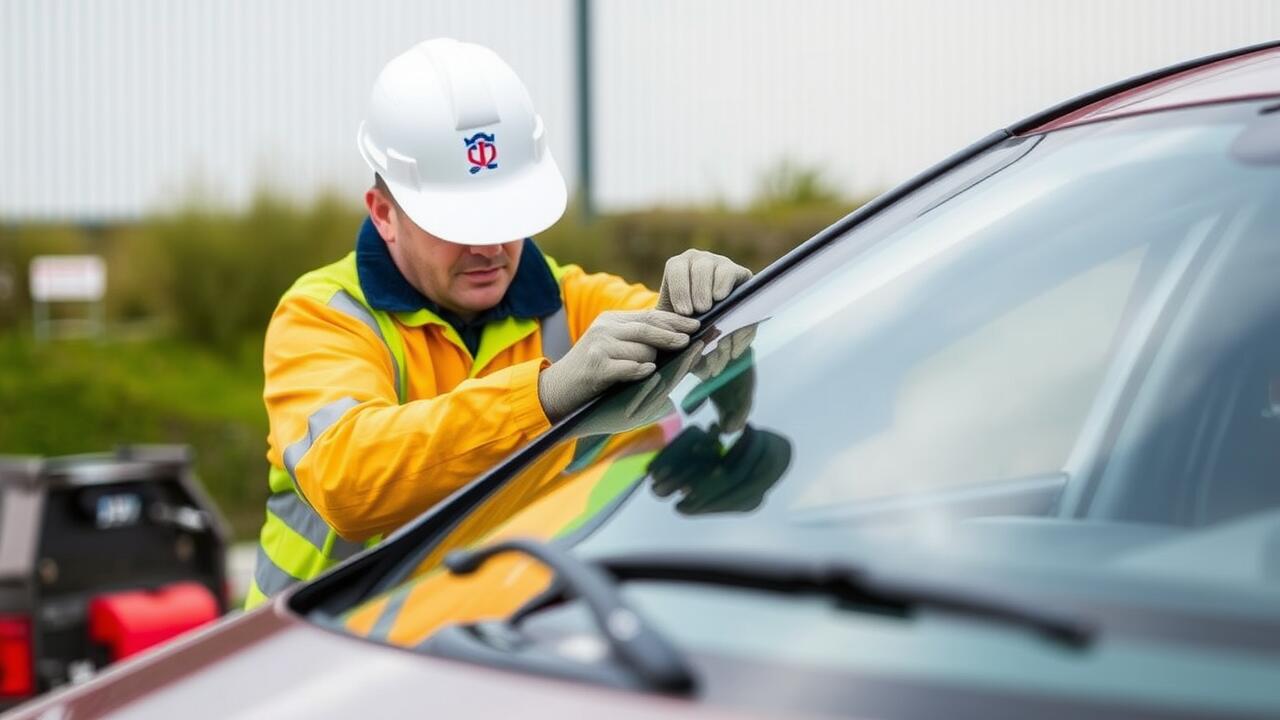
Ensuring Structural Integrity
Ensuring the structural integrity of a windshield after a chip repair is crucial for maintaining its safety and functionality. A successful repair should restore the glass's strength, preventing further cracking or shattering. The resin used in chip repair bonds with the existing glass and fills the damaged area. If the repair is done properly, it should offer sufficient reinforcement to withstand normal driving conditions, including temperature fluctuations and road vibrations.
After completing the chip repair, it is essential to conduct a thorough inspection to confirm that the repair has fused well and no air bubbles remain. Any imperfections can compromise the repair's effectiveness. As a final check, drivers should be aware of any changes in visibility or distortion in the glass, which could indicate that the structural integrity is still compromised. Regular inspections following a chip repair can help ensure the windshield remains safe and functional for the vehicle's occupants.
FAQS
Can I repair a windshield chip myself?
Yes, you can repair a windshield chip yourself using a windshield repair kit, which can be purchased at automotive stores or online.
What are the steps to repair a windshield chip?
The basic steps include cleaning the area around the chip, applying the resin from the repair kit, curing the resin according to the instructions, and then removing any excess resin.
How long does it take for windshield repair resin to cure?
Cure time can vary depending on factors such as temperature, humidity, and the type of resin used, but it generally takes anywhere from 30 minutes to a few hours.
What should I do if I notice excess resin after the repair?
If there is excess resin, you can carefully remove it using a razor blade or a similar tool, following the guidelines provided in your repair kit.
How can I ensure that the repair maintains the structural integrity of my windshield?
It's important to follow the instructions carefully, apply the resin evenly, and ensure that the chip is fully filled to restore the structural integrity of the windshield. If you're unsure, consider consulting a professional.